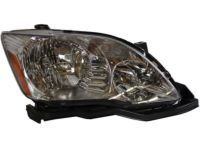
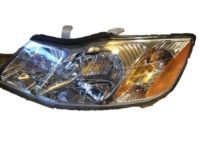
Genuine Toyota Avalon Headlight
HeadlampEnter your vehicle info to find more parts and verify fitment
- Select Vehicle by VIN
- Select Vehicle by Model
Select by VIN
orEnter your VIN for the most accurate results.Enter your VIN for the most accurate results.
Select by Model
-- Select Make --
-- Select Model --
-- Select Year --
66 Headlights found
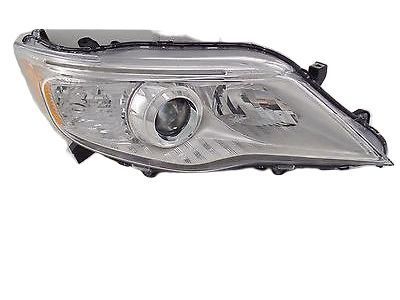
Toyota Avalon Passenger Side Headlight Unit Assembly
Part Number: 81145-07100- Other Name: Unit, Headlamp W/Gas ; Unit Assembly, Headlamp, Rh; Composite Headlamp, Lens & Housing
- Position: Passenger Side
$347.12 MSRP: $510.95You Save: $163.83 (33%)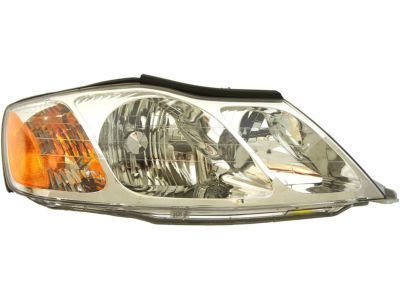
Toyota Avalon Passenger Side Headlight Assembly Composite
Part Number: 81110-AC040- Other Name: Headlamp Assembly, Rh; Composite Assembly, Headlamp Assembly
- Position: Passenger Side
$257.04 MSRP: $368.58You Save: $111.54 (31%)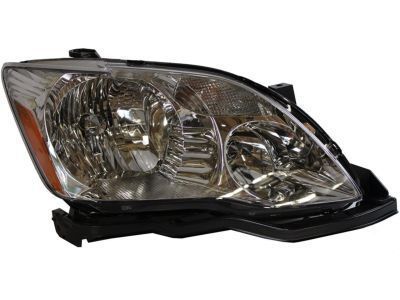
Toyota Avalon Passenger Side Headlight Assembly Composite
Part Number: 81110-AC050- Other Name: Headlamp Assembly, Rh; Composite Assembly, Headlamp Assembly
- Position: Passenger Side
$273.98 MSRP: $392.87You Save: $118.89 (31%)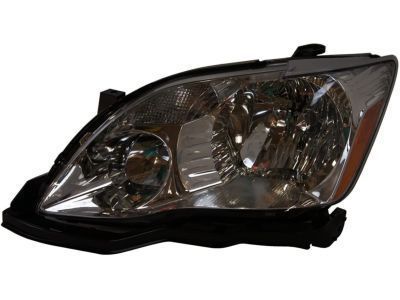
Toyota Avalon Driver Side Headlight Assembly
Part Number: 81150-AC050- Other Name: Headlamp Assembly, Lh; Composite Assembly, Headlamp Assembly
- Position: Driver Side
$273.98 MSRP: $392.87You Save: $118.89 (31%)
Toyota Avalon Passenger Side Headlight Unit Assembly
Part Number: 81130-AC060- Other Name: Unit Assembly, Headlamp, Rh; Lens & Housing
- Manufacturer Note: SPORTS PACKAGE
- Position: Passenger Side
$371.98 MSRP: $547.57You Save: $175.59 (33%)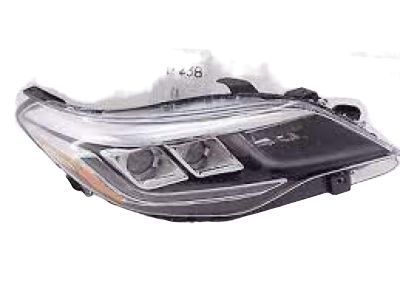
Toyota Avalon Passenger Side Headlight Assembly
Part Number: 81110-07180- Other Name: Headlamp Assembly, Rh; Composite Assembly, Headlamp Assembly
- Position: Passenger Side
$832.69 MSRP: $1225.71You Save: $393.02 (33%)
Toyota Avalon Driver Side Headlight Unit Assembly
Part Number: 81185-07100- Other Name: Unit, Headlamp W/Gas ; Unit Assembly, Headlamp, Lh; Composite Headlamp, Lens & Housing
- Position: Driver Side
$347.12 MSRP: $510.95You Save: $163.83 (33%)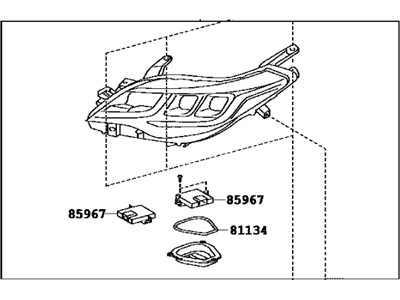
Toyota Avalon Passenger Side Headlight Assembly
Part Number: 81110-07121- Other Name: Headlamp Assembly, Rh; Composite Assembly, Headlamp Assembly
- Position: Passenger Side
- Replaces: 81110-07120
$336.97 MSRP: $483.18You Save: $146.21 (31%)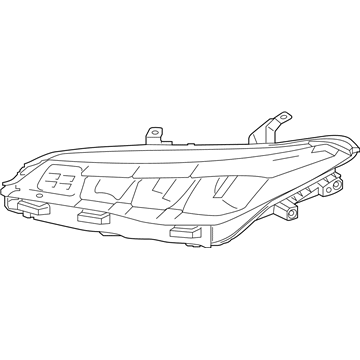
Toyota Avalon Driver Side Headlight Assembly
Part Number: 81150-07201- Other Name: Headlamp Assy, Lh; Composite Headlamp, Headlamp Assembly
- Position: Driver Side
- Replaces: 81150-07200
$821.84 MSRP: $1209.75You Save: $387.91 (33%)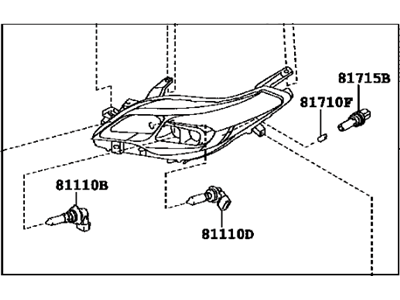
Toyota Avalon Driver Side Headlight Assembly
Part Number: 81150-07121- Other Name: Headlamp Assembly, Lh; Composite Assembly, Headlamp Assembly
- Position: Driver Side
- Replaces: 81150-07120
$336.97 MSRP: $483.18You Save: $146.21 (31%)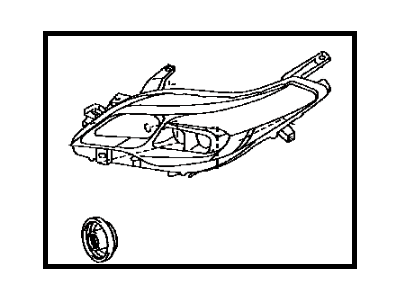
Toyota Avalon Driver Side Headlight Unit Assembly
Part Number: 81185-07130- Other Name: Unit, Headlamp W/Gas ; Unit Assembly, Headlamp, Lh; Composite Assembly, Lens & Housing
- Manufacturer Note: HEADLAMP-DISCHARGE
- Position: Driver Side
$810.20 MSRP: $1192.61You Save: $382.41 (33%)Toyota Avalon Driver Side Headlight Unit Assembly
Part Number: 81185-07132- Other Name: Unit, Headlamp W/Gas ; Unit Assembly, Headlamp, Lh; Composite Assembly, Lens & Housing
- Position: Driver Side
$810.20 MSRP: $1192.61You Save: $382.41 (33%)Toyota Avalon Headlamp Assy, Lh
Part Number: 81150-07213- Other Name: Composite Headlamp, Headlamp Assembly
- Position: Driver Side
- Replaces: 81150-07212
$1236.10 MSRP: $1819.53You Save: $583.43 (33%)Toyota Avalon Passenger Side Headlight Assembly
Part Number: 81110-07122- Other Name: Headlamp Assembly, Rh; Composite Assembly, Headlamp Assembly
- Position: Passenger Side
$336.97 MSRP: $483.18You Save: $146.21 (31%)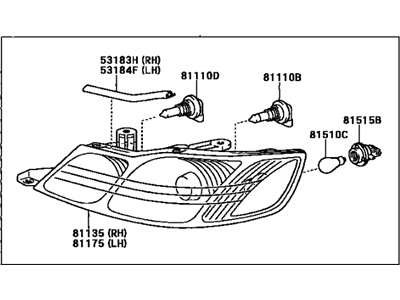
Toyota Avalon Driver Side Headlight Assembly Composite
Part Number: 81150-AC040- Other Name: Headlamp Assembly, Lh; Composite Assembly, Headlamp Assembly
- Position: Driver Side
$257.04 MSRP: $368.58You Save: $111.54 (31%)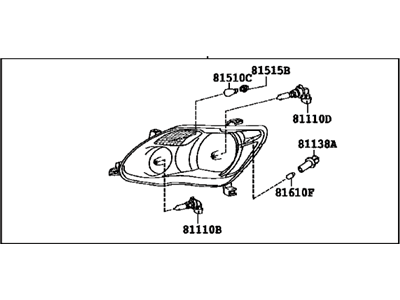
Toyota Avalon Passenger Side Headlight Assembly Composite
Part Number: 81110-AC060- Other Name: Headlamp Assembly, Rh; Composite Assembly, Headlamp Assembly
- Manufacturer Note: SPORTS PACKAGE
- Position: Passenger Side
$910.43 MSRP: $1340.15You Save: $429.72 (33%)
Toyota Avalon Passenger Side Headlight Unit Assembly
Part Number: 81145-07130- Other Name: Unit, Headlamp W/Gas ; Unit Assembly, Headlamp, Rh; Composite Assembly, Lens & Housing
- Manufacturer Note: HEADLAMP-DISCHARGE
- Position: Passenger Side
$802.06 MSRP: $1180.63You Save: $378.57 (33%)Toyota Avalon Passenger Side Headlight Assembly
Part Number: 81110-07201- Other Name: Headlamp Assy, Rh; Composite Headlamp, Headlamp Assembly
- Position: Passenger Side
- Replaces: 81110-07200
$821.84 MSRP: $1209.75You Save: $387.91 (33%)Toyota Avalon Driver Side Headlight Assembly
Part Number: 81150-07210- Other Name: Headlamp Assy, Lh; Composite Headlamp, Headlamp Assembly
- Position: Driver Side
$1236.10 MSRP: $1819.53You Save: $583.43 (33%)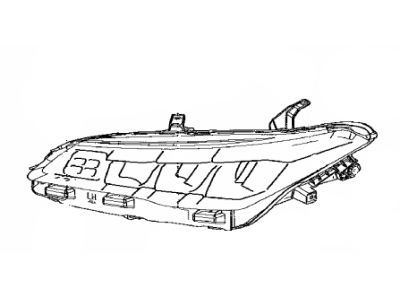
Toyota Avalon Passenger Side Headlight Assembly
Part Number: 81110-07200- Other Name: Headlamp Assy, Rh
- Position: Passenger Side
- Replaced by: 81110-07201
$821.84 MSRP: $1209.75You Save: $387.91 (33%)
| Page 1 of 4 |Next >
1-20 of 66 Results
Toyota Avalon Headlight Parts Questions & Answers
- Q: What is the importance of correct aiming of headlights?A: Headlight aiming is vital for safety and should be checked annually, when installing new headlights, or after front-end bodywork. However, professional adjustment is recommended. Some models have a headlight leveling system, requiring professional adjustment. For others, there's usually an adjustment screw on each headlight housing. To adjust, use masking tape, a blank wall, and a level floor. Position tape on the wall in line with the vehicle and headlight centers. Adjust with the vehicle 25 feet from the wall, level, with a half-full gas tank and no heavy load. The low beam's high-intensity zone should be two inches below and to the side of the headlight line, away from traffic. Use the vertical screw to adjust the beam's height, and the horizontal screw for left or right. With high beams, the high-intensity zone should be centered just below the horizontal line. If perfect positioning for both beams isn't possible, prioritize low beams. Professional adjustment is advised as soon as possible.
- Q: What is the recommended method for adjusting headlights to avoid blinding oncoming drivers and reducing visibility?A: Headlights must be aimed correctly to avoid blinding oncoming drivers and reducing visibility. It is recommended to check the aim every 12 months and whenever a new headlight is installed. The simplest method involves using masking tape, a blank wall, and a level floor. The tape should be vertically on the wall in reference to the vehicle centerline and the centerlines of both headlights, with a horizontal tape line in reference to the centerline of all the headlights. The adjustment should be made with the vehicle parked 25 feet from the wall. For low beam adjustment, the high-intensity zone should be positioned two inches below the horizontal line and two inches to the side of the headlight vertical line. The adjustment can be made by turning the vertical adjusting screw. With high beams on, the high-intensity zone should be vertically centered just below the horizontal line. Some 2002 models have a horizontal adjustment screw, but later models do not offer adjustment for the horizontal plane. Prioritize the proper aim of the low beams.
- Q: How do I remove and install the headlight assembly in the Lexus ES300,Toyota Solara and Toyota Avalon?A: To remove the headlight assembly, start by removing the Headlight Bulb and the side marker light. Then, proceed to remove the retaining bolts, detach the housing, and carefully withdraw it from the vehicle. For installation, follow the reverse procedure of removal, ensuring proper reattachment and alignment. It's important to check and adjust the headlight alignment after installation.
- Q: How can I adjust halogen bulb-type headlights using a simple method and necessary tools?A: Halogen bulb-type headlights can be adjusted using two adjustment screws situated on the top of each headlight housing. To adjust the headlights, follow a simple method involving masking tape, a blank wall, and a level floor. Place vertical masking tape on the wall in alignment with the vehicle centerline and both headlight centerlines. Create a horizontal tape line corresponding to the centerline of all headlights. Park the vehicle 25 feet from the wall, ensuring it's level, with a half-full gas tank and no excessive load. Begin with low beam adjustment, positioning the high-intensity zone two inches below the horizontal line and two inches away from the vertical headlight line, away from oncoming traffic. Use the vertical adjusting screw to raise or lower the beam and the horizontal screw to move it left or right. With high beams on, center the high-intensity zone vertically, aligning the exact center just below the horizontal line. Arrange for headlight adjustment as soon as possible.


Related Toyota Avalon Parts
 Toyota Avalon Fog Light Bulb
 Toyota Avalon Headlight Bulb
 Toyota Avalon Fog Light
 Toyota Avalon Bumper
 Toyota Avalon Igniter
 Toyota Avalon Sunroof Cable
Browse by Year
2022 Headlight 2021 Headlight 2020 Headlight 2019 Headlight 2018 Headlight 2017 Headlight 2016 Headlight 2015 Headlight 2014 Headlight 2013 Headlight 2012 Headlight 2011 Headlight 2010 Headlight 2009 Headlight 2008 Headlight 2007 Headlight 2006 Headlight 2005 Headlight 2004 Headlight 2003 Headlight 2002 Headlight 2001 Headlight 2000 Headlight 1999 Headlight 1998 Headlight 1997 Headlight 1996 Headlight 1995 Headlight