Genuine Toyota Supra Brake Disc
Disc RotorEnter your vehicle info to find more parts and verify fitment
- Select Vehicle by VIN
- Select Vehicle by Model
Select by VIN
orEnter your VIN for the most accurate results.Enter your VIN for the most accurate results.
Select by Model
-- Select Make --
-- Select Model --
-- Select Year --
8 Brake Discs found

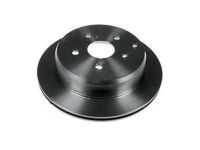
Toyota Supra Rear Disc
Part Number: 42431-14150- Other Name: Disc, Rear; Rotor
- Position: Rear
- Replaces: 42431-14170
$97.47 MSRP: $138.33You Save: $40.86 (30%)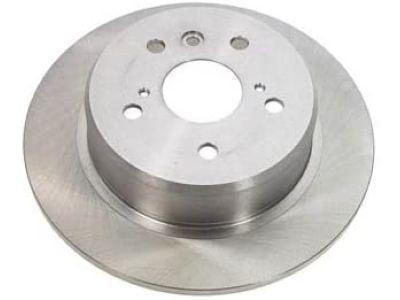
Toyota Supra Front Disc
Part Number: 43516-14030- Other Name: Disc, Front; Rotor
- Manufacturer Note: LH
- Position: Front Driver Side
- Replaces: 43516-14050
$76.56 MSRP: $108.47You Save: $31.91 (30%)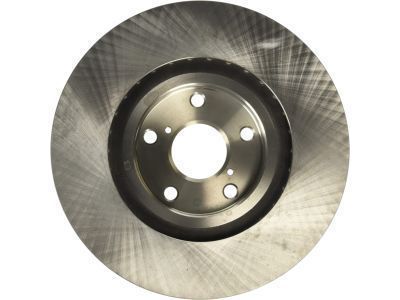
Toyota Supra Front Disc
Part Number: 43512-14200- Other Name: Disc, Front; Rotor
- Manufacturer Note: RH
- Position: Front Passenger Side
- Replaces: 43512-14230
$76.56 MSRP: $108.47You Save: $31.91 (30%)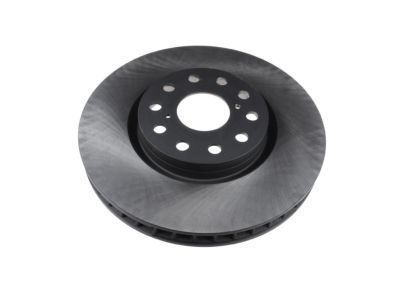
Toyota Supra Front Disc
Part Number: 43512-14190- Other Name: Disc, Front; Rotor
- Position: Front
- Replaces: 43512-14220
$73.51 MSRP: $104.09You Save: $30.58 (30%)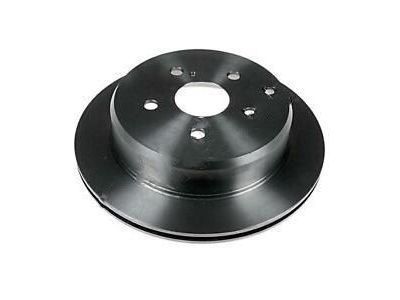
Toyota Supra Rear Disc
Part Number: 42431-14100- Other Name: Disc, Rear
- Position: Rear
- Replaced by: 42431-14110
$94.06 MSRP: $133.14You Save: $39.08 (30%)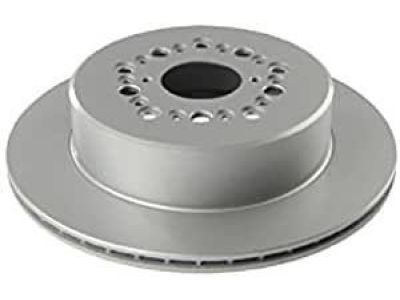
Toyota Supra Rear Disc
Part Number: 42431-30140- Other Name: Disc, Rear
- Position: Rear
- Replaced by: 42431-40080
$88.96 MSRP: $126.47You Save: $37.51 (30%)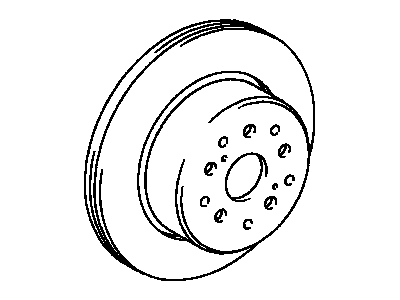
Toyota Supra Rear Disc
Part Number: 42431-30240- Other Name: Disc, Rear
- Position: Rear
- Replaced by: 42431-40080
$88.96 MSRP: $126.47You Save: $37.51 (30%)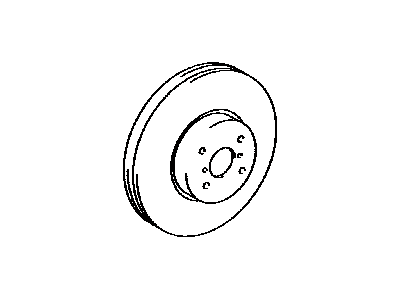
Toyota Supra Brake Disc Parts Questions & Answers
- Q: How to inspect brake discs?A: This procedure applies to both the front and rear brake discs. To inspect the discs, loosen the wheel lug nuts, raise the vehicle, and remove the wheel. Install three lug nuts to hold the disc in place. If working on the rear brake disc, release the parking brake. Remove the Brake Caliper and suspend it out of the way with wire. Remove the torque plate (bracket) secured to the steering knuckle with two bolts. Visually inspect the disc surface for scoring or damage, and check both sides of the disc. Deep scoring requires disc removal and refinishing. Check the disc run out using a dial indicator, and if it exceeds the allowable limit, the disc should be refinished. It is recommended to resurface the discs regardless of the indicator reading. If not resurfacing, remove glazing from the surface with sandpaper. Check the disc thickness with a micrometer, ensuring it is not below the specified minimum thickness. To remove the disc, remove the lug nuts holding it in place and rotate the disc if stuck. Use a brake adjusting tool or screwdriver to contract the parking brake shoes if necessary. If the disc is still stuck, thread bolts into the provided holes and tighten them alternately until the disc is free. To install the disc, place it over the threaded studs, align the access hole with the adjuster cut out (for 1982 and later models), and install the torque plate and caliper. Tighten the bolts, install the wheel, and lower the vehicle. Depress the brake pedal to bring the Brake Pad Set into contact with the disc. Bleeding the system is not necessary unless the Brake Line was disconnected. Carefully check the brake operation before normal use.