Genuine Toyota 4Runner Axle Shaft
Car Axle ShaftEnter your vehicle info to find more parts and verify fitment
- Select Vehicle by VIN
- Select Vehicle by Model
Select by VIN
orEnter your VIN for the most accurate results.Enter your VIN for the most accurate results.
Select by Model
-- Select Make --
-- Select Model --
-- Select Year --
37 Axle Shafts found

Toyota 4Runner Shaft Assembly, Front Drive, Left
Part Number: 43430-60082- Other Name: Shaft Assy, Front Drive, Lh; Axle Assembly
- Position: Front Driver Side
- Replaces: 43430-60081
$281.01 MSRP: $429.49You Save: $148.48 (35%)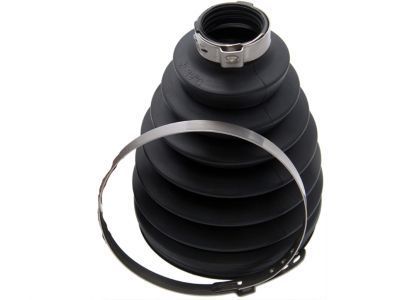
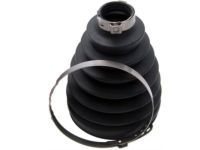
Toyota 4Runner Passenger Front Outer Cv Joint Boot Kit
Part Number: 43430-60060- Other Name: Shaft Assembly, Front Drive, Rh
- Position: Front Outer Passenger Side
- Replaced by: 43430-60061
$297.38 MSRP: $452.96You Save: $155.58 (35%)
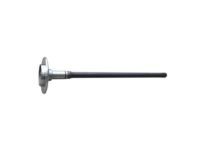
Toyota 4Runner Rear Axle Shaf
Part Number: 42311-60242- Other Name: Shaft, Rear Axle, Rh; Axle Shaft
- Position: Rear
- Replaces: 42311-60241
$445.84 MSRP: $656.27You Save: $210.43 (33%)
Toyota 4Runner Rear Axle Shaf
Part Number: 42311-35350- Other Name: Shaft, Rear Axle; Axle Shaft
- Manufacturer Note: W(4WHEEL*66)
- Position: Rear
$421.18 MSRP: $619.99You Save: $198.81 (33%)
Toyota 4Runner Rear Axle Shaf
Part Number: 42311-60240- Other Name: Shaft, Rear Axle, Lh; Axle Shaft
- Position: Rear
$446.94 MSRP: $657.88You Save: $210.94 (33%)
Toyota 4Runner Rear Axle Shaf
Part Number: 42311-35400- Other Name: Shaft, Rear Axle, Lh; Axle Shaft
- Manufacturer Note: W(VSC & 16 INCHES DISC WHEEL)
- Position: Rear
$418.85 MSRP: $616.54You Save: $197.69 (33%)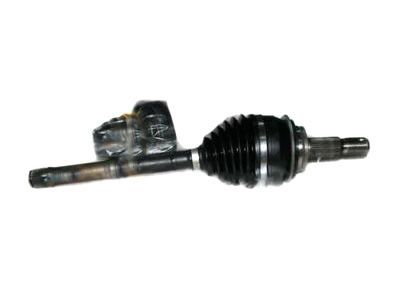
Toyota 4Runner Shaft Assembly Front Drive Outboard Joint Right
Part Number: 43460-69105- Other Name: Shaft Set, Outboard ; Shaft Assembly, Front Drive Outboard Joint, Rh
- Position: Front Passenger Side
$386.41 MSRP: $568.80You Save: $182.39 (33%)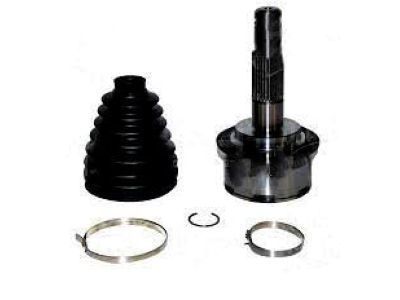
Toyota 4Runner Shaft Assembly, Front Drive Outboard Joint, Right
Part Number: 43460-39065- Other Name: Shaft Assembly, Front Drive Outboard Joint, Rh
- Position: Front Passenger Side
- Replaced by: 43460-39066
$185.19 MSRP: $265.55You Save: $80.36 (31%)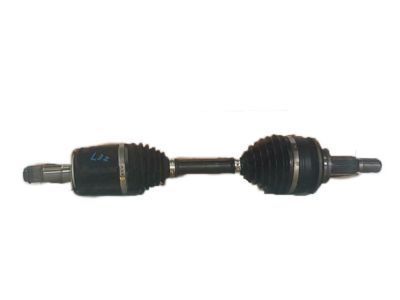
Toyota 4Runner Passenger Front Axle Shaft
Part Number: 43430-60080- Other Name: Shaft Assembly, Front Drive, Rh
- Position: Front Passenger Side
- Replaced by: 43430-60090
$397.41 MSRP: $584.99You Save: $187.58 (33%)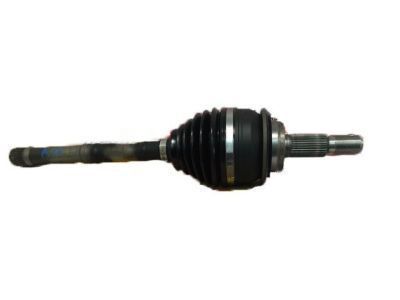
Toyota 4Runner Shaft Assembly, Front Drive Outboard Joint, Left
Part Number: 43460-69055- Other Name: Shaft Assembly, Front Drive Outboard Joint, Lh
- Position: Front Driver Side
- Replaced by: 43460-69205
$214.86 MSRP: $308.09You Save: $93.23 (31%)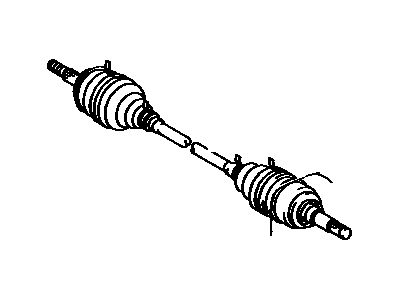
Toyota 4Runner Shaft Assembly, Front Drive, Right
Part Number: 43430-60081- Other Name: Shaft Assy, Front Drive, Rh
- Position: Front Passenger Side
- Replaced by: 43430-60082
$281.01 MSRP: $429.49You Save: $148.48 (35%)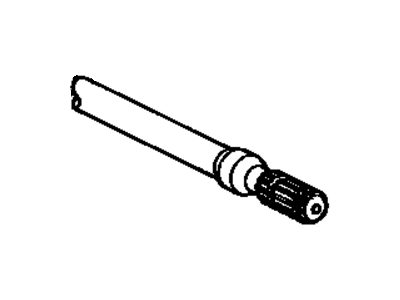
Toyota 4Runner Front Axle Shaft, Inner Rh
Part Number: 43411-35010- Other Name: Shaft, Front Axle, Inner Rh; Axle Shaft, Shaft
- Position: Inner Passenger Side
$245.06 MSRP: $351.40You Save: $106.34 (31%)
Toyota 4Runner Front Axle Shaft, Inner Lh
Part Number: 43412-35010- Other Name: Shaft, Front Axle, Inner Lh; Axle Shaft, Inner Shaft, Shaft
- Position: Inner Driver Side
$340.99 MSRP: $488.97You Save: $147.98 (31%)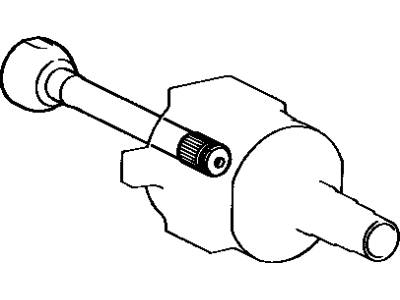
Toyota 4Runner Drive Shaft
Part Number: 43405-60015- Other Name: Shaft, Drive
$229.19 MSRP: $332.04You Save: $102.85 (31%)
Toyota 4Runner Rear Axle Shaf
Part Number: 42311-60241- Other Name: Shaft, Rear Axle, Rh
- Position: Rear
- Replaced by: 42311-60242
$445.84 MSRP: $656.27You Save: $210.43 (33%)Toyota 4Runner Rear Axle Shaf
Part Number: 42311-35210- Other Name: Shaft, Rear Axle; Axle Shaft
- Position: Rear
$229.92 MSRP: $329.69You Save: $99.77 (31%)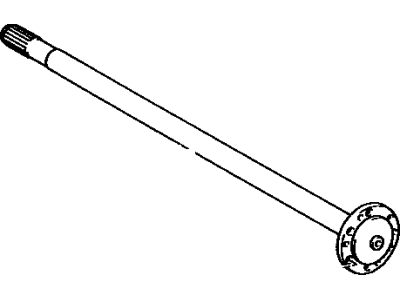
Toyota 4Runner Rear Axle Shaf
Part Number: 42311-35120- Other Name: Shaft, Rear Axle; Axle Shaft
- Manufacturer Note: *AXC=F382
- Position: Rear
- Replaces: 42311-35070
$231.00 MSRP: $331.24You Save: $100.24 (31%)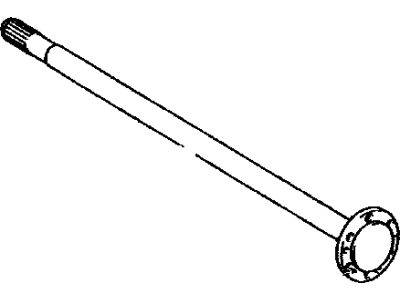
Toyota 4Runner Rear Axle Shaf
Part Number: 42311-35170- Other Name: Shaft, Rear Axle; Axle Shaft
- Position: Rear
$231.78 MSRP: $332.35You Save: $100.57 (31%)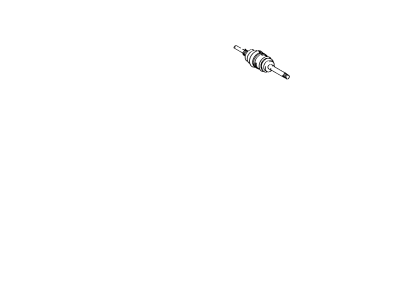
Toyota 4Runner Shaft Assembly, Front Drive, Right
Part Number: 43430-35020- Other Name: Shaft Assy, Front Drive, Rh
- Manufacturer Note: W(*66)
- Position: Front Passenger Side
- Replaced by: 43430-35021
$250.55 MSRP: $359.27You Save: $108.72 (31%)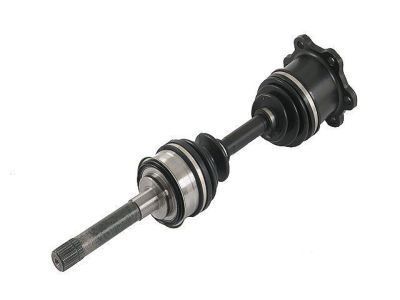
Toyota 4Runner Shaft Assembly, Front Drive, Left
Part Number: 43430-35011- Other Name: Shaft Assy, Front Drive, Lh
- Position: Front Driver Side
- Replaced by: 43430-35012
| Page 1 of 2 |Next >
1-20 of 37 Results
Toyota 4Runner Axle Shaft Parts Questions & Answers
- Q: What is the description and diagnosis of axle problems in Toyota 4Runners?A: The rear axle assembly of a vehicle is a hypoid, semi-floating type with a Differential that allows the outer rear tire to turn more quickly than the inner tire when going around a corner. The axle shafts are splined to the differential side gears, and the differential pinion gears roll around the slower side gear, driving the outer side gear more quickly. Some models use a locking limited-slip rear axle that allows for normal operation until one wheel loses traction. On 4WD models, a fully independent front axle assembly is used, consisting of a differential and a pair of drive axles with inner and outer constant velocity (CV) joints. When diagnosing axle problems, it's important to check other possible causes before assuming the axle is the problem. Common noises associated with axle diagnosis procedures include road noise, tire noise, and engine and transmission noise, which can be deceiving and travel along the driveline. Overhauling the differential requires special tools and isn't cost-effective for a do-it-yourselfer.
- Q: How to remove and install a rear axle assembly on a Toyota 4Runner?A: To remove the rear Axle Shaft from a vehicle, first, loosen the rear wheel lug nuts and raise the rear of the vehicle, supporting it securely on jack stands placed under the frame. Then, position a floor jack under the rear axle differential housing and remove the Drive Shaft. Disconnect the left and right speed sensors, detach all brake hoses or lines from the axle housing, and disconnect the parking brake cables from the brake assemblies. Remove the rear calipers, discs, and emergency brake assemblies, detach the vent hose from the axle housing, and disconnect the shock absorbers from the axle brackets. Finally, disconnect the suspension arms, the lateral control rod, and the stabilizer bar, and remove the coil springs before lowering the jack under the differential and removing the rear axle assembly from under the vehicle. To install the rear axle assembly, simply reverse the above steps, being sure to tighten all suspension fasteners to the torque specifications and bleed the brakes.
- Q: How to remove the rear axleshaft assembly, bearing, oil seal?A: First, you can remove the rear axleshaft assembly by releasing the parking brake and raising the rear of the vehicle, supporting it on jack stands. Remove the wheels, brake caliper and disc, ABS sensor, and parking brake cables. Take out the parking brake shoes and backing plate mounting nuts. Pull the axleshaft out of the rear axle housing along with the backing plate. Remove the Wheel Bearing, O-ring and Wheel Seal. Specialized tools and a hydraulic press are needed for further disassembly. For replacement of the axleshaft, bearing, or outer oil seal, take it to an automotive machine shop. To install, drive a new axleshaft inner seal into the axle tube and coat the lip with clean oil or grease. Install a new axle housing O-ring. Clean the axleshaft, removing any burrs or splinters, and deburr any surface irregularities. Lightly coat the axle shaft with oil and insert it into the axle housing, being careful not to damage the new axleshaft seal. Finally, reinstall the components in reverse order, tightening the four backing plate mounting nuts to the specified torque.
- Q: How to remove a driveaxle for 4WD models?A: To remove an axle shaft, first, loosen the front wheel lug nuts, raise the vehicle, and support it on jack stands. Remove the wheels and drain the Differential. Then, remove the grease cap, cotter pin, and nut lock. Use a pry bar or screwdriver to hold the axle shaft and break the hub nut loose with a breaker bar or brakes. Remove the nut, speed sensors, and outer tie rod ends. Disconnect the ball joint assembly and separate the lower control arm from the steering knuckle. Knock the axle shaft loose from the steering knuckle with a brass drift and hammer. Swing the steering knuckle outward and detach the axle shaft from the differential. To install, reverse the removal steps and tighten all fasteners to the torque specifications.

Related Toyota 4Runner Parts
 Toyota 4Runner Wheel Seal
 Toyota 4Runner Wheel Bearing
 Toyota 4Runner Transmission Pan
 Toyota 4Runner Torque Converter
 Toyota 4Runner Slip Yoke
 Toyota 4Runner Input Shaft Bearing
 Toyota 4Runner Output Shaft Bearing
 Toyota 4Runner Pinion Washer
Browse by Year
2022 Axle Shaft 2021 Axle Shaft 2020 Axle Shaft 2019 Axle Shaft 2018 Axle Shaft 2017 Axle Shaft 2016 Axle Shaft 2015 Axle Shaft 2014 Axle Shaft 2013 Axle Shaft 2012 Axle Shaft 2011 Axle Shaft 2010 Axle Shaft 2009 Axle Shaft 2008 Axle Shaft 2007 Axle Shaft 2006 Axle Shaft 2005 Axle Shaft 2004 Axle Shaft 2003 Axle Shaft 2002 Axle Shaft 2001 Axle Shaft 2000 Axle Shaft 1999 Axle Shaft 1998 Axle Shaft 1997 Axle Shaft 1996 Axle Shaft 1995 Axle Shaft 1994 Axle Shaft 1993 Axle Shaft 1992 Axle Shaft 1991 Axle Shaft 1990 Axle Shaft 1989 Axle Shaft 1988 Axle Shaft 1987 Axle Shaft 1986 Axle Shaft 1985 Axle Shaft 1984 Axle Shaft