Genuine Toyota 4Runner Drive Shaft
Axle ShaftEnter your vehicle info to find more parts and verify fitment
- Select Vehicle by VIN
- Select Vehicle by Model
Select by VIN
orEnter your VIN for the most accurate results.Enter your VIN for the most accurate results.
Select by Model
-- Select Make --
-- Select Model --
-- Select Year --
155 Drive Shafts found
Toyota 4Runner Propelle Shaft Assembly
Part Number: 37110-3D300- Other Name: Shaft Assy, Propeller; Drive Shaft
$641.56 MSRP: $944.38You Save: $302.82 (33%)
Toyota 4Runner Shaft Assembly Propeller Front
Part Number: 37140-60480- Other Name: Shaft Assy, Propeller, Front; Drive Shaft
- Position: Front
$328.38 MSRP: $470.89You Save: $142.51 (31%)
Toyota 4Runner Propelle Shaft Assembly
Part Number: 37110-3D060- Other Name: Shaft Assy, Propeller; Drive Shaft
$417.52 MSRP: $614.59You Save: $197.07 (33%)
Toyota 4Runner Shaft Assembly Propeller Front
Part Number: 37140-35060- Other Name: Shaft Assy, Propeller, Front; Drive Shaft
- Position: Front
$622.80 MSRP: $916.76You Save: $293.96 (33%)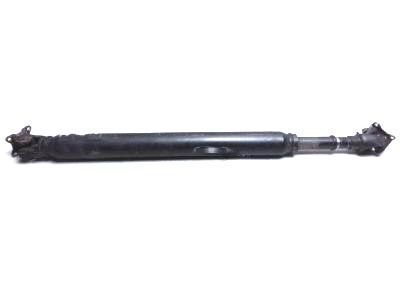
Toyota 4Runner Propelle Shaft Assembly
Part Number: 37110-35A90- Other Name: Shaft Assembly, Propeller; Drive Shaft
- Replaces: 37110-6A520
$432.44 MSRP: $636.54You Save: $204.10 (33%)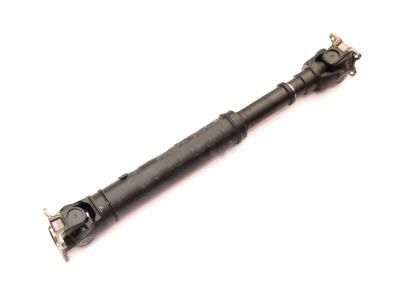
Toyota 4Runner Shaft Assembly Propeller Front
Part Number: 37140-60470- Other Name: Shaft Assy, Propeller, Front; Drive Shaft
- Position: Front
$323.40 MSRP: $463.73You Save: $140.33 (31%)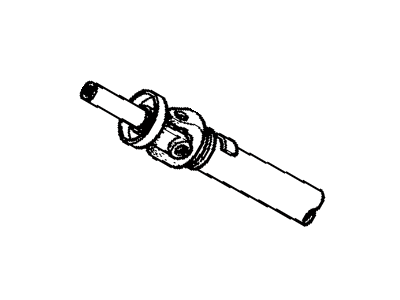
Toyota 4Runner Propelle Shaft Assembly
Part Number: 37110-3D070- Other Name: Shaft Assy, Propeller; Drive Shaft
$431.20 MSRP: $634.71You Save: $203.51 (33%)Toyota 4Runner Rear Propelle Shaft Assembly
Part Number: 37110-3D510- Other Name: Shaft Assy, Propeller; Drive Shaft
- Position: Rear
$335.46 MSRP: $481.03You Save: $145.57 (31%)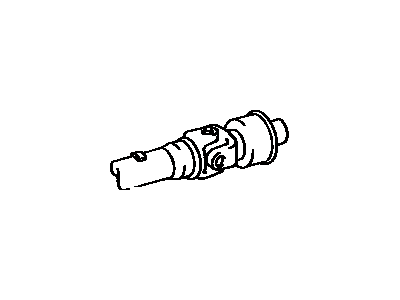
Toyota 4Runner Shaft Assembly Propeller Front
Part Number: 37140-60300- Other Name: Shaft Assy, Propeller, Front; Drive Shaft
- Position: Front
$375.49 MSRP: $552.72You Save: $177.23 (33%)Toyota 4Runner Shaft Assembly Propeller Front
Part Number: 37140-35130- Other Name: Shaft Assy, Propeller, Front; Drive Shaft
- Position: Front
$381.59 MSRP: $561.70You Save: $180.11 (33%)Toyota 4Runner Propelle Shaft Assembly
Part Number: 37110-6A440- Other Name: Shaft Assy, Propeller; Drive Shaft
$402.85 MSRP: $592.98You Save: $190.13 (33%)Toyota 4Runner Propelle Shaft Assembly
Part Number: 37110-35A80- Other Name: Shaft Assembly, Propeller; Drive Shaft
$432.44 MSRP: $636.54You Save: $204.10 (33%)Toyota 4Runner Propelle Shaft Assembly
Part Number: 37110-35481- Other Name: Shaft Assy, Propeller; Drive Shaft
- Replaces: 37110-35480
$494.30 MSRP: $727.60You Save: $233.30 (33%)Toyota 4Runner Shaft Assembly Propeller Front
Part Number: 37140-35190- Other Name: Shaft Assy, Propeller, Front; Drive Shaft
- Position: Front
$387.92 MSRP: $571.01You Save: $183.09 (33%)Toyota 4Runner Propelle Shaft Assembly
Part Number: 37110-3D540- Other Name: Shaft Assy, Propeller; Drive Shaft
$401.36 MSRP: $590.81You Save: $189.45 (33%)Toyota 4Runner Propelle Shaft Assembly
Part Number: 37110-6A520- Other Name: Shaft Assembly, Propeller
- Replaced by: 37110-35A90
$432.44 MSRP: $636.54You Save: $204.10 (33%)Toyota 4Runner Propelle Shaft Assembly
Part Number: 37110-6A480- Other Name: Shaft Assy, Propeller
- Replaced by: 37110-60A40
$318.76 MSRP: $457.07You Save: $138.31 (31%)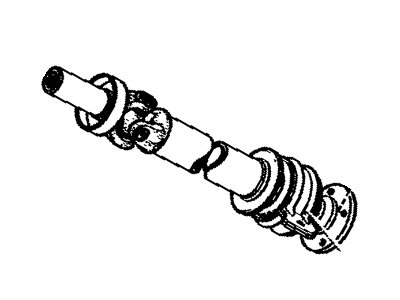
Toyota 4Runner Propeller Intermediate Shaft Assembly
Part Number: 37120-35230- Other Name: Shaft Assy, Propeller Intermediate
- Replaced by: 37120-35340
$341.25 MSRP: $502.32You Save: $161.07 (33%)Toyota 4Runner Propelle Shaft Assembly
Part Number: 37110-3D250- Other Name: Shaft Assy, Propeller; Drive Shaft
- Replaces: 37110-3D020
| Page 1 of 8 |Next >
1-20 of 155 Results
Toyota 4Runner Drive Shaft Parts Questions & Answers
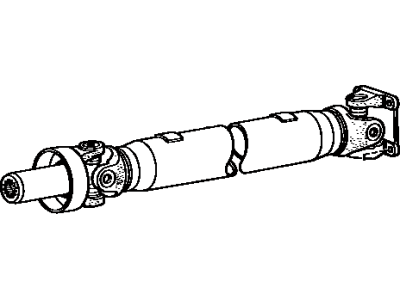
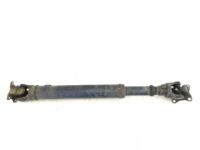
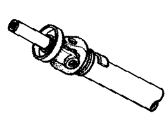
- Q: What is the design and function of the driveshaft and universal joint in a Toyota 4Runner?A: Before anything else, the Drive Shaft is a tubular construction designed as a one-section type, with both ends bolted to the respective transfer case and differential flanges. The rear driveshaft attaches to the rear axle pinion flange using a bolted flange, and its connection to the transmission or transfer case varies depending on the driveline package. When replacing universal joints, maintain the finely balanced nature of the driveshaft. Marking each individual yoke is advised to preserve balance, and caution should be exercised to prevent dropping the assembly during servicing. On 2WD models, a splined yoke called a "slip yoke" or "sleeve yoke" is employed at the front, with an oil seal to prevent leakage. On 4WD models, each driveshaft is attached to the transfer case by a flange yoke, and the companion flange can be removed to replace the companion seal(s). Proper maintenance involves keeping the driveshaft clean, ensuring balance weights are intact, and reinstalling it in the same position.
- Q: How to lubricate the driveline components and Drive Shaft on a Toyota 4Runner?A: Look under the vehicle for grease fittings on the driveline components (4WD models). They are normally found on the driveshaft universal joints and slip yokes. For easier access under the vehicle, raise it with a jack and place jackstands under the frame. Before beginning, force a little grease out of the nozzle to remove any dirt from the end of the gun. Wipe the nozzle clean with a rag. With the grease gun and plenty of clean rags, crawl under the vehicle and begin lubricating the driveshaft universal joints. Pump grease into the universal joints until it can be seen coming out from the seals. Wipe the area around the grease fitting free of dirt, then squeeze the trigger on the grease gun to force grease into the component. Continue pumping grease into the fitting until it just oozes out of the bearing cup seals. If it escapes around the grease gun nozzle, the fitting is clogged or the nozzle is not completely seated on the fitting. Resecure the gun nozzle to the fitting and try again. If necessary, replace the fitting with a new one. Wipe the excess grease from the components and the grease fitting. Repeat the procedure for the remaining fittings. Lubricate the driveshaft slip yoke by pumping grease into the fitting until it can be seen coming out of the slip yoke seal. While you are under the vehicle, clean and lubricate the parking brake cable along with the cable guides and levers. This can be done by smearing some chassis grease onto the cable and its related parts with your fingers. Lubricate the contact points on the steering knuckle stop and adjustment bolt if equipped. Open the hood and smear a little chassis grease on the hood latch mechanism. Have an assistant pull the hood release lever from inside the vehicle as you lubricate the cable at the latch. Lubricate all the hinges (door, hood, etc.) with engine oil to keep them in proper working order. The key lock cylinders can be lubricated with spray-on graphite or silicone lubricant, which is available at auto parts stores. Lubricate the door weatherstripping with silicone spray. This will reduce chafing and retard wear.
- Q: How to remove and install a driveshaft?A: To remove the Drive Shaft, start by loosening the wheel lug nuts and raising the vehicle on jack stands. Make marks on the driveshaft flange yoke and differential flange for proper reinstallation. Remove the bolts or nuts securing the flange yoke to the differential. Lower the driveshaft and slide the front out of the transmission for 2WD models. For 4WD models, separate the flange at the transfer case. Wrap a plastic bag over the transmission extension housing to prevent fluid loss and contamination. For installation, remove the plastic bag, clean the area, and inspect the oil seal. Slide the front of the driveshaft into the transmission for 2WD models or bolt the flange yoke to the transfer case for 4WD models. Raise the rear of the driveshaft into position, ensuring alignment with the marks on the flange yoke and differential. Finally, tighten all bolts and nuts, remove the jack stands, and lower the vehicle.

Related Toyota 4Runner Parts

Browse by Year
2022 Drive Shaft 2021 Drive Shaft 2020 Drive Shaft 2019 Drive Shaft 2018 Drive Shaft 2017 Drive Shaft 2016 Drive Shaft 2015 Drive Shaft 2014 Drive Shaft 2013 Drive Shaft 2012 Drive Shaft 2011 Drive Shaft 2010 Drive Shaft 2009 Drive Shaft 2008 Drive Shaft 2007 Drive Shaft 2006 Drive Shaft 2005 Drive Shaft 2004 Drive Shaft 2003 Drive Shaft 2002 Drive Shaft 2001 Drive Shaft 2000 Drive Shaft 1999 Drive Shaft 1998 Drive Shaft 1997 Drive Shaft 1996 Drive Shaft 1995 Drive Shaft 1994 Drive Shaft 1993 Drive Shaft 1992 Drive Shaft 1991 Drive Shaft 1990 Drive Shaft 1989 Drive Shaft 1988 Drive Shaft 1987 Drive Shaft 1986 Drive Shaft 1985 Drive Shaft 1984 Drive Shaft