Genuine Toyota Avalon A/C Condenser
Air Conditioning CondenserEnter your vehicle info to find more parts and verify fitment
- Select Vehicle by VIN
- Select Vehicle by Model
Select by VIN
orEnter your VIN for the most accurate results.Enter your VIN for the most accurate results.
Select by Model
-- Select Make --
-- Select Model --
-- Select Year --
9 A/C Condensers found
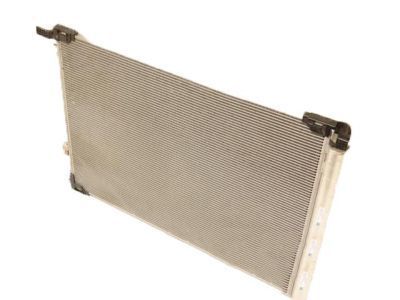
Toyota Avalon CONDENSER Assembly, Supp
Part Number: 884A0-06020- Other Name: Condenser, Condenser Assembly
$293.47 MSRP: $420.81You Save: $127.34 (31%)
Toyota Avalon Condenser Assembly
Part Number: 88460-06230- Other Name: Condenser Assy, Cooler; Condenser
$283.61 MSRP: $406.68You Save: $123.07 (31%)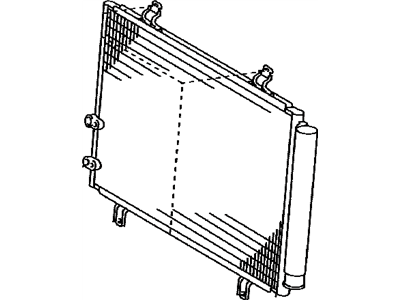
Toyota Avalon Condenser Assy, Cooler
Part Number: 88460-06210- Other Name: Condenser, Condenser Assembly
- Replaces: 88460-33100
$344.70 MSRP: $507.40You Save: $162.70 (33%)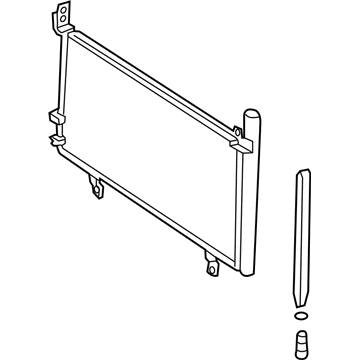
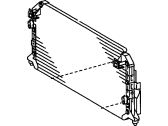
Toyota Avalon Condenser Assembly
Part Number: 88460-33130- Other Name: Condenser Assy, Cooler; Condenser
$225.50 MSRP: $323.36You Save: $97.86 (31%)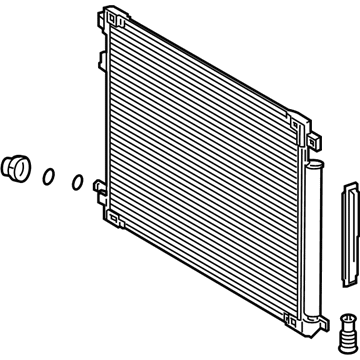
Toyota Avalon CONDENSER Assembly, Supp
Part Number: 884A0-06030- Other Name: Condenser, Condenser Assembly
$294.05 MSRP: $421.64You Save: $127.59 (31%)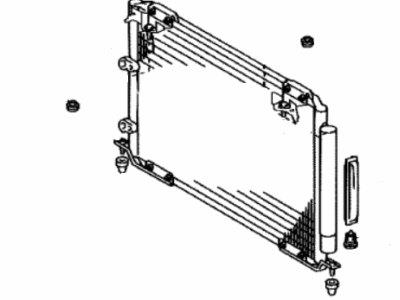
Toyota Avalon Condenser Assy, Cooler
Part Number: 88460-07031- Replaced by: 88460-07032
$406.79 MSRP: $598.78You Save: $191.99 (33%)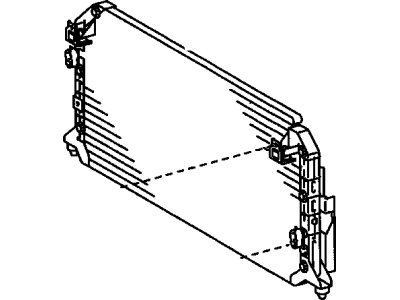
Toyota Avalon Condenser Assy, Cooler
Part Number: 88460-07010- Other Name: Condenser
$314.10 MSRP: $450.40You Save: $136.30 (31%)Toyota Avalon Condenser Assy, Cooler
Part Number: 88460-07060- Replaced by: 88460-07070
$335.23 MSRP: $480.70You Save: $145.47 (31%)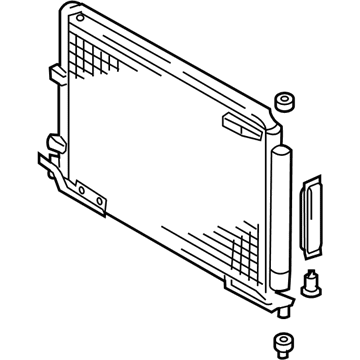
Toyota Avalon Condenser Assy, Cooler
Part Number: 88460-07032- Other Name: Condenser
- Replaces: 88460-07030, 88460-07031
Toyota Avalon A/C Condenser Parts Questions & Answers
- Q: How do you remove and install a condenser in a 1997 through 2001 Toyota Avalon?A: To remove the A/C Condenser, start by discharging the refrigerant and removing the radiator upper mounts. Then, remove the A/C Accumulator and disconnect the inlet and outlet fittings, ensuring to cap them immediately to prevent moisture and dirt from entering the system. Finally, remove the mounting nuts and push the radiator back towards the engine, followed by pushing the condenser rearward until it is free of the radiator support and can be pulled out of the vehicle. For installation, begin by installing the condenser, brackets, and bolts, ensuring the rubber cushions fit properly on the mounting points. Then, reconnect the refrigerant lines using new O-rings where necessary. Finally, reinstall the remaining parts in the reverse order of removal and have the system evacuated, charged, and leak tested.
- Q: How to remove and install a condenser on 2002 through 2008 Toyota Solara and 2002 through 2006 Toyota Avalon?A: Have the refrigerant discharged by an air conditioning technician. Remove the radiator upper mounts. On models with a separately mounted receiver/drier, remove the receiver/drier. Disconnect the inlet and outlet fittings. Remove the bolts holding the refrigerant lines to the right side of the condenser on some models, the line is clamped to the side of the condenser as well. Cap the open fittings immediately to keep moisture and dirt out of the system. Remove the mounting nuts/bolts. Remove the mounting bolt and nut at the condenser bracket on each side. Push the radiator back toward the engine, then push the condenser rearward until it is free of the radiator support and can be pulled up and out of the vehicle. Install the condenser, brackets, and bolts, making sure the rubber cushions fit on the mounting points properly. Reconnect the refrigerant lines, using new O-rings where needed. Reinstall the remaining parts in the reverse order of removal.
Related Toyota Avalon Parts
 Toyota Avalon Air Filter
 Toyota Avalon Blower Motor
 Toyota Avalon Blend Door Actuator
 Toyota Avalon Ambient Temperature Sensor
 Toyota Avalon A/C Switch
 Toyota Avalon A/C Expansion Valve
 Toyota Avalon Air Duct
 Toyota Avalon A/C Accumulator
 Toyota Avalon A/C Hose
 Toyota Avalon A/C Compressor Cut-Out Switches
 Toyota Avalon A/C Service Cap
 Toyota Avalon A/C System Valve Core
Browse by Year
2022 A/C Condenser 2021 A/C Condenser 2020 A/C Condenser 2019 A/C Condenser 2018 A/C Condenser 2017 A/C Condenser 2016 A/C Condenser 2015 A/C Condenser 2014 A/C Condenser 2013 A/C Condenser 2012 A/C Condenser 2011 A/C Condenser 2010 A/C Condenser 2009 A/C Condenser 2008 A/C Condenser 2007 A/C Condenser 2006 A/C Condenser 2005 A/C Condenser 2004 A/C Condenser 2003 A/C Condenser 2002 A/C Condenser 2001 A/C Condenser 2000 A/C Condenser 1999 A/C Condenser 1998 A/C Condenser 1997 A/C Condenser 1996 A/C Condenser 1995 A/C Condenser