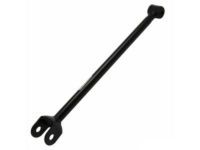
Genuine Toyota Avalon Trailing Arm
Trailing Control ArmEnter your vehicle info to find more parts and verify fitment
- Select Vehicle by VIN
- Select Vehicle by Model
Select by VIN
orEnter your VIN for the most accurate results.Enter your VIN for the most accurate results.
Select by Model
-- Select Make --
-- Select Model --
-- Select Year --
15 Trailing Arms found
Toyota Avalon Rear Suspension Control Arm Assembly, No.1 Left
Part Number: 48710-06130- Other Name: Arm Assy, Rear Suspension, No.1 Lh; Control Arm, Front Arm, Front Lateral Arm
- Manufacturer Note: (L)
- Position: Rear Driver Side
- Replaces: 48710-07010, 48710-06110
$103.20 MSRP: $145.47You Save: $42.27 (30%)
Toyota Avalon Rear Suspension Control Arm Assembly
Part Number: 48710-06160- Other Name: Arm Assembly, Rear Suspension
- Manufacturer Note: MEXICO SPEC
- Position: Rear
- Replaces: 48710-33150
$98.75 MSRP: $139.20You Save: $40.45 (30%)
Toyota Avalon Rear Suspension Control Arm Assembly, No.1 Right
Part Number: 48710-06150- Other Name: Arm Assy, Rear Suspension, No.1 Rh; Front Arm, Front Lateral Arm
- Position: Rear Passenger Side
$103.71 MSRP: $146.19You Save: $42.48 (30%)
Toyota Avalon Rear Suspension Control Arm Assembly
Part Number: 48710-06170- Other Name: Arm Assembly, Rear Suspension
- Position: Rear
- Replaces: 48710-33160
$97.81 MSRP: $137.87You Save: $40.06 (30%)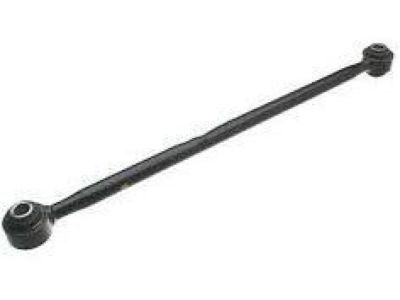
Toyota Avalon Rear Suspension Control Arm Assembly, No.1 Left
Part Number: 48710-33051- Other Name: Arm Assy, Rear Suspension, No.1 Lh; Control Arm, Front Lateral Arm
- Manufacturer Note: W(16 INCHES DISC WHEEL)
- Position: Rear Driver Side
- Replaces: 48710-33050
$143.45 MSRP: $203.94You Save: $60.49 (30%)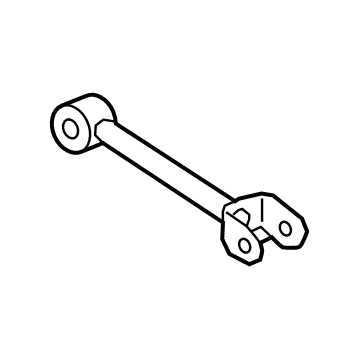
Toyota Avalon Arm Assembly, Rear Suspension
Part Number: 48710-0R050- Other Name: Arm Assembly, Rr SUSPENS
- Position: Rear
- Replaces: 48710-42040
$90.57 MSRP: $127.66You Save: $37.09 (30%)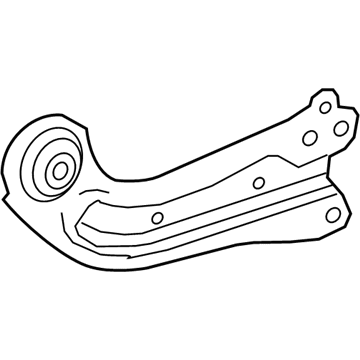
Toyota Avalon Arm Assembly, Trailing
Part Number: 48760-06310- Other Name: Trailing Arm
- Position: Rear Passenger Side
- Replaces: 48760-33170
$147.48 MSRP: $209.66You Save: $62.18 (30%)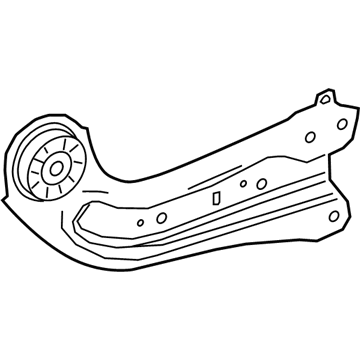
Toyota Avalon Arm Assembly, Trailing
Part Number: 48780-06120- Other Name: Trailing Arm
- Position: Rear Driver Side
- Replaces: 48780-33090
$147.48 MSRP: $209.66You Save: $62.18 (30%)Toyota Avalon Arm Assembly, Trailing
Part Number: 48780-06110- Other Name: Trailing Arm
- Manufacturer Note: MEXICO SPEC
- Position: Rear Driver Side
- Replaces: 48780-33080
$139.21 MSRP: $197.91You Save: $58.70 (30%)Toyota Avalon Arm Assembly, Trailing
Part Number: 48760-06130- Other Name: Trailing Arm
- Manufacturer Note: MEXICO SPEC
- Position: Rear Passenger Side
- Replaces: 48760-33160
$139.21 MSRP: $197.91You Save: $58.70 (30%)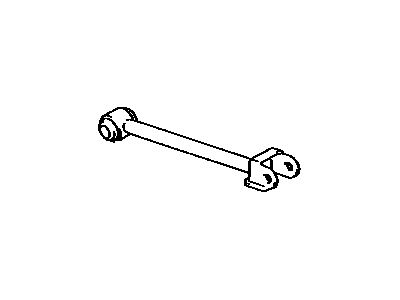
Toyota Avalon Rear Suspension Control Arm Assembly, No.1 Right
Part Number: 48710-07010- Other Name: Arm Assy, Rear Suspension, No.1 Rh
- Position: Rear Passenger Side
- Replaced by: 48710-06130
$103.20 MSRP: $145.47You Save: $42.27 (30%)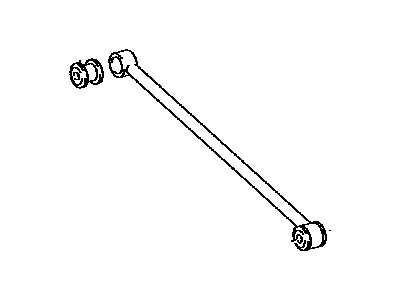
Toyota Avalon Rear Suspension Control Arm Assembly, No.1 Left
Part Number: 48710-41010- Other Name: Arm Assy, Rear Suspension, No.1 Lh; Control Arm, Front Lateral Arm
- Position: Rear Driver Side
$130.37 MSRP: $185.35You Save: $54.98 (30%)Toyota Avalon Rear Suspension Control Arm Assembly, No.1 Left
Part Number: 48710-06110- Other Name: Arm Assy, Rear Suspension, No.1 Lh
- Position: Rear Driver Side
- Replaced by: 48710-06130
$103.20 MSRP: $145.47You Save: $42.27 (30%)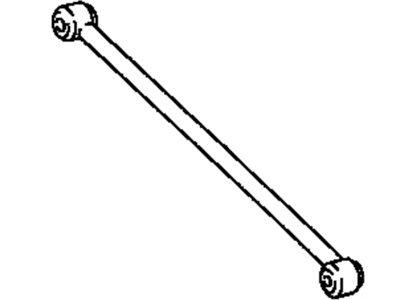
Toyota Avalon Rear Suspension Control Arm Assembly, No.1 Right
Part Number: 48710-33050- Other Name: Arm Assy, Rear Suspension, No.1 Rh
- Manufacturer Note: W(16 INCHES DISC WHEEL)
- Position: Rear Passenger Side
- Replaced by: 48710-33051
$143.45 MSRP: $203.94You Save: $60.49 (30%)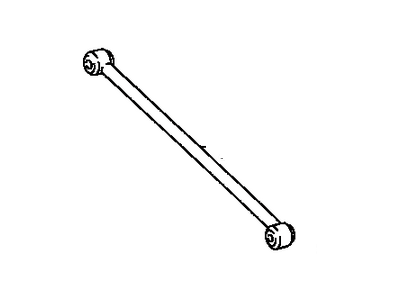
Toyota Avalon Rear Suspension Control Arm Assembly, No.1 Right
Part Number: 48710-AA010- Other Name: Arm Assy, Rear Suspension, No.1 Rh
- Position: Rear Passenger Side
- Replaced by: 48710-33040
$143.45 MSRP: $203.94You Save: $60.49 (30%)
Toyota Avalon Trailing Arm Parts Questions & Answers
- Q: How to remove and reinstall rear suspension arms on a Toyota Camry and Toyota Avalon?A: Raise the rear of the vehicle and securely support it on jackstands. Block the front wheels. Disconnect the strut rod from the axle carrier. Remove the exhaust center section and tailpipe. Remove the rear stabilizer bar. Remove the trailing arm-to-rear axle carrier bolt and nut. To disconnect the trailing arms from the carrier, hold the bolt with a wrench and remove the nut. To access the bolts at the inner ends of the trailing arms, the rear suspension cross member must be lowered. Position a floor jack under the center of the cross member, then loosen and remove the cross member-to-body bolts. Lower the rear suspension cross member with the jack until the trailing arm bolts are accessible. Remove the bolts. Remove the No. 2 (rear) trailing arm. Remove the No. 1 (front) trailing arm. When reinstalling any rear trailing arms, raise the suspension with a floor jack to simulate normal ride-height before tightening the fasteners. Installation is the reverse of removal. Be sure to tighten all fasteners to the torque. When reinstalling the trailing arms, the factory paint marks on the arms should face the rear of the vehicle. Install the wheel and lug nuts, then lower the vehicle to the ground. Tighten the wheel lug nuts to the torque. Have the rear wheel alignment checked by a dealer service department or an alignment shop.
Related Toyota Avalon Parts

Browse by Year
2022 Trailing Arm 2021 Trailing Arm 2020 Trailing Arm 2019 Trailing Arm 2018 Trailing Arm 2017 Trailing Arm 2016 Trailing Arm 2015 Trailing Arm 2014 Trailing Arm 2013 Trailing Arm 2012 Trailing Arm 2011 Trailing Arm 2010 Trailing Arm 2009 Trailing Arm 2008 Trailing Arm 2007 Trailing Arm 2006 Trailing Arm 2005 Trailing Arm 2004 Trailing Arm 2003 Trailing Arm 2002 Trailing Arm 2001 Trailing Arm 2000 Trailing Arm 1999 Trailing Arm 1998 Trailing Arm 1997 Trailing Arm 1996 Trailing Arm 1995 Trailing Arm