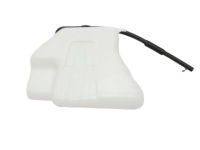
Genuine Toyota Land Cruiser Coolant Reservoir
Coolant Tank ReservoirEnter your vehicle info to find more parts and verify fitment
- Select Vehicle by VIN
- Select Vehicle by Model
Select by VIN
orEnter your VIN for the most accurate results.Enter your VIN for the most accurate results.
Select by Model
-- Select Make --
-- Select Model --
-- Select Year --
14 Coolant Reservoirs found
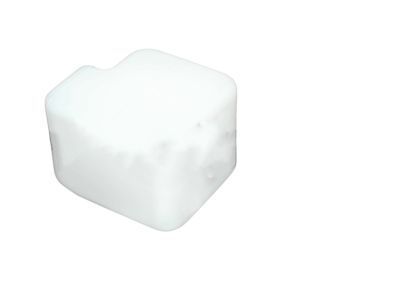
Toyota Land Cruiser Tank Assy, Radiator Reserve
Part Number: 16480-90A00- Other Name: Reserve Tank
$74.29 MSRP: $104.72You Save: $30.43 (30%)
Toyota Land Cruiser Tank Assy, Radiator Reserve
Part Number: 16470-66020- Other Name: Reservoir Assembly
$119.74 MSRP: $170.23You Save: $50.49 (30%)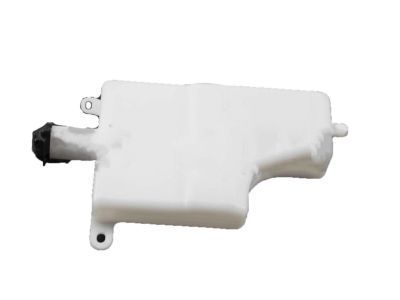
Toyota Land Cruiser Tank Assy, Radiator Reserve
Part Number: 16470-50100- Other Name: Reservoir Assembly
$95.56 MSRP: $134.70You Save: $39.14 (30%)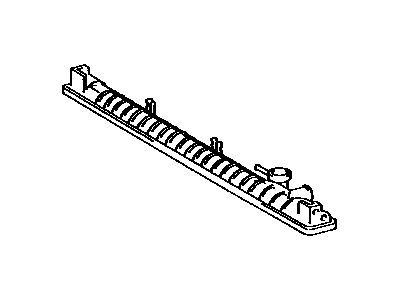
Toyota Land Cruiser Tank, Radiator, Upper
Part Number: 16441-66070- Position: Upper
$147.03 MSRP: $209.03You Save: $62.00 (30%)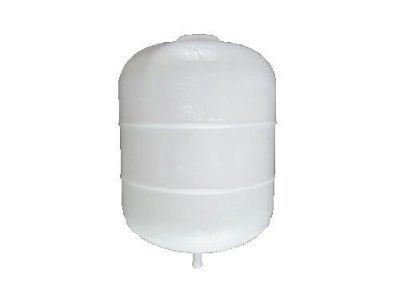
Toyota Land Cruiser Tank Assy, Radiator Reserve
Part Number: 16470-61060- Other Name: Reservoir Assembly
Toyota Land Cruiser Tank Assembly, Radiator Reserve
Part Number: 16470-58040- Other Name: Tank Assy, Radiator Reserve
Toyota Land Cruiser Tank Assembly, Radiator Reserve
Part Number: 16470-61010- Other Name: Tank Assy, Radiator Reserve
Toyota Land Cruiser Coolant Reservoir Parts Questions & Answers
- Q: How to remove and install a radiator and coolant reservoir?A: Disconnect the negative battery cable. Drain the coolant into a container. Remove both the upper and lower radiator hoses. Disconnect the reservoir hose from the radiator filler neck. Remove the cooling fan. If equipped with an automatic transmission, disconnect the cooler lines from the radiator. Remove the grille center support. Remove the two upper radiator mounting brackets. Remove all the bolts that retain the radiator to the grille frame. Lift out the radiator. With the radiator removed, it can be inspected for leaks, damage, and internal blockage. Bugs and dirt can be cleaned from the radiator with compressed air and a soft brush. Installation is the reverse of the removal procedure. Be sure the rubber mounts are in place on the bottom of the radiator. After installation, fill the cooling system with the proper mixture of antifreeze and water. Start the engine and check for leaks. Allow the engine to reach normal operating temperature, indicated by both radiator hoses becoming hot. Recheck the coolant level and add more if required. On automatic transmission equipped models, check and add fluid as needed. On most models, the coolant reservoir simply pulls up and out of the bracket next to the battery. Pour the coolant into a container. Wash out and inspect the reservoir for cracks and chafing. Replace it if damaged. Installation is the reverse of removal.
Related Toyota Land Cruiser Parts
 Toyota Land Cruiser Radiator Hose
 Toyota Land Cruiser Radiator
 Toyota Land Cruiser Thermostat Gasket
 Toyota Land Cruiser Thermostat
 Toyota Land Cruiser Water Pump
 Toyota Land Cruiser Fan Shroud
 Toyota Land Cruiser Thermostat Housing
 Toyota Land Cruiser Water Pump Gasket
 Toyota Land Cruiser Fan Clutch
 Toyota Land Cruiser Fan Motor
 Toyota Land Cruiser Fan Blade
 Toyota Land Cruiser Radiator Support
Browse by Year
2007 Coolant Reservoir 2006 Coolant Reservoir 2005 Coolant Reservoir 2004 Coolant Reservoir 2003 Coolant Reservoir 2002 Coolant Reservoir 2001 Coolant Reservoir 2000 Coolant Reservoir 1999 Coolant Reservoir 1998 Coolant Reservoir 1997 Coolant Reservoir 1996 Coolant Reservoir 1995 Coolant Reservoir 1994 Coolant Reservoir 1993 Coolant Reservoir 1992 Coolant Reservoir 1991 Coolant Reservoir 1990 Coolant Reservoir 1989 Coolant Reservoir 1988 Coolant Reservoir 1987 Coolant Reservoir 1986 Coolant Reservoir 1985 Coolant Reservoir 1984 Coolant Reservoir 1983 Coolant Reservoir 1982 Coolant Reservoir 1981 Coolant Reservoir 1978 Coolant Reservoir 1977 Coolant Reservoir 1976 Coolant Reservoir 1975 Coolant Reservoir