Genuine Toyota Prius PCV Hose
PCV Valve HoseEnter your vehicle info to find more parts and verify fitment
- Select Vehicle by VIN
- Select Vehicle by Model
Select by VIN
orEnter your VIN for the most accurate results.Enter your VIN for the most accurate results.
Select by Model
-- Select Make --
-- Select Model --
-- Select Year --
8 PCV Hoses found
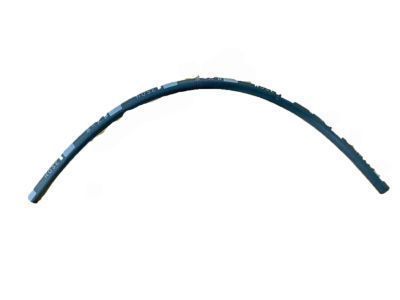
Toyota Prius Hose, Vacuum
Part Number: 90999-92002- Other Name: Hose, Cruise Control Vacuum; Air Hose, Pressure Sensor Tube, Vacuum Hose
- Replaces: 95411-19918, 90999-02002, 90445-08138, 90447-08127, 95411-19920, 95411-10120, 95411-10010, 05411-10120, 90445-08179, 25760-11300, 21249-13090, 95411-10107, 95411-10130, 95411-10125, 95411-19913, 95411-19908, 95411-19911, 95411-30030, 95411-10030
$5.51 MSRP: $7.70You Save: $2.19 (29%)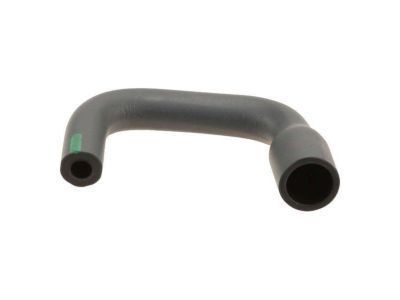
Toyota Prius Hose, Ventilation, N
Part Number: 12261-37060- Other Name: Hose, Ventilation
$11.44 MSRP: $15.99You Save: $4.55 (29%)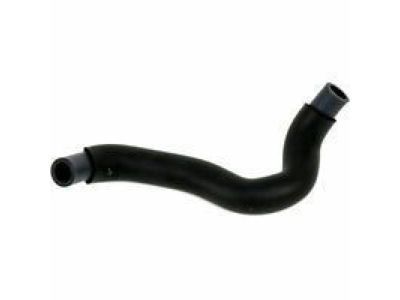
Toyota Prius Hose, Ventilation
Part Number: 12262-37041- Other Name: Hose, Ventilation, NO.2
- Replaces: 12262-37040
$16.42 MSRP: $22.95You Save: $6.53 (29%)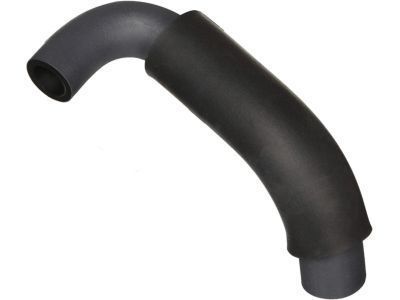
Toyota Prius Hose, Ventilation
Part Number: 12262-37040- Other Name: Hose, Ventilation, NO.2
- Replaced by: 12262-37041
$16.42 MSRP: $22.95You Save: $6.53 (29%)
Toyota Prius Hose, Ventilation, N
Part Number: 12261-37070- Other Name: Hose, Ventilation
$31.25 MSRP: $43.68You Save: $12.43 (29%)
Toyota Prius Hose, Ventilation
Part Number: 12262-37060- Other Name: Hose, Ventilation, NO.2
$33.65 MSRP: $47.05You Save: $13.40 (29%)
Toyota Prius Hose, Ventilation
Part Number: 12262-21050- Other Name: Hose, Ventilation, NO.2
$35.78 MSRP: $50.02You Save: $14.24 (29%)
Toyota Prius PCV Hose Parts Questions & Answers
- Q: How to remove and replace the PCV valve and hose in a Toyota Prius?A: The PCV valve is threaded into the left (driver's) end of the valve cover, with the PCV system valve installed in the end of the valve cover. For 2004 and later models, it is necessary to remove several components to gain access to the PCV valve. Start by disconnecting the negative cable from the auxiliary (12-volt) battery. Then, remove the two mounting bolts from the interfering engine compartment relay block and unclip the wiring harness retainers. The air filter housing should be removed next. Disconnect the two interfering injector and coil wiring harnesses and set them aside. Remove the plastic cover from the wiring harness between the valve cover and the inverter/converter coolant reservoir. Disconnect the PCV valve hose and remove the PCV valve, then reattach the hose to the PCV valve and reconnect the wiring harnesses. With the engine idling at normal operating temperature, place your finger over the end of the valve. If there's no vacuum at the valve, check for a plugged hose or valve and replace any plugged or deteriorated hoses. Turn off the engine, remove the PCV valve from the hose, connect a clean piece of hose and blow through the valve from the valve cover (cylinder head) end. If air will not pass through the valve in this direction, replace it with a new one. When purchasing a replacement PCV valve, make sure it's for your particular vehicle and engine size and compare the old valve with the new one to ensure they're the same.

Related Toyota Prius Parts
 Toyota Prius PCV Valve
 Toyota Prius Vapor Pressure Sensor
 Toyota Prius Canister Purge Valve
 Toyota Prius Vapor Canister
Browse by Year
2022 PCV Hose 2021 PCV Hose 2020 PCV Hose 2019 PCV Hose 2018 PCV Hose 2017 PCV Hose 2016 PCV Hose 2015 PCV Hose 2014 PCV Hose 2013 PCV Hose 2012 PCV Hose 2011 PCV Hose 2010 PCV Hose 2009 PCV Hose 2008 PCV Hose 2007 PCV Hose 2006 PCV Hose 2005 PCV Hose 2004 PCV Hose 2003 PCV Hose 2002 PCV Hose 2001 PCV Hose