

My Garage
My Account
Cart
This part fits
2013 Toyota 4Runner (VIN: JTEBU5JR9D5116499) 6 Cyl 4.0L DOHC EFI; Automatic Transmission; 5-Speed Automatic Transmission; GRN285L-GKAGKA
Check another vehicle- Fitting Vehicle Options: 1GRFE.. GRN28#
Toyota 90919-01191 Spark Plug
2005-2022 Toyota 9091901191
Customer Questions & Expert Answers (2)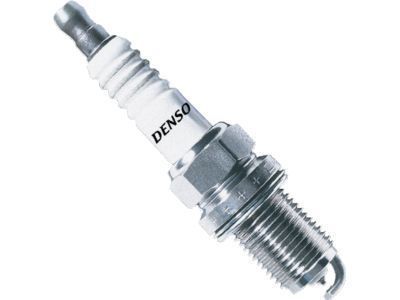
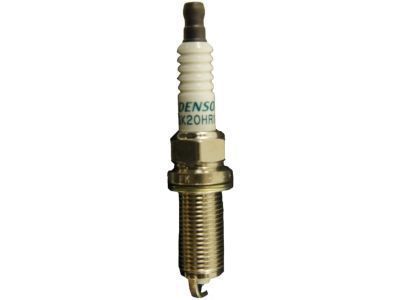
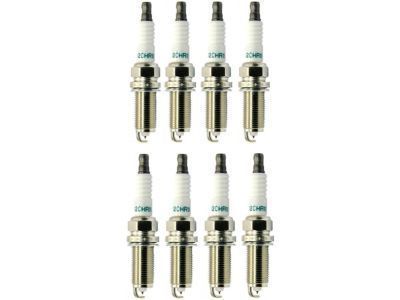
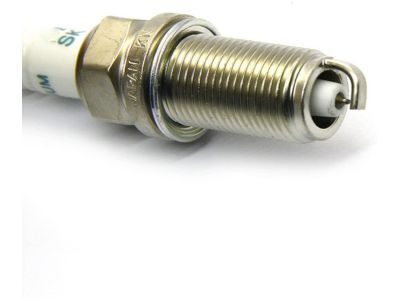
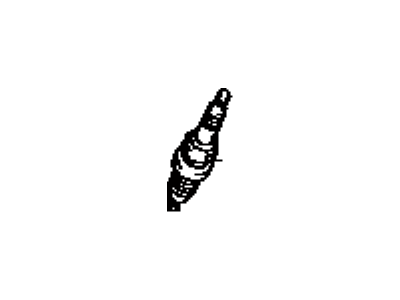
- Part DescriptionPlug, Spark
- SK20HR11
- Part Name Code19100P
- Replaces
- ManufacturerToyota
- Require Quantity6
- Package Quantity10
This part fits
2013 Toyota 4Runner (VIN: JTEBU5JR9D5116499) 6 Cyl 4.0L DOHC EFI; Automatic Transmission; 5-Speed Automatic Transmission; GRN285L-GKAGKA
Check another vehicle- Fitting Vehicle Options: 1GRFE.. GRN28#
$11.41 MSRP: $15.95
You Save: $4.54 (29%)
Ships in 1-3 Business Days
10
- Related Parts
- Specifications
- Q&A
Product Specifications
Brand Genuine Toyota Part Name Code 19100P Manufacturer Part Number 90919-01191 Part Description Plug, Spark Other Names Spark Plug Item Dimensions 3.9 x 1.1 x 1.0 inches Item Weight 0.50 Pounds Condition New Fitment Type Direct Replacement Replaces 90919-A1002 Manufacturer Toyota SKU 90919-01191 Warranty This genuine Toyota part is covered by warranty. Shipping & Return Shipping Policy Return Policy Warning: California's Proposition 65Customer Questions & Expert Answers
- Installation & Repair Tips by AI Expert
- Removal 1. Park on level ground, set the parking brake, allow the engine to cool, and wear eye protection and gloves. 2. Gather basic tools: socket set with spark plug socket, extension, ratchet, swivel/extension as needed, torque wrench for installation, dielectric grease, and a gap tool. 3. Disconnect the negative battery terminal and isolate it to prevent accidental cranking or electrical shorts. 4. Remove or move any engine covers, air intake ducting, or other components that block access to the spark plug area as required by the engine layout. 5. Identify the ignition connection type (spark plug wire with boot or coil-on-plug). Label or note orientation of connectors if multiple similar leads are present. 6. For coil-on-plug setups, carefully unplug the electrical connector, release retaining clips, and remove the ignition coil(s); for wire/boot setups, grasp the boot (not the wire) and twist to break the seal before pulling off. 7. Use compressed air or a soft brush to clear loose dirt and debris from around each plug hole to prevent contamination of the combustion chamber. 8. Fit the correct spark plug socket and extension, engage the plug, and loosen the spark plug by turning counterclockwise; remove slowly to avoid dropping it into the engine bay. Installation 1. Confirm the replacement spark plugs are the correct type and the gap is set to the vehicle or plug manufacturer's specification. 2. If the plug manufacturer recommends anti-seize or a specific lubricant, apply sparingly to the threads; otherwise follow manufacturer guidance. 3. Start threading the spark plug by hand to avoid cross-threading; turn clockwise until finger-tight. 4. Tighten each plug to the manufacturer's torque specification with a torque wrench, or follow the plug manufacturer's recommended final tightening method; do not overtighten. 5. Apply a small amount of dielectric grease inside coil boots if recommended, then reinstall ignition coils or boots, ensuring full seating and secure electrical connections. 6. Reinstall any removed intake components and engine covers, ensuring hoses and clips are properly refastened. 7. Reconnect the negative battery terminal. 8. Start the engine and listen for smooth idle and absence of misfire; if rough running occurs, recheck connections and plug seating. 9. After a short test drive, recheck for loose components and verify the engine runs normally. Repair tip: Use a magnetic or rubber-insert spark plug socket to retain the plug during removal/installation, and always work one cylinder at a time to avoid mixing parts.
- Q:I just would like a little more specifics about this item, such as if the spark plugs are iridium plugs or not. Posted by Armando A. / 2005 Toyota Tacoma
- A:YES 90919-01191 CORRECT WITH VINAnswered by Toyota Parts Specialist Shawn / Feb 23, 2017
Why choose Toyota Parts Deal
- Dedicated Service
Your complete satisfaction is our #1 goal
- Lowest Prices
Best deals on genuine OE parts from dealerships
- Fast Delivery
Orders are processed and delivered promptly