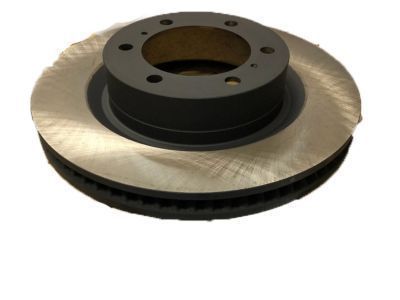
Genuine Toyota 4Runner Brake Disc
Disc RotorEnter your vehicle info to find more parts and verify fitment
- Select Vehicle by VIN
- Select Vehicle by Model
Select by VIN
orEnter your VIN for the most accurate results.Enter your VIN for the most accurate results.
Select by Model
-- Select Make --
-- Select Model --
-- Select Year --
24 Brake Discs found
Toyota 4Runner Front Disc
Part Number: 43512-60191- Other Name: Disc, Front; Rotor
- Position: Front
- Replaces: 43512-60190
$69.90 MSRP: $99.88You Save: $29.98 (31%)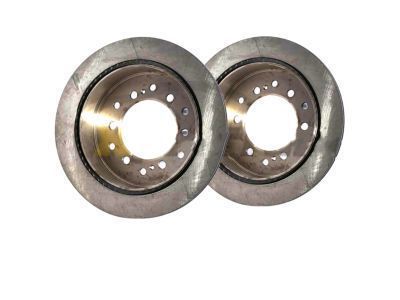
Toyota 4Runner Rear Rotor
Part Number: 42431-60311- Other Name: Disc, Rear; Rotor
- Position: Rear
$77.22 MSRP: $109.99You Save: $32.77 (30%)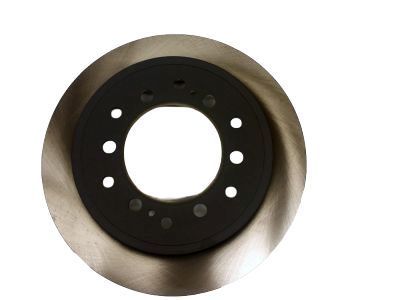
Toyota 4Runner Rear Disc Brake Rotor
Part Number: 42431-60201- Other Name: Disc, Rear; Rotor
- Position: Rear
- Replaces: 42431-60200
$82.49 MSRP: $117.41You Save: $34.92 (30%)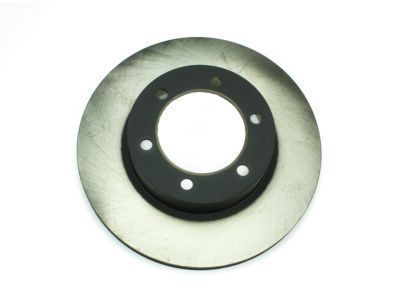
Toyota 4Runner Front Disc
Part Number: 43512-35210- Other Name: Disc, Front; Rotor
- Position: Front
$66.40 MSRP: $95.12You Save: $28.72 (31%)
Toyota 4Runner Front Disc
Part Number: 43512-60151- Other Name: Disc, Front; Rotor
- Position: Front
- Replaces: 43512-60150
$70.08 MSRP: $100.33You Save: $30.25 (31%)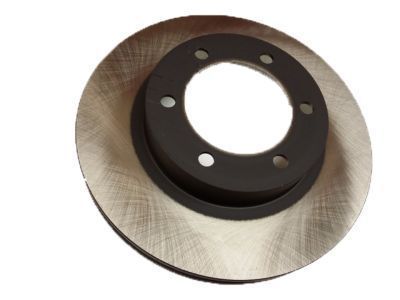
Toyota 4Runner Front Disc
Part Number: 43512-35322- Other Name: Disc, Front; Rotor
- Manufacturer Note: FRONT WHEEL BRAKE-16 IN
- Position: Front
- Replaces: 43512-35320, 43512-35321
$67.68 MSRP: $96.97You Save: $29.29 (31%)
Toyota 4Runner Front Disc
Part Number: 43512-60190- Other Name: Disc, Front
- Position: Front
- Replaced by: 43512-60191
$69.90 MSRP: $99.88You Save: $29.98 (31%)
Toyota 4Runner Rear Disc
Part Number: 42431-60200- Other Name: Disc, Rear
- Position: Rear
- Replaced by: 42431-60201
$82.49 MSRP: $117.41You Save: $34.92 (30%)
Toyota 4Runner Front Disc
Part Number: 43512-35280- Other Name: Disc, Front
- Manufacturer Note: (J)
- Position: Front
- Replaced by: 43512-04020
$64.40 MSRP: $91.59You Save: $27.19 (30%)
Toyota 4Runner Front Disc
Part Number: 43512-35190- Other Name: Disc, Front; Rotor
- Position: Front
- Replaces: 43512-35110
$73.03 MSRP: $103.53You Save: $30.50 (30%)
Toyota 4Runner Front Disc
Part Number: 43512-35200- Other Name: Disc, Front; Rotor
- Position: Front
- Replaces: 43512-35250
$73.16 MSRP: $104.02You Save: $30.86 (30%)
Toyota 4Runner Front Disc
Part Number: 43512-35320- Other Name: Disc, Front
- Position: Front
- Replaced by: 43512-35322
$67.68 MSRP: $96.97You Save: $29.29 (31%)
Toyota 4Runner Front Disc
Part Number: 43512-35321- Other Name: Disc, Front
- Manufacturer Note: FRONT WHEEL BRAKE-16 IN
- Position: Front
- Replaced by: 43512-35322
$67.68 MSRP: $96.97You Save: $29.29 (31%)
Toyota 4Runner Front Disc
Part Number: 43512-60150- Other Name: Disc, Front
- Position: Front
- Replaced by: 43512-60151
$70.08 MSRP: $100.33You Save: $30.25 (31%)
Toyota 4Runner Front Disc
Part Number: 43512-35310- Other Name: Disc, Front
- Position: Front
- Replaced by: 43512-04020
$64.40 MSRP: $91.59You Save: $27.19 (30%)
Toyota 4Runner Front Disc
Part Number: 43512-35110- Other Name: Disc, Front
- Position: Front
- Replaced by: 43512-35190
$73.03 MSRP: $103.53You Save: $30.50 (30%)
Toyota 4Runner Front Disc
Part Number: 43512-35070- Other Name: Disc, Front
- Position: Front
- Replaced by: 43512-60060
$61.11 MSRP: $87.67You Save: $26.56 (31%)
Toyota 4Runner Front Disc
Part Number: 43512-35140- Other Name: Disc, Front; Rotor
- Position: Front
$70.48 MSRP: $99.85You Save: $29.37 (30%)
Toyota 4Runner Front Disc
Part Number: 43512-35180- Other Name: Disc, Front; Brake Rotor, Rotor
- Position: Front
- Replaces: 43512-26070, 43512-26040
$70.60 MSRP: $99.91You Save: $29.31 (30%)
Toyota 4Runner Front Disc
Part Number: 43512-26040- Other Name: Disc, Front
- Position: Front
- Replaced by: 43512-35180
$70.60 MSRP: $99.91You Save: $29.31 (30%)
| Page 1 of 2 |Next >
1-20 of 24 Results
Toyota 4Runner Brake Disc Parts Questions & Answers
- Q: How to inspect, remove and install the Brake Disc?A: To inspect the brakes, start by loosening the wheel lug nuts and raising the front of the vehicle on jackstands. Remove the wheel and reinstall the lug nuts on 4WD Tacoma and all 4Runner models to hold the Brake Disc in place. Next, remove the Brake Caliper and suspend it out of the way with wire. Visually inspect the disc surface for damage, such as score marks or deep grooves. Light scratches and shallow grooves are normal, but deep grooves require disc removal and refinishing. Check both sides of the disc. Use a dial indicator to check disc runout and if it exceeds the maximum limit, the disc should be refinished. Measure the disc thickness with a micrometer and ensure it is not less than the specified minimum thickness. To remove and install the disc, follow the specific steps for each model. Clean, inspect, and repack the wheel bearings while the disc/hub assembly is removed. Tighten the disc-to-hub bolts if applicable. Reassemble the hub for 4WD T100 models. Install the disc/hub assembly and adjust the wheel bearings. Install the torque plate, Brake Pad Set, and caliper for 2WD pick-up models. For 4WD pick-ups and all 4Runner models, install the caliper, brake pads, and bleed the brakes. Finally, remove the jackstands and lower the vehicle.

Related Toyota 4Runner Parts
 Toyota 4Runner Brake Pad Set
 Toyota 4Runner Speed Sensor
 Toyota 4Runner Parking Brake Cable
 Toyota 4Runner Brake Master Cylinder
 Toyota 4Runner Brake Bleeder Screw
 Toyota 4Runner Wheel Cylinder Repair Kit
 Toyota 4Runner Brake Line
Browse by Year
2022 Brake Disc 2021 Brake Disc 2020 Brake Disc 2019 Brake Disc 2018 Brake Disc 2017 Brake Disc 2016 Brake Disc 2015 Brake Disc 2014 Brake Disc 2013 Brake Disc 2012 Brake Disc 2011 Brake Disc 2010 Brake Disc 2009 Brake Disc 2008 Brake Disc 2007 Brake Disc 2006 Brake Disc 2005 Brake Disc 2004 Brake Disc 2003 Brake Disc 2002 Brake Disc 2001 Brake Disc 2000 Brake Disc 1999 Brake Disc 1998 Brake Disc 1997 Brake Disc 1996 Brake Disc 1995 Brake Disc 1994 Brake Disc 1993 Brake Disc 1992 Brake Disc 1991 Brake Disc 1990 Brake Disc 1989 Brake Disc 1988 Brake Disc 1987 Brake Disc 1986 Brake Disc 1985 Brake Disc 1984 Brake Disc