Genuine Toyota Celica A/C Compressor
Air Conditioning CompressorEnter your vehicle info to find more parts and verify fitment
- Select Vehicle by VIN
- Select Vehicle by Model
Select by VIN
orEnter your VIN for the most accurate results.Enter your VIN for the most accurate results.
Select by Model
-- Select Make --
-- Select Model --
-- Select Year --
21 A/C Compressors found
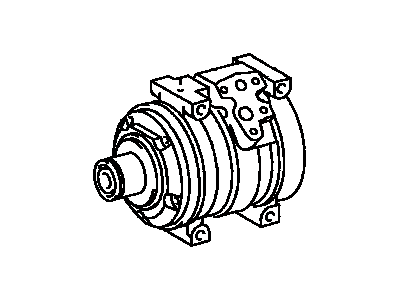
Toyota Celica Compressor Assy, Cooler
Part Number: 88320-2B420$652.52 MSRP: $960.50You Save: $307.98 (33%)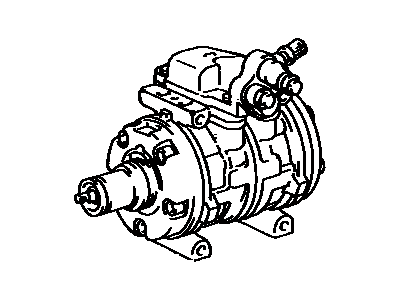
Toyota Celica Compressor Assy, Cooler
Part Number: 88320-20450$298.20 MSRP: $432.02You Save: $133.82 (31%)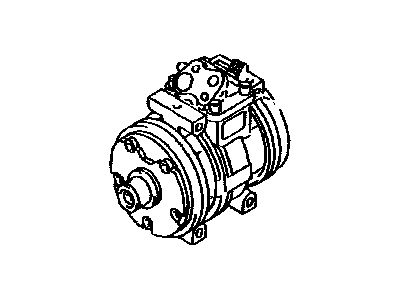
Toyota Celica Compressor Assy, Cooler
Part Number: 88320-14320- Manufacturer Note: 10P15C
- Replaced by: 88320-01011-84
$241.57 MSRP: $347.08You Save: $105.51 (31%)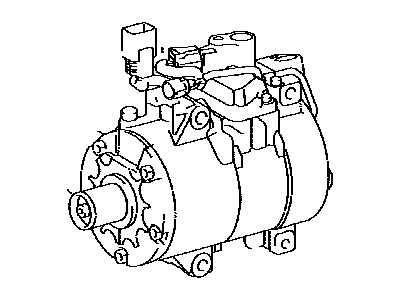
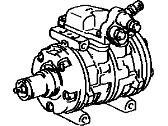
Toyota Celica Compressor Assy, Cooler
Part Number: 88320-14210- Manufacturer Note: 6P148A
- Replaced by: 88320-14210-84
$325.99 MSRP: $467.45You Save: $141.46 (31%)Toyota Celica Compressor Assy, Cooler
Part Number: 88320-20160- Manufacturer Note: 6P134
- Replaced by: 88320-20160-84
$340.67 MSRP: $502.46You Save: $161.79 (33%)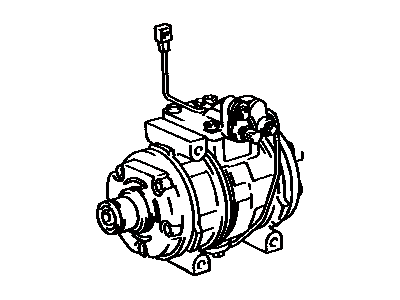
Toyota Celica Compressor Assy, Cooler
Part Number: 88320-20590- Replaced by: 88320-20590-84
$364.18 MSRP: $536.06You Save: $171.88 (33%)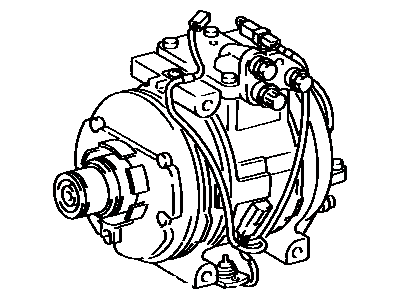
Toyota Celica Compressor Assy, Cooler
Part Number: 88320-20750- Replaced by: 88320-20750-84
$391.10 MSRP: $575.71You Save: $184.61 (33%)Toyota Celica Compressor Assy, Cooler
Part Number: 88320-20760- Replaced by: 88320-20760-84
$391.10 MSRP: $575.71You Save: $184.61 (33%)Toyota Celica Compressor Assy, Cooler
Part Number: 88320-2B020$677.07 MSRP: $996.66You Save: $319.59 (33%)Toyota Celica Compressor Assy, Cooler
Part Number: 88320-20761$760.35 MSRP: $1119.24You Save: $358.89 (33%)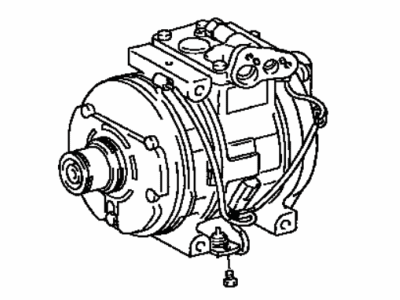
Toyota Celica Compressor Assy, Cooler
Part Number: 88320-2B240$793.17 MSRP: $1179.59You Save: $386.42 (33%)Toyota Celica Compressor Assy, Cooler
Part Number: 88320-2B250$810.72 MSRP: $1205.68You Save: $394.96 (33%)Toyota Celica Compressor Assy, Cooler
Part Number: 88320-20751$1091.81 MSRP: $1607.14You Save: $515.33 (33%)Toyota Celica Compressor Assy, Cooler
Part Number: 88320-2B180- Manufacturer Note: DEALER OPT
$1178.85 MSRP: $1735.27You Save: $556.42 (33%)Toyota Celica Compressor Assy, Cooler
Part Number: 88320-14350- Manufacturer Note: 10P15C
- Replaced by: 88320-01011-84
$241.57 MSRP: $347.08You Save: $105.51 (31%)
Toyota Celica Compressor Assy, Cooler
Part Number: 88320-14250- Manufacturer Note: 6P148A
- Replaced by: 88320-14250-84
$281.79 MSRP: $404.06You Save: $122.27 (31%)Toyota Celica Compressor Assy, Cooler
Part Number: 88320-20240- Manufacturer Note: 6P148A
- Replaced by: 88320-14250-84
$281.79 MSRP: $404.06You Save: $122.27 (31%)Toyota Celica Compressor Assy, Cooler
Part Number: 88320-20540$298.20 MSRP: $432.02You Save: $133.82 (31%)Toyota Celica Compressor Assy, Cooler
Part Number: 88320-2B170- Manufacturer Note: DEALER OPT
$762.75 MSRP: $825.00You Save: $62.25 (8%)Toyota Celica Compressor Assy, Cooler
Part Number: 88320-2B260$749.40 MSRP: $1103.12You Save: $353.72 (33%)
| Page 1 of 2 |Next >
1-20 of 21 Results
Toyota Celica A/C Compressor Parts Questions & Answers
- Q: How to remove and install a compressor in a Toyota Celica's air conditioning system?A: Have the refrigerant discharged at a dealer service department or an automotive air conditioning repair facility. Disconnect the negative cable from the battery and remove the battery. Caution: If the stereo in your vehicle is equipped with an antitheft system, look at the information on page 0-15 at the front of the manual detaching the cable. Detach the refrigerant lines from the back of the compressor and immediately cap the open fittings to prevent the entry of dirt and moisture. Disconnect the clutch wire from the compressor. Remove the mounting bolts and lower the compressor from the engine compartment. Note: Keep the compressor level during handling and storage. If the compressor seized or you find metal particles in the refrigerant lines, the system must be flushed out by an air conditioning technician and the receiver/drier must be replaced. Prior to installation, turn the center of the clutch six times to disperse any oil that has collected in the head. Install the compressor in the reverse order of removal. If you are installing a new compressor, look at the manufacturer's instructions for adding refrigerant oil to the system. Have the system evacuated, charged and leak tested by the shop that discharged it.
Related Toyota Celica Parts
 Toyota Celica Cylinder Head Bolts
 Toyota Celica Drive Belt
 Toyota Celica Oil Pump
 Toyota Celica A/C Idler Pulley
 Toyota Celica Cylinder Head
 Toyota Celica A/C Clutch
 Toyota Celica A/C Compressor Cut-Out Switches
 Toyota Celica A/C Service Cap
 Toyota Celica Alignment Bolt
 Toyota Celica Control Arm Bolt
 Toyota Celica Engine Mount
Browse by Year
2005 A/C Compressor 2004 A/C Compressor 2003 A/C Compressor 2002 A/C Compressor 2001 A/C Compressor 2000 A/C Compressor 1999 A/C Compressor 1998 A/C Compressor 1997 A/C Compressor 1996 A/C Compressor 1995 A/C Compressor 1994 A/C Compressor 1993 A/C Compressor 1992 A/C Compressor 1991 A/C Compressor 1990 A/C Compressor 1989 A/C Compressor 1988 A/C Compressor 1987 A/C Compressor 1986 A/C Compressor 1985 A/C Compressor 1984 A/C Compressor 1983 A/C Compressor 1982 A/C Compressor 1981 A/C Compressor 1980 A/C Compressor 1979 A/C Compressor 1978 A/C Compressor