Genuine Toyota Land Cruiser Battery Cable
Car Battery CableEnter your vehicle info to find more parts and verify fitment
- Select Vehicle by VIN
- Select Vehicle by Model
Select by VIN
orEnter your VIN for the most accurate results.Enter your VIN for the most accurate results.
Select by Model
-- Select Make --
-- Select Model --
-- Select Year --
53 Battery Cables found
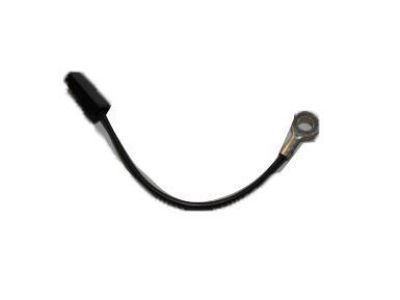
Toyota Land Cruiser Cable, Bond
Part Number: 90980-07299- Other Name: Cable, Bond, NO.1
$9.23 MSRP: $12.90You Save: $3.67 (29%)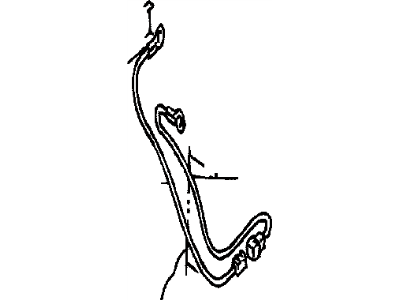
Toyota Land Cruiser Cable, Bond
Part Number: 90980-03031- Other Name: Cable, Bond, NO.1
- Manufacturer Note: TRANSFER
$17.33 MSRP: $24.22You Save: $6.89 (29%)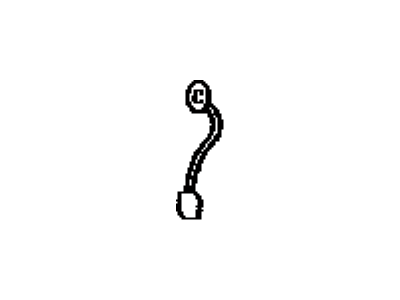
Toyota Land Cruiser Cable, Bond
Part Number: 82046-60120- Other Name: Cable, Bond, NO.1
- Manufacturer Note: NO.3
$9.84 MSRP: $13.76You Save: $3.92 (29%)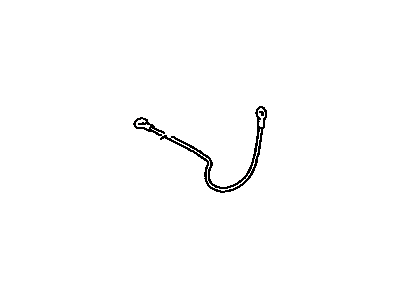
Toyota Land Cruiser Cable, Bond
Part Number: 90980-07384- Other Name: Cable, Bond, NO.1
$10.06 MSRP: $14.05You Save: $3.99 (29%)
Toyota Land Cruiser Cable, Bond
Part Number: 90980-07442- Other Name: Cable, Bond, NO.2
$11.51 MSRP: $16.09You Save: $4.58 (29%)
Toyota Land Cruiser Cable, Bond
Part Number: 90980-07438- Other Name: Cable, Bond, NO.1
- Replaced by: 90980-A7006
$19.64 MSRP: $27.44You Save: $7.80 (29%)Toyota Land Cruiser Cable, Bond
Part Number: 90980-07251- Other Name: Cable, Bond, NO.1
$16.92 MSRP: $23.65You Save: $6.73 (29%)Toyota Land Cruiser Cable, Bond
Part Number: 82046-60160- Other Name: Cable, Bond, NO.1
- Manufacturer Note: NO.2
$18.99 MSRP: $26.55You Save: $7.56 (29%)Toyota Land Cruiser Cable, Bond
Part Number: 90980-07194- Other Name: Cable, Bond, NO.1
$22.94 MSRP: $32.07You Save: $9.13 (29%)
Toyota Land Cruiser Wire Sub-Assembly, Body Ground
Part Number: 82046-60100- Other Name: Wire Sub-Assy, Body Ground, NO.1
$29.67 MSRP: $41.46You Save: $11.79 (29%)Toyota Land Cruiser Cable, Bond
Part Number: 90980-07239- Other Name: Cable, Bond, NO.1
$8.39 MSRP: $11.72You Save: $3.33 (29%)Toyota Land Cruiser Cable, Bond
Part Number: 90980-07284- Other Name: Cable, Bond, NO.1
$17.39 MSRP: $24.31You Save: $6.92 (29%)Toyota Land Cruiser Cable, Bond
Part Number: 90980-07315- Other Name: Cable, Bond, NO.1
- Position: Passenger Side
$16.59 MSRP: $23.19You Save: $6.60 (29%)Toyota Land Cruiser Cable, Bond
Part Number: 82046-60081- Other Name: Cable, Bond, NO.1
- Manufacturer Note: ENGINE HANGER
$30.13 MSRP: $42.12You Save: $11.99 (29%)Toyota Land Cruiser Cable, Bond
Part Number: 82044-90300- Other Name: Cable, Bond, NO.1
- Manufacturer Note: L=300
Toyota Land Cruiser Cable, Bond
Part Number: 82044-90301- Other Name: Cable, Bond, NO.1
- Manufacturer Note: L=300
Toyota Land Cruiser Cable, Bond
Part Number: 82046-14070- Other Name: Cable, Bond, NO.1
- Manufacturer Note: L=330
Toyota Land Cruiser Cable, Bond
Part Number: 82046-14071- Other Name: Cable, Bond, NO.1
- Manufacturer Note: L=330
Toyota Land Cruiser Cable, Bond
Part Number: 82046-60080- Other Name: Cable, Bond, NO.1
- Manufacturer Note: ENGINE HANGER
| Page 1 of 3 |Next >
1-20 of 53 Results
Toyota Land Cruiser Battery Cable Parts Questions & Answers
- Q: How to replace battery cables in a Toyota Land Cruiser?A: If the stereo in your vehicle has an anti-theft system, ensure you have the correct activation code before disconnecting the battery. Periodically inspect the entire length of each battery cable for damage, cracked or burned insulation, and corrosion. Poor battery cable connections can cause starting problems and decreased engine performance. Check the cable-to-terminal connections at the ends of the cables for cracks, loose wire strands, and corrosion. The presence of white, fluffy deposits under the insulation at the cable terminal connection indicates corrosion and the need for replacement. Check the terminals for distortion, missing mounting bolts, and corrosion. When removing the cables, always disconnect the negative cable first and hook it up last to avoid shorting the Car Batteries. Even if only the positive cable is being replaced, be sure to disconnect the negative cable from the battery first. Disconnect the old cables from the battery, then trace each of them to their opposite ends and detach them from the Starter Solenoid and ground terminals, noting the routing for correct installation. If replacing the old cables, take them with you when buying new ones to ensure identical parts. Positive cables are usually red, larger in cross-section, and have a larger diameter battery post clamp, while ground cables are usually black, smaller in cross-section, and have a slightly smaller diameter clamp for the negative post. Clean the threads of the solenoid or ground connection with a wire brush to remove rust and corrosion, and apply a light coat of battery terminal corrosion inhibitor or petroleum jelly to prevent future corrosion. Attach the cable to the solenoid or ground connection and tighten the mounting nut/bolt securely. Before connecting a new cable to the battery, ensure it reaches the battery post without needing to be stretched. Connect the positive cable first, followed by the negative cable.

Related Toyota Land Cruiser Parts
 Toyota Land Cruiser Battery Tray
 Toyota Land Cruiser Battery Terminal
 Toyota Land Cruiser Car Batteries
Browse by Year
2021 Battery Cable 2020 Battery Cable 2019 Battery Cable 2018 Battery Cable 2017 Battery Cable 2016 Battery Cable 2015 Battery Cable 2014 Battery Cable 2013 Battery Cable 2012 Battery Cable 2011 Battery Cable 2010 Battery Cable 2009 Battery Cable 2008 Battery Cable 2007 Battery Cable 2006 Battery Cable 2005 Battery Cable 2004 Battery Cable 2003 Battery Cable 2002 Battery Cable 2001 Battery Cable 2000 Battery Cable 1999 Battery Cable 1998 Battery Cable 1997 Battery Cable 1996 Battery Cable 1995 Battery Cable 1994 Battery Cable 1993 Battery Cable 1992 Battery Cable 1991 Battery Cable 1990 Battery Cable 1989 Battery Cable 1988 Battery Cable 1987 Battery Cable 1986 Battery Cable 1985 Battery Cable 1984 Battery Cable 1983 Battery Cable 1982 Battery Cable 1981 Battery Cable 1980 Battery Cable 1979 Battery Cable 1978 Battery Cable 1977 Battery Cable 1976 Battery Cable 1975 Battery Cable 1974 Battery Cable 1973 Battery Cable 1972 Battery Cable 1971 Battery Cable 1970 Battery Cable 1969 Battery Cable