
My Garage
My Account
Cart
Genuine 1990 Toyota Celica Axle Shaft
Car Axle Shaft- Select Vehicle by Model
- Select Vehicle by VIN
Select Vehicle by Model
orMake
Model
Year
Select Vehicle by VIN
For the most accurate results, select vehicle by your VIN (Vehicle Identification Number).
29 Axle Shafts found
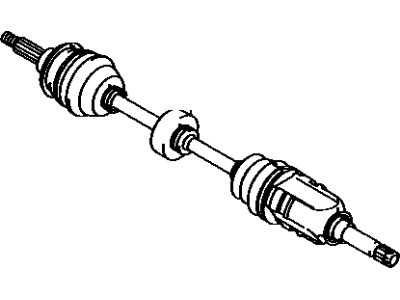
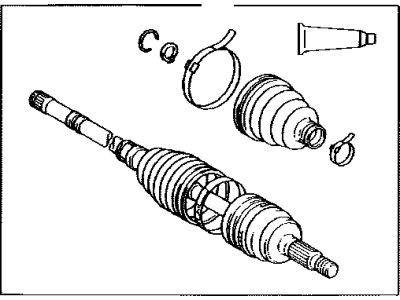
1990 Toyota Celica Front Drive Shaft Assembly Left Hand
Part Number: 43420-32090$283.90 MSRP: $407.09You Save: $123.19 (31%)Ships in 1-3 Business DaysProduct Specifications- Other Name: Shaft Assy, Front Drive, Lh; Axle Assembly
- Manufacturer Note: W(ANTI-LOCK BRAKE SYSTEM)
- Position: Driver Side
- Part Name Code: 43420
- Item Weight: 14.60 Pounds
- Item Dimensions: 31.3 x 7.4 x 6.8 inches
- Condition: New
- Fitment Type: Direct Replacement
- SKU: 43420-32090
- Warranty: This genuine part is guaranteed by Toyota's factory warranty.
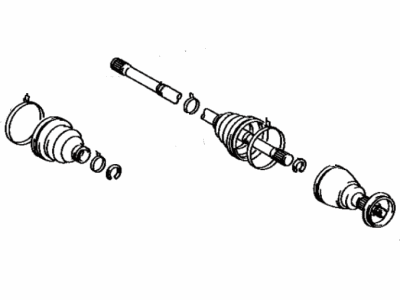
1990 Toyota Celica Front Drive Shaft Assembly Right Hand
Part Number: 43410-20320$285.31 MSRP: $409.12You Save: $123.81 (31%)Ships in 1-3 Business DaysProduct Specifications- Other Name: Shaft Assy, Front Drive, Rh; Axle Assembly
- Manufacturer Note: W(*66)
- Position: Passenger Side
- Part Name Code: 43410
- Item Weight: 15.10 Pounds
- Item Dimensions: 30.1 x 7.4 x 6.4 inches
- Condition: New
- Fitment Type: Direct Replacement
- SKU: 43410-20320
- Warranty: This genuine part is guaranteed by Toyota's factory warranty.
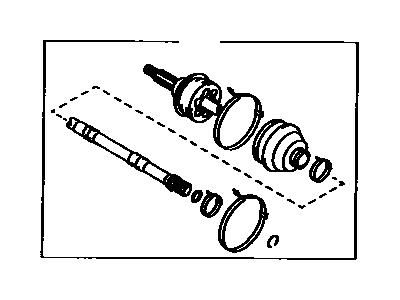
1990 Toyota Celica Front Drive Shaft Assembly Right Hand
Part Number: 43410-20250$264.47 MSRP: $383.15You Save: $118.68 (31%)Ships in 1-3 Business DaysProduct Specifications- Other Name: Shaft Assy, Front Drive, Rh
- Manufacturer Note: W(*66)
- Position: Passenger Side
- Part Name Code: 43410
- Item Weight: 20.10 Pounds
- Item Dimensions: 44.5 x 5.5 x 5.4 inches
- Condition: New
- Fitment Type: Direct Replacement
- SKU: 43410-20250
- Warranty: This genuine part is guaranteed by Toyota's factory warranty.
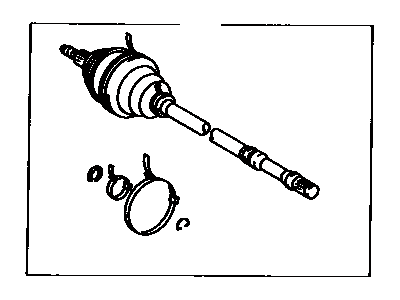
1990 Toyota Celica Rear Drive Shaft Assembly
Part Number: 42340-20020$289.05 MSRP: $418.74You Save: $129.69 (31%)Ships in 1-3 Business DaysProduct Specifications- Other Name: Shaft Assy, Rear Drive; Axle Assembly
- Position: Rear
- Part Name Code: 42340
- Item Weight: 13.60 Pounds
- Item Dimensions: 32.2 x 6.0 x 5.1 inches
- Condition: New
- Fitment Type: Direct Replacement
- Require Quantity: 2
- SKU: 42340-20020
- Warranty: This genuine part is guaranteed by Toyota's factory warranty.
1990 Toyota Celica Front Drive Shaft Assembly Left Hand
Part Number: 43420-20200$258.84 MSRP: $374.99You Save: $116.15 (31%)Ships in 1-3 Business DaysProduct Specifications- Other Name: Shaft Assy, Front Drive, Lh
- Manufacturer Note: W(*66)
- Position: Driver Side
- Part Name Code: 43420
- Item Weight: 15.20 Pounds
- Item Dimensions: 29.8 x 7.5 x 6.5 inches
- Condition: New
- Fitment Type: Direct Replacement
- SKU: 43420-20200
- Warranty: This genuine part is guaranteed by Toyota's factory warranty.
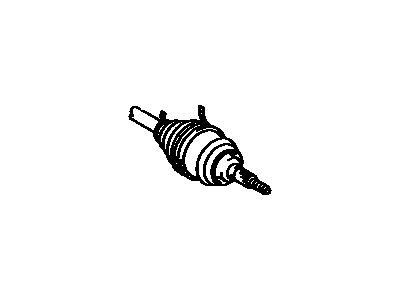
1990 Toyota Celica Front Drive Outboard Joint Shaft Assembly Left Hand
Part Number: 43470-29215$387.70 MSRP: $578.37You Save: $190.67 (33%)Ships in 1-3 Business DaysProduct Specifications- Other Name: Shaft Assy, Front Drive Outboard Joint, Lh
- Manufacturer Note: W(*66)
- Position: Front Driver Side
- Replaced by: 43470-29218
- Item Weight: 13.30 Pounds
- Item Dimensions: 30.8 x 6.5 x 5.4 inches
- Condition: New
- Fitment Type: Direct Replacement
- SKU: 43470-29215
- Warranty: This genuine part is guaranteed by Toyota's factory warranty.
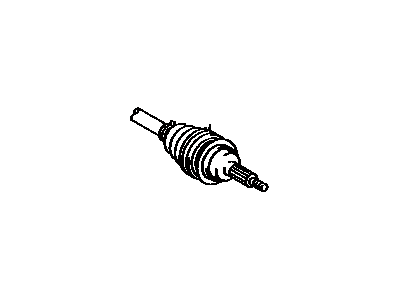
1990 Toyota Celica Front Drive Outboard Joint Shaft Assembly Left Hand
Part Number: 43470-29125$200.44 MSRP: $290.38You Save: $89.94 (31%)Ships in 1-3 Business DaysProduct Specifications- Other Name: Shaft Assy, Front Drive Outboard Joint, Lh
- Position: Driver Side
- Part Name Code: 43470
- Item Weight: 13.50 Pounds
- Item Dimensions: 30.8 x 6.4 x 5.3 inches
- Condition: New
- Fitment Type: Direct Replacement
- SKU: 43470-29125
- Warranty: This genuine part is guaranteed by Toyota's factory warranty.
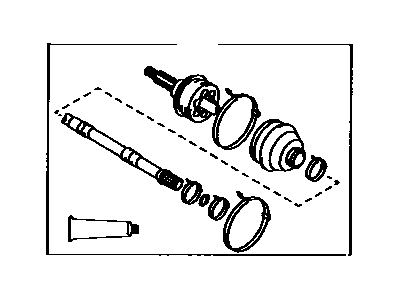
1990 Toyota Celica Shaft Assembly, Rear Drive Outboard Joint
Part Number: 42370-29016$205.40 MSRP: $297.57You Save: $92.17 (31%)Ships in 1-3 Business DaysProduct Specifications- Other Name: Shaft Assy, Rear Drive Outboard Joint
- Position: Rear
- Part Name Code: 42370
- Item Weight: 12.40 Pounds
- Item Dimensions: 33.2 x 5.9 x 5.2 inches
- Condition: New
- Fitment Type: Direct Replacement
- Require Quantity: 2
- SKU: 42370-29016
- Warranty: This genuine part is guaranteed by Toyota's factory warranty.
1990 Toyota Celica Front Drive Outboard Joint Shaft Assembly Left Hand
Part Number: 43470-29105$210.40 MSRP: $304.81You Save: $94.41 (31%)Ships in 1-3 Business DaysProduct Specifications- Other Name: Shaft Assy, Front Drive Outboard Joint, Lh
- Position: Driver Side
- Part Name Code: 43470
- Item Weight: 5.30 Pounds
- Item Dimensions: 8.0 x 4.2 x 4.2 inches
- Condition: New
- Fitment Type: Direct Replacement
- SKU: 43470-29105
- Warranty: This genuine part is guaranteed by Toyota's factory warranty.
1990 Toyota Celica Shaft Assembly Front Drive Outboard Joint Right
Part Number: 43470-29165$213.59 MSRP: $309.43You Save: $95.84 (31%)Ships in 1-3 Business DaysProduct Specifications- Other Name: Shaft Assembly, Front Drive Outboard Joint, Rh; Shaft & Joint
- Manufacturer Note: W(*66)
- Position: Front Passenger Side
- Item Weight: 6.70 Pounds
- Item Dimensions: 8.3 x 4.2 x 4.2 inches
- Condition: New
- Fitment Type: Direct Replacement
- SKU: 43470-29165
- Warranty: This genuine part is guaranteed by Toyota's factory warranty.
1990 Toyota Celica Shaft Assembly, Rear Drive Outboard Joint
Part Number: 42370-29025$232.79 MSRP: $337.25You Save: $104.46 (31%)Ships in 1-3 Business DaysProduct Specifications- Other Name: Shaft Assy, Rear Drive Outboard Joint; Shaft
- Position: Rear
- Part Name Code: 42370
- Item Weight: 12.50 Pounds
- Item Dimensions: 32.8 x 6.0 x 5.4 inches
- Condition: New
- Fitment Type: Direct Replacement
- Require Quantity: 2
- SKU: 42370-29025
- Warranty: This genuine part is guaranteed by Toyota's factory warranty.
1990 Toyota Celica Shaft Assembly Front Drive Outboard Joint Right
Part Number: 43460-29096$241.85 MSRP: $350.37You Save: $108.52 (31%)Ships in 1-3 Business DaysProduct Specifications- Other Name: Shaft Assy, Front Drive Outboard Joint, Rh
- Position: Passenger Side
- Part Name Code: 43460
- Item Weight: 13.90 Pounds
- Item Dimensions: 31.1 x 6.3 x 5.3 inches
- Condition: New
- Fitment Type: Direct Replacement
- SKU: 43460-29096
- Warranty: This genuine part is guaranteed by Toyota's factory warranty.
1990 Toyota Celica Front Drive Shaft Assembly Right Hand
Part Number: 43410-32110$245.34 MSRP: $355.42You Save: $110.08 (31%)Ships in 1-3 Business DaysProduct Specifications- Other Name: Shaft Assy, Front Drive, Rh
- Manufacturer Note: W(ANTI-LOCK BRAKE SYSTEM)
- Position: Passenger Side
- Part Name Code: 43410
- Item Weight: 14.90 Pounds
- Item Dimensions: 31.6 x 7.7 x 6.6 inches
- Condition: New
- Fitment Type: Direct Replacement
- SKU: 43410-32110
- Warranty: This genuine part is guaranteed by Toyota's factory warranty.
1990 Toyota Celica Front Drive Shaft Assembly Left Hand
Part Number: 43420-20270$258.84 MSRP: $374.99You Save: $116.15 (31%)Ships in 1-3 Business DaysProduct Specifications- Other Name: Shaft Assy, Front Drive, Lh
- Manufacturer Note: W(*66)
- Position: Driver Side
- Part Name Code: 43420
- Item Weight: 14.00 Pounds
- Item Dimensions: 29.5 x 7.3 x 6.5 inches
- Condition: New
- Fitment Type: Direct Replacement
- SKU: 43420-20270
- Warranty: This genuine part is guaranteed by Toyota's factory warranty.
1990 Toyota Celica Front Drive Shaft Assembly Left Hand
Part Number: 43420-20160$258.94 MSRP: $375.13You Save: $116.19 (31%)Ships in 1-3 Business DaysProduct Specifications- Other Name: Shaft Assy, Front Drive, Lh
- Position: Driver Side
- Part Name Code: 43420
- Item Weight: 5.70 Pounds
- Item Dimensions: 8.1 x 4.3 x 4.3 inches
- Condition: New
- Fitment Type: Direct Replacement
- SKU: 43420-20160
- Warranty: This genuine part is guaranteed by Toyota's factory warranty.
1990 Toyota Celica Front Drive Shaft Assembly Left Hand
Part Number: 43420-20190$258.94 MSRP: $375.13You Save: $116.19 (31%)Ships in 1-3 Business DaysProduct Specifications- Other Name: Shaft Assy, Front Drive, Lh
- Position: Driver Side
- Part Name Code: 43420
- Item Weight: 6.90 Pounds
- Item Dimensions: 8.4 x 4.4 x 4.3 inches
- Condition: New
- Fitment Type: Direct Replacement
- SKU: 43420-20190
- Warranty: This genuine part is guaranteed by Toyota's factory warranty.
1990 Toyota Celica Front Drive Shaft Assembly Right Hand
Part Number: 43410-20210$264.47 MSRP: $383.15You Save: $118.68 (31%)Ships in 1-3 Business DaysProduct Specifications- Other Name: Shaft Assy, Front Drive, Rh
- Position: Passenger Side
- Part Name Code: 43410
- Item Weight: 15.10 Pounds
- Item Dimensions: 28.9 x 7.4 x 6.5 inches
- Condition: New
- Fitment Type: Direct Replacement
- SKU: 43410-20210
- Warranty: This genuine part is guaranteed by Toyota's factory warranty.
1990 Toyota Celica Shaft Assembly Front Drive Outboard Joint Right
Part Number: 43460-19305$273.30 MSRP: $395.92You Save: $122.62 (31%)Ships in 1-3 Business DaysProduct Specifications- Other Name: Shaft Assy, Front Drive Outboard Joint, Rh
- Position: Passenger Side
- Part Name Code: 43460
- Item Weight: 13.00 Pounds
- Item Dimensions: 30.8 x 6.2 x 5.4 inches
- Condition: New
- Fitment Type: Direct Replacement
- SKU: 43460-19305
- Warranty: This genuine part is guaranteed by Toyota's factory warranty.
- Product Specifications
- Other Name: Shaft Assy, Front Drive Outboard Joint, Lh
- Position: Front Driver Side
- Item Weight: 13.00 Pounds
- Item Dimensions: 32.7 x 6.5 x 5.6 inches
- Condition: New
- Fitment Type: Direct Replacement
- SKU: 43470-29155
- Warranty: This genuine part is guaranteed by Toyota's factory warranty.
- Product Specifications
- Other Name: Shaft Assembly, Front Drive Outboard Joint, Lh
- Position: Front Driver Side
- Item Weight: 13.50 Pounds
- Item Dimensions: 32.3 x 6.5 x 5.6 inches
- Condition: New
- Fitment Type: Direct Replacement
- SKU: 43470-39065
- Warranty: This genuine part is guaranteed by Toyota's factory warranty.
| Page 1 of 2 |Next >
1-20 of 29 Results
1990 Toyota Celica Axle Shaft
With ToyotaPartsDeal.com, you have access to an extensive inventory of genuine 1990 Toyota Celica Axle Shaft, all priced competitively. Feel secure in your purchase, as all our OEM 1990 Toyota Celica Axle Shaft are covered by the manufacturer's warranty. Plus, we offer a hassle-free return policy and speedy delivery service.
1990 Toyota Celica Axle Shaft Parts Questions & Experts Answers
- Q: How to remove and install the Axle Shaft for the 1990 Toyota Celica?A: Not all of the steps in this procedure apply to all models, so it is important to read through the procedure carefully and determine which steps apply to the vehicle being worked on before beginning any work. Start by disconnecting the cable from the negative terminal of the battery, setting the parking brake, loosening the front wheel lug nuts, raising the vehicle, and securely supporting it on jackstands before removing the wheel. Next, remove the cotter pin and bearing nut lock from the axle shaft hub nut, then take off the axle shaft hub nut and washer, using a prybar to prevent the hub from turning. To loosen the axle shaft from the hub splines, tap the end of the axle shaft with a soft-faced hammer or a hammer and brass punch. If the axle shaft is stuck, it may be necessary to remove the brake disc and push it from the hub with a two-jaw puller. For models with flanged inner CV joints, remove the six nuts securing the inner CV joint to the differential side gear shaft or center driveshaft, using the same method to prevent the axle shaft from turning. Remove the engine undercover(s) and place a drain pan underneath the transaxle if the vehicle has splined inner CV joints. If removing the left axle shaft on models with splined inner CV joints, take off the transaxle case protector. Remove the nuts and bolt securing the balljoint to the control arm, then pry the control arm down to separate the components. Pull out on the steering knuckle to detach the axle shaft from the hub, being cautious of the sharp ring around the CV joint. If working on a model with flanged inner CV joints, the axle shaft can now be removed. For the left axle shaft on a model with splined inner CV joints, carefully pry the inner CV joint out of the transaxle, ensuring not to distort the dust shield. For the right axle shaft on a model with a 3S-GE, 4A-FE, or 5S-FE engine, remove the two bolts from the center bearing bracket and take out the axle shaft and center driveshaft as an assembly. If necessary to move the vehicle while the axle shaft is out, place a large bolt with two large washers through the hub and tighten the nut securely. On models with flanged inner CV joints, pull the side gear shaft(s) out with a slide hammer or remove the center driveshaft for access to the seals. Installation is the reverse of removal, with additional points including tightening the inner CV joint-to-differential side gear shaft nuts for flanged inner CV joints, pushing the left axle shaft sharply inward to seat the retaining ring, tightening the center bearing bracket bolts for the right axle shaft/center driveshaft assembly, tightening the axle shaft hub nut, installing the nut lock and a new cotter pin, installing the wheel and lug nuts, lowering the vehicle, tightening the lug nuts, and checking the transaxle or differential lubricant, adding if necessary to bring it to the proper level.
