
My Garage
My Account
Cart
Genuine Toyota Avalon Oil Filter
Engine Oil filter- Select Vehicle by Model
- Select Vehicle by VIN
Select Vehicle by Model
orMake
Model
Year
Select Vehicle by VIN
For the most accurate results, select vehicle by your VIN (Vehicle Identification Number).
4 Oil Filters found
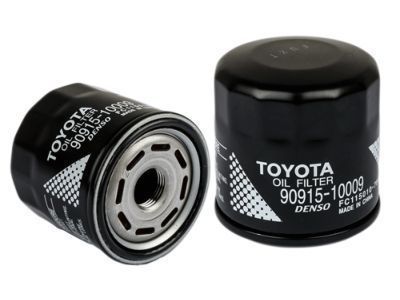
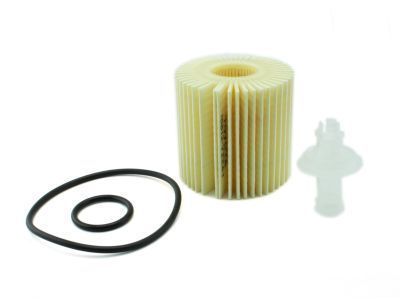
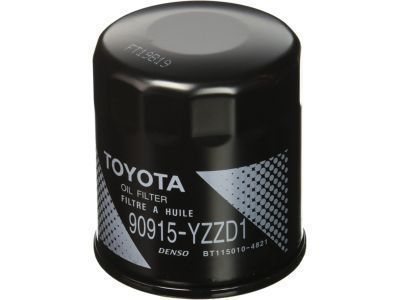
Toyota Avalon Oil Filter
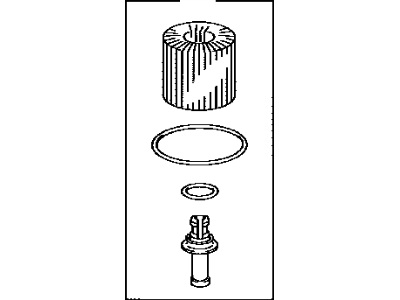
Part Number: 90915-10009$4.68 MSRP: $6.57You Save: $1.89 (29%)Ships in 1-3 Business DaysToyota Avalon Oil Filter Sub-Assembly
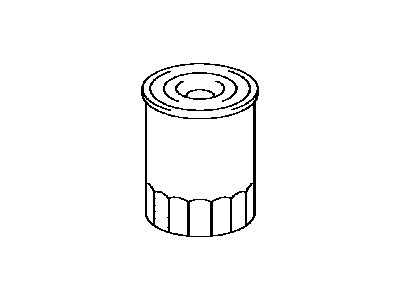
Part Number: 90915-20003$4.68 MSRP: $6.57You Save: $1.89 (29%)Ships in 1-3 Business DaysToyota Avalon Oil Filter Sub-Assembly
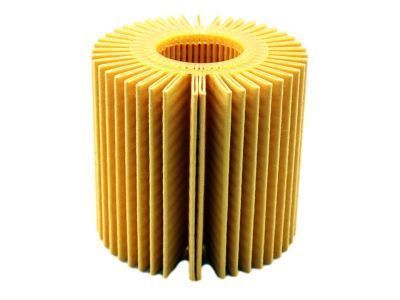
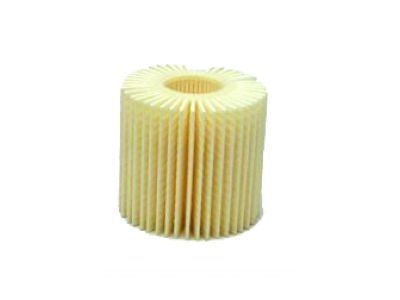
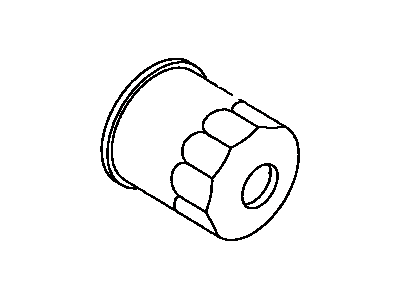
Part Number: 90915-20001$4.68 MSRP: $6.57You Save: $1.89 (29%)
Toyota Avalon Oil Filter
Being one of the essential components of the Toyota Avalon engine, the Oil Filter possesses the goal of purifying the oil by removing various all kinds of debris within the engine system. Avalon models may incorporate replaceable element cartridge filters, or spin-on filters helped with strong metal cases to be able to handle high oil pressures and vibratory stress. These filters are normally incorporating anti-drain back valves as well as the bypass valves with an objective of avoiding oil drain back and enhancing flow. Performance spin-on filters are thick walled and have heavy plates in order to withstand the impact and pressure of the oil while at the same time creating a very good filtration rate. All in all, the technology used in the Oil Filter of Toyota Avalon car model has been advance to ensure the achievement of the purpose of removing contaminants to enhance the performance and durability of the car's engine.
If you are in demand for superior quality and affordable OEM Toyota Avalon Oil Filter, then shop with us! We own a wide range of the reduced-priced genuine Toyota Avalon Oil Filter. You can purchase in confidence as all parts come with a manufacturer's warranty. Any issues with our products? No need to worry as we have a hassle-free return policy to guide you every step of the way.
Toyota Avalon Oil Filter Parts Questions & Experts Answers
- Q: How to perform frequent oil and Oil Filter changes for preventive maintenance every 5000 miles or 6 months on 2002 through 2006 Toyota Avalon?A:For regular maintenance, oil changes are vital. Gather tools and materials for spills. Lift the vehicle for better access. Identify the oil drain plug location. Warm up the engine. Raise the vehicle, place a drain pan under the plug, and remove it to drain old oil. Check the oil for metal particles. Clean the plug before reinstallation. Position the drain pan under the oil filter, loosen it, and unscrew by hand. Clean the mounting surface and remove old gasket. Compare filters, lubricate the new gasket, and screw it in. Add new oil and check the level. Start the engine, check for leaks, let the oil drain, and recheck the level. Dispose of old oil responsibly. Reset the oil change reminder light.
- Q: How to perform an oil and Oil Filter change every 3000 miles or 3 months on 1997 through 2001 Toyota Avalon?A:Frequent oil changes are the best preventive maintenance for the engine, as aging oil becomes diluted and contaminated, leading to premature engine wear. Before starting the procedure, ensure that you have all the necessary tools, such as a drain pan, rubber gloves, breaker bar, socket, and filter wrench. Access to the underside of the vehicle is improved if it can be lifted on a hoist, driven onto ramps, or supported by jack stands. Familiarize yourself with the location of the oil drain plug before getting under the vehicle. Park the vehicle on a level spot, start the engine, and let it reach its normal operating temperature. Turn off the engine and remove the filler cap. Raise the vehicle and support it securely on jack stands. Place the drain pan under the drain plug and remove the plug using the proper size wrench or socket. Allow the old oil to drain into the pan and inspect it for metal shavings. Wipe off the drain plug and clean the area around the drain plug opening. Reinstall and tighten the plug securely. Move the drain pan under the oil filter and loosen the filter using an oil filter wrench. Unscrew the filter by hand, wipe off the mounting surface on the block, and ensure no old gasket remains. Smear engine oil on the rubber gasket of the new filter and screw it into place. Remove all tools and lower the vehicle. Add new oil to the engine through the oil filler cap and pour three quarts of fresh oil. Wait for the oil to drain into the pan and check the level on the dipstick. If necessary, add enough oil to bring it to the full mark. Allow the engine to run for about a minute and check for leaks at the drain plug and oil filter. Tighten if necessary. Recheck the oil level and add more if needed. After an oil change, check for leaks and proper oil level during the first few trips. The old oil should be discarded at an oil reclamation center or other suitable disposal site.
Related Toyota Avalon Parts
Browse by Year
2022 Oil Filter 2021 Oil Filter 2020 Oil Filter 2019 Oil Filter 2018 Oil Filter 2017 Oil Filter 2016 Oil Filter 2015 Oil Filter 2014 Oil Filter 2013 Oil Filter 2012 Oil Filter 2011 Oil Filter 2010 Oil Filter 2009 Oil Filter 2008 Oil Filter 2007 Oil Filter 2006 Oil Filter 2005 Oil Filter 2004 Oil Filter 2003 Oil Filter 2002 Oil Filter 2001 Oil Filter 2000 Oil Filter 1999 Oil Filter 1998 Oil Filter 1997 Oil Filter 1996 Oil Filter 1995 Oil Filter
