
My Garage
My Account
Cart
Genuine Toyota Highlander Brake Light Switch
Brake Lamp Switch- Select Vehicle by Model
- Select Vehicle by VIN
Select Vehicle by Model
orMake
Model
Year
Select Vehicle by VIN
For the most accurate results, select vehicle by your VIN (Vehicle Identification Number).
8 Brake Light Switches found
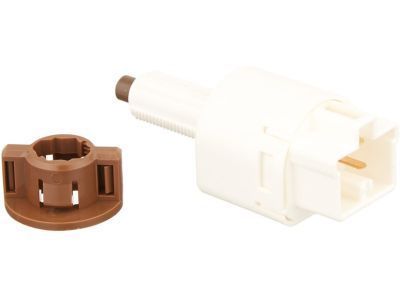
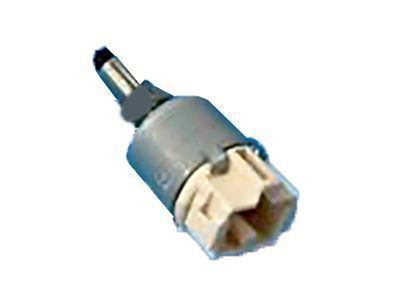
Toyota Highlander Stop Lamp Switch Assembly
Part Number: 84340-09070$16.66 MSRP: $23.29You Save: $6.63 (29%)Ships in 1-2 Business DaysToyota Highlander Switch Assembly, Stop La
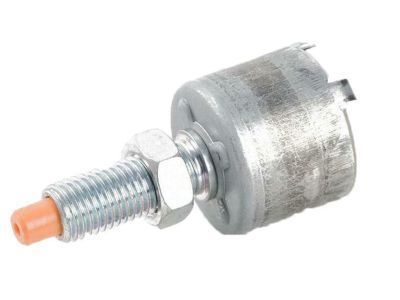
Part Number: 84340-09291$36.88 MSRP: $51.54You Save: $14.66 (29%)Ships in 1-3 Business DaysToyota Highlander Stop Lamp Switch Assembly
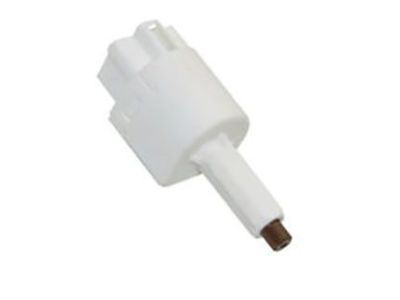
Part Number: 84340-04030$75.27 MSRP: $106.11You Save: $30.84 (30%)Ships in 1 Business DayToyota Highlander Stop Lamp Switch Assembly
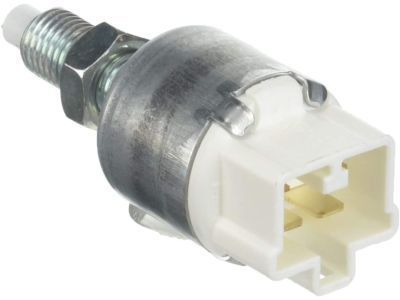
Part Number: 84340-35030$85.42 MSRP: $120.42You Save: $35.00 (30%)Ships in 1 Business DayToyota Highlander Stop Lamp Switch Assembly
Part Number: 84340-47020$85.42 MSRP: $120.42You Save: $35.00 (30%)Ships in 1 Business DayToyota Highlander Switch Assembly, Stop Lamp
Part Number: 84340-09280$32.24 MSRP: $45.06You Save: $12.82 (29%)Ships in 1-3 Business DaysToyota Highlander Stop Lamp Switch Assembly
Part Number: 84340-20060$75.27 MSRP: $106.11You Save: $30.84 (30%)Ships in 1-3 Business DaysToyota Highlander Stop Lamp Switch Assembly
Part Number: 84340-0E020$75.27 MSRP: $106.11You Save: $30.84 (30%)Ships in 1-3 Business Days
Toyota Highlander Brake Light Switch
The Brake Light Switch is a significant component to which emphasis conveys the dependability and performance characteristic of Toyota vehicles. This switch turns on the brake lights every time the brake pedal is pressed making drivers behind the Toyota Highlander to notice that the vehicle is either slowing down or stalling and this greatly enhances road safety. Specific to the Highlander model and compatible with different types of trims: five-seater and seven-seater, the Brake Light Switch underlines the steady communication with other road users. This reliability is important in safe practices in driving hence making the Brake Light Switch an important addition in the Highlander models. The Toyota Highlander comes standard with front-wheel drive and all-wheel drive, meanwhile, the Brake Light Switch is useful for enhancing the car's performance and security. Notably, the Brake Light Switch has been designed in a way that enhances its ability to work for a long duration as expected depending on the various driving conditions that it will encounter. Due to its compatibility that enables it to be incorporated in the complex electrical system of the Highlander it has been a bit favoured in the automotive market. Having the Brake Light Switch as the vital procedure enables them to have the faith in the automobile that the mechanism meets all the qualities of safety standards and takes an added value to the overall characteristic features, by which Toyota Highlander stands distinctive as one of the worth driven car.
If you are in demand for superior quality and affordable OEM Toyota Highlander Brake Light Switch, then shop with us! We own a wide range of the reduced-priced genuine Toyota Highlander Brake Light Switch. You can purchase in confidence as all parts come with a manufacturer's warranty. Any issues with our products? No need to worry as we have a hassle-free return policy to guide you every step of the way.
Toyota Highlander Brake Light Switch Parts Questions & Experts Answers
- Q: What is the removal and installation process for the brake light switch on Toyota Highlander?A:Removal and installation note, The lock nut of the brake pedal adjustment is located at the top of the brake pedal, not the switch. A bracket at the top of the brake pedal holds the brake light switch. Loosen the locknut then unscrew the switch from its bracket. Remove the lower panel fastener on driver's side before unclipping and removing it. Disconnect a wiring harness at a brake light switch. In 2013 and earlier models, loosen the locknut and unscrew the switch from the pedal bracket. In 2014 and later models, rotate this counterclockwise and remove it from a bracket. Insert stoplight switch until threaded end contacts pedal stop. For 2013 or older models, plug in electrical connector then move on to next procedure. On 2014 and later models, rotate clockwise to connect electrical connector then clockwise to connect electrical connector To reverse remainder installation for removal use below information provided above for direction. Adjustment for 2013 and earlier models, Check for proper height of brake pedal one should do this by loosing up locknut of switch so that it plunger protrusion falls within desired range as provided by manufacturer. Where unable to measure this distance adjust plunger so that it lightly engages with pedal stop Tighten up on locknut once done Hereafter, plug in an electric connector into your switches Ensure that when you press on your brake pedals, they show lights "ON" but are "OFF" when you release them; otherwise adjust again until bulbs function satisfactorily Check free play of your brake pedals if need be.
Related Toyota Highlander Parts
Browse by Year
2024 Brake Light Switch 2023 Brake Light Switch 2022 Brake Light Switch 2021 Brake Light Switch 2020 Brake Light Switch 2019 Brake Light Switch 2018 Brake Light Switch 2017 Brake Light Switch 2016 Brake Light Switch 2015 Brake Light Switch 2014 Brake Light Switch 2013 Brake Light Switch 2012 Brake Light Switch 2011 Brake Light Switch 2010 Brake Light Switch 2009 Brake Light Switch 2008 Brake Light Switch 2007 Brake Light Switch 2006 Brake Light Switch 2005 Brake Light Switch 2004 Brake Light Switch 2003 Brake Light Switch 2002 Brake Light Switch 2001 Brake Light Switch
