
My Garage
My Account
Cart
Genuine Toyota Highlander Brake Master Cylinder
- Select Vehicle by Model
- Select Vehicle by VIN
Select Vehicle by Model
orMake
Model
Year
Select Vehicle by VIN
For the most accurate results, select vehicle by your VIN (Vehicle Identification Number).
17 Brake Master Cylinders found
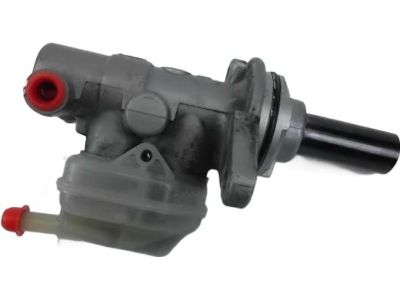
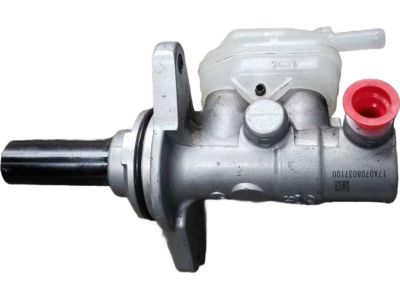
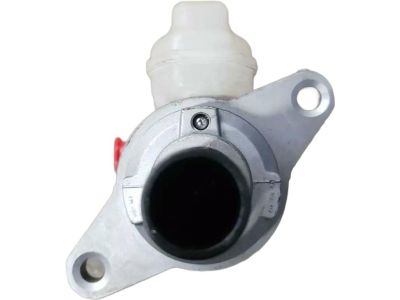
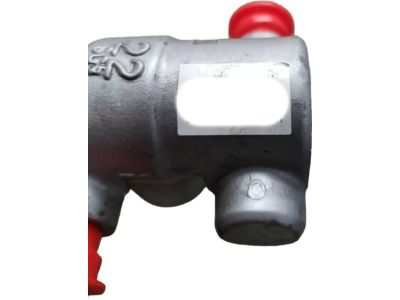
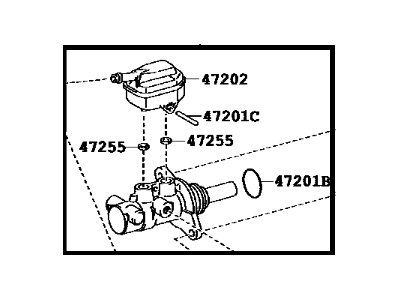
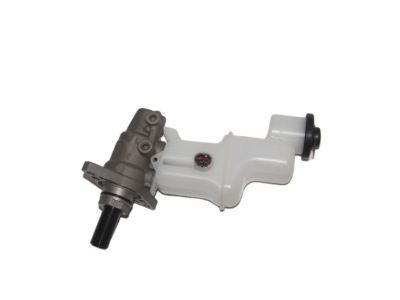
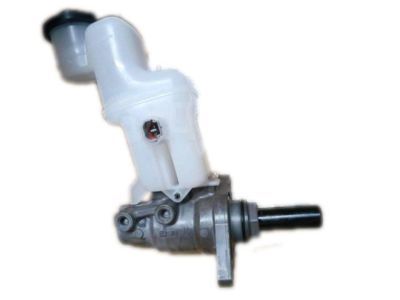
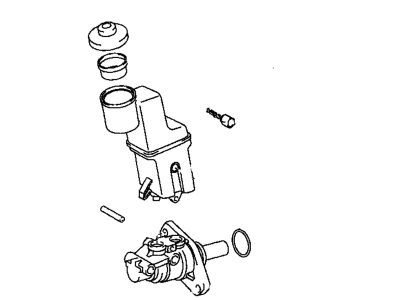
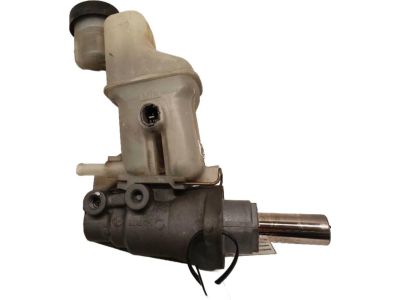
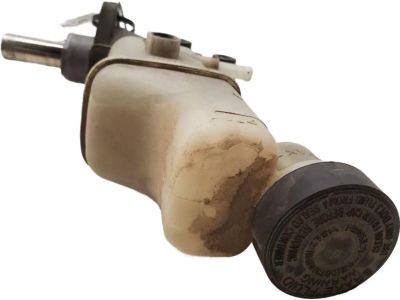
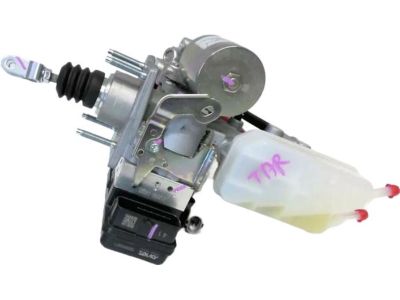
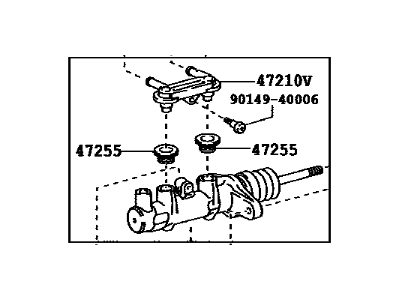
Toyota Highlander Brake Master Cylinder Sub-Assembly
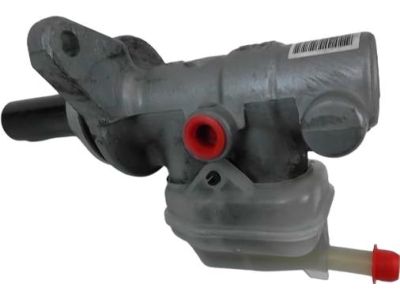
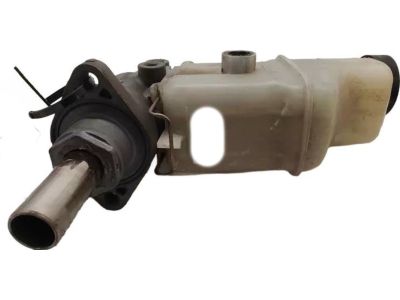
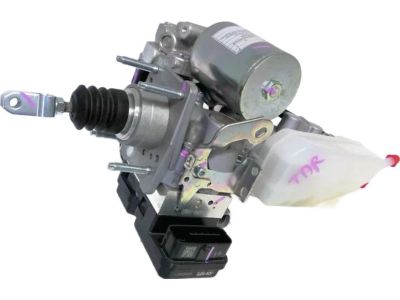
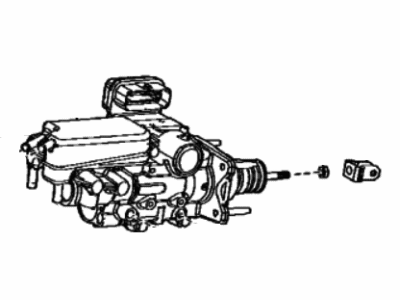
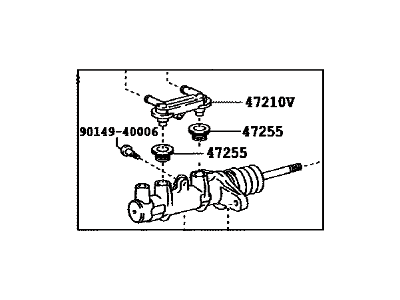
Part Number: 47201-48202$245.68 MSRP: $352.28You Save: $106.60 (31%)Ships in 1-3 Business DaysToyota Highlander Brake Master Cylinder Sub-Assembly
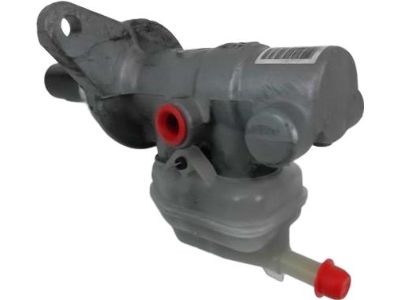
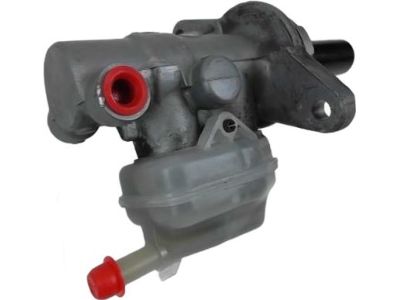
Part Number: 47201-0E060$245.68 MSRP: $352.28You Save: $106.60 (31%)Ships in 1-3 Business DaysToyota Highlander Brake Master Cylinder Sub-Assembly with Plate
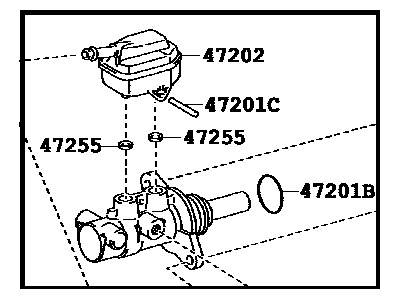
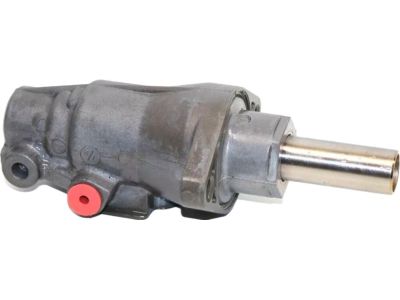
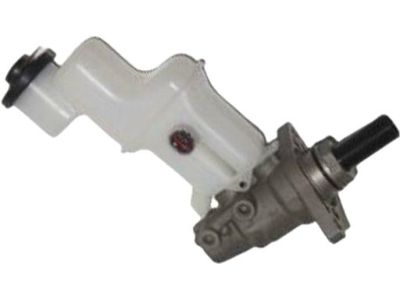
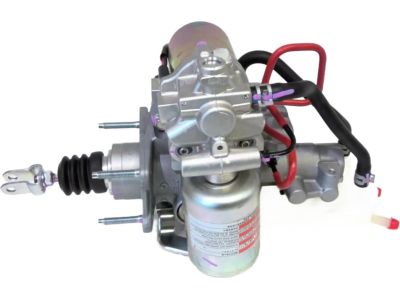
Part Number: 47028-48041$289.99 MSRP: $415.83You Save: $125.84 (31%)Ships in 1-2 Business DaysToyota Highlander Cylinder Sub-Assembly Brake Master Without Reservoir Tank
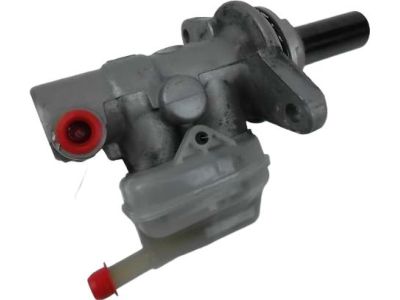
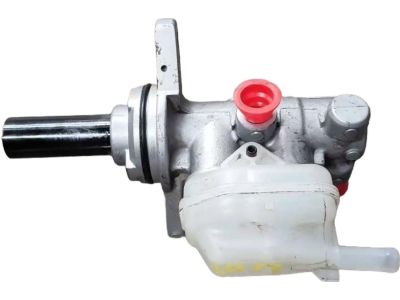
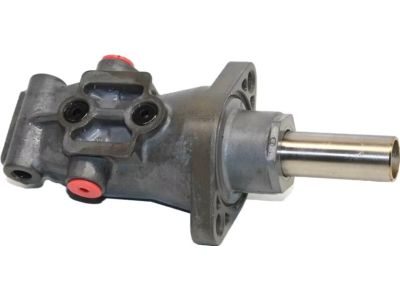
Part Number: 47207-48030$222.13 MSRP: $318.52You Save: $96.39 (31%)Ships in 1-3 Business DaysToyota Highlander Brake Master Cylinder Sub-Assembly with Plate
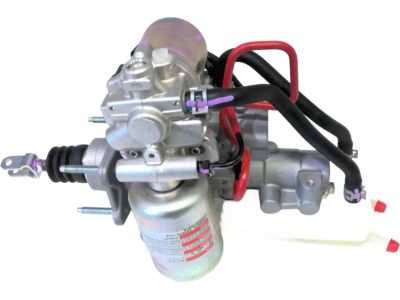
Part Number: 47028-48040$289.99 MSRP: $415.83You Save: $125.84 (31%)Ships in 1-3 Business DaysToyota Highlander Brake Master Cylinder Sub-Assembly
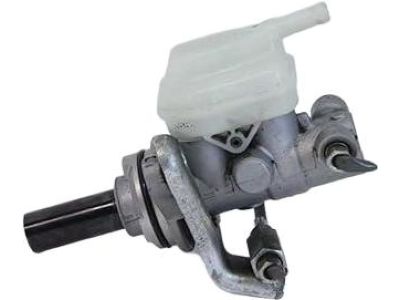
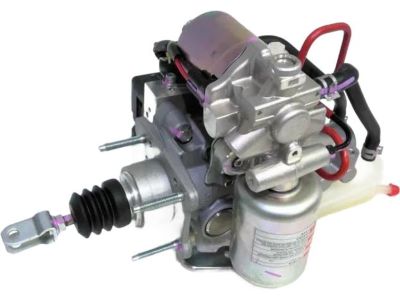
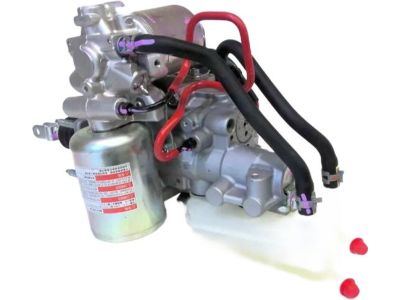
Part Number: 47055-48010$732.11 MSRP: $1093.14You Save: $361.03 (34%)Ships in 1-3 Business DaysToyota Highlander Cylinder Sub-Assy, Brake Stroke Simulator
Part Number: 47207-48070$199.04 MSRP: $285.41You Save: $86.37 (31%)Ships in 1-3 Business DaysToyota Highlander Brake Master Cylinder Sub-Assembly
Part Number: 47201-48210$129.27 MSRP: $183.78You Save: $54.51 (30%)Ships in 1-3 Business DaysToyota Highlander Brake Master Cylinder Sub-Assembly Without Reservoir Cap
Part Number: 47207-48040$221.43 MSRP: $317.52You Save: $96.09 (31%)Ships in 1-3 Business DaysToyota Highlander Brake Master Cylinder Sub-Assembly
Part Number: 47201-48200$245.68 MSRP: $352.28You Save: $106.60 (31%)Ships in 1-3 Business DaysToyota Highlander Cylinder Sub-Assy, Brake Stroke Simulator
Part Number: 47207-48050$206.82 MSRP: $296.56You Save: $89.74 (31%)Ships in 1-3 Business DaysToyota Highlander Brake Master Cylinder Sub-Assembly
Part Number: 47055-0E060$907.79 MSRP: $1355.45You Save: $447.66 (34%)Ships in 1-3 Business DaysToyota Highlander Brake Master Cylinder Sub-Assembly
Part Number: 47055-0E061$907.79 MSRP: $1355.45You Save: $447.66 (34%)Ships in 1-2 Business DaysToyota Highlander Brake Master Cylinder Sub-Assembly
Part Number: 47201-0E040$182.80 MSRP: $262.13You Save: $79.33 (31%)Ships in 1-3 Business DaysToyota Highlander Brake Master Cylinder Sub-Assembly
Part Number: 47201-48190$206.70 MSRP: $296.39You Save: $89.69 (31%)Ships in 1-3 Business DaysToyota Highlander Brake Master Cylinder Sub-Assembly
Part Number: 47055-0E020$917.59 MSRP: $1370.09You Save: $452.50 (34%)Ships in 1-2 Business DaysToyota Highlander Brake Master Cylinder Sub-Assembly
Part Number: 47201-08080$245.68 MSRP: $352.28You Save: $106.60 (31%)Ships in 1-3 Business Days
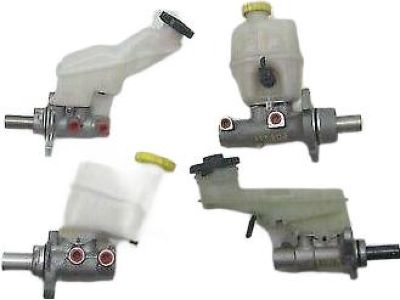
Toyota Highlander Brake Master Cylinder
If you are in demand for superior quality and affordable OEM Toyota Highlander Brake Master Cylinder, then shop with us! We own a wide range of the reduced-priced genuine Toyota Highlander Brake Master Cylinder. You can purchase in confidence as all parts come with a manufacturer's warranty. Any issues with our products? No need to worry as we have a hassle-free return policy to guide you every step of the way.
Toyota Highlander Brake Master Cylinder Parts Questions & Experts Answers
- Q: How to remove and install a brake master cylinder on Toyota Highlander?A:You must carefully remove and install the brake master cylinder of Highlander models to keep it from breaking and working correctly. First, cover all surfaces to stop brake fluid from ruining paint, and wipe up any liquid right away. First, take out the top engine cover, strut brace (when present), the air filter housing and air duct, if you need to. Take the liquid from the storage tank with a syringe. Hopefully, you won't have to disconnect it to get good access. Unplug the brake fluid warning switch power supply, lay rags under the connections, and put caps on both brake tube ends. Separate the brake line fittings, move the lines aside, remove the brake master cylinder's nuts from the power booster carefully, and keep fluid from spilling. If dropped, the brake master cylinder must be replaced. Follow these steps to install the new brake master cylinder: Hold the brake master cylinder in place while bleeding out air, fix the bleed tubes, and put the correct brake fluid in the reservoir. Press on the pistons slowly to force air out, keep going until you see no more bubbles. Insert plugs into opened ports of the booster. Adjust the pushrod length if needed. Then add the reservoir cover. Twist the brake master cylinder tightly onto the power brake booster and carefully join the brake line parts, being careful not to damage the threads. Our team empties the reservoir of fluid, using an assistant to push the brake pedal to get air and fluid out of the system. If brake lines were taken out, you need to bleed them from the ABS actuator too. When setup is done, reverse the steps you used to install and test your brakes to make sure everything works as it should before you drive the vehicle.
Related Toyota Highlander Parts
Browse by Year
2024 Brake Master Cylinder 2023 Brake Master Cylinder 2022 Brake Master Cylinder 2021 Brake Master Cylinder 2020 Brake Master Cylinder 2019 Brake Master Cylinder 2018 Brake Master Cylinder 2017 Brake Master Cylinder 2016 Brake Master Cylinder 2015 Brake Master Cylinder 2014 Brake Master Cylinder 2013 Brake Master Cylinder 2012 Brake Master Cylinder 2011 Brake Master Cylinder 2010 Brake Master Cylinder 2009 Brake Master Cylinder 2008 Brake Master Cylinder 2007 Brake Master Cylinder 2006 Brake Master Cylinder 2005 Brake Master Cylinder 2004 Brake Master Cylinder 2003 Brake Master Cylinder 2002 Brake Master Cylinder 2001 Brake Master Cylinder
