
My Garage
My Account
Cart
Genuine Toyota Highlander Vacuum Pump
Vacuum Pressure Pump- Select Vehicle by Model
- Select Vehicle by VIN
Select Vehicle by Model
orMake
Model
Year
Select Vehicle by VIN
For the most accurate results, select vehicle by your VIN (Vehicle Identification Number).
4 Vacuum Pumps found
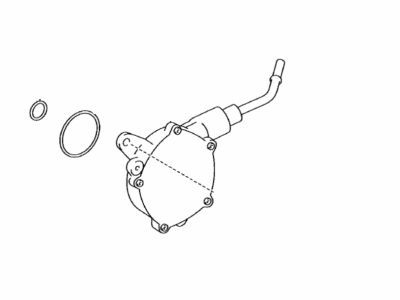
Toyota Highlander PUMP ASSY, VACUUM
Part Number: 29300-25012$443.95 MSRP: $662.28You Save: $218.33 (33%)Ships in 1-3 Business DaysToyota Highlander Pump Assembly, Vacuum
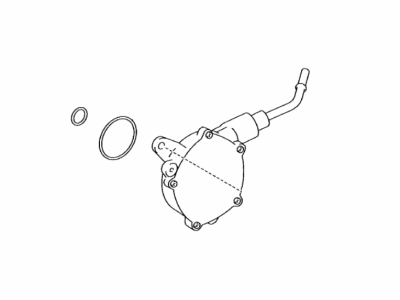
Part Number: 29300-0P011$424.96 MSRP: $633.95You Save: $208.99 (33%)Ships in 1-3 Business DaysToyota Highlander PUMP ASSY, VACUUM
Part Number: 29300-F0012$441.57 MSRP: $658.75You Save: $217.18 (33%)Ships in 1-3 Business DaysToyota Highlander Pump Assembly, Vacuum
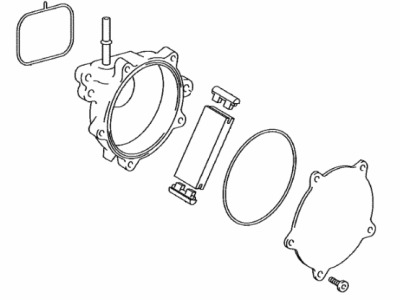
Part Number: 29300-0P010$424.96 MSRP: $633.95You Save: $208.99 (33%)Ships in 1-3 Business Days
Toyota Highlander Vacuum Pump
If you are in demand for superior quality and affordable OEM Toyota Highlander Vacuum Pump, then shop with us! We own a wide range of the reduced-priced genuine Toyota Highlander Vacuum Pump. You can purchase in confidence as all parts come with a manufacturer's warranty. Any issues with our products? No need to worry as we have a hassle-free return policy to guide you every step of the way.
Toyota Highlander Vacuum Pump Parts Questions & Experts Answers
- Q: How to remove and install the brake vacuum pump and brake vacuum warning switch on Toyota Highlander?A:The brake vacuum pump connects to the rear of the right cylinder head on the Highlander. To begin work place jackstands under the vehicle and lift it while loosening the wheel lug nuts on the left front side. Unplug the battery negative cable then take off the left front wheel and inner fender panel to reveal the engine lower shield. Drain coolant from the engine and proceed with the process. On Highlander versions begin by taking off the wiper arms and motor parts then removing the cowl vent tray. Take off the components consisting of the air filter housing and throttle body. Take off the transaxle control cable from its top connection point then unfasten the bracket before removing the breather hose plus PCV hose and disconnecting the heater hoses from the coolant outlet pipe. Unfasten the hose clamps and remove all hoses from the vacuum pump. Disconnect the main engine electrical wires and safely move the wiring bundle off the pump. Take out the vacuum pump after you remove all the bolts and pull it from behind the right cylinder head. Also put in a new vacuum pump when there is oil leakage or when the O-ring gets broken. Coat vacuum pump O-rings and hole insides lightly with engine oil before positioning and fixing the vacuum pump coupling into the camshaft groove. Mount the vacuum pump with specified bolts then tighten them to complete installation. To access and remove the brake vacuum warning switch you must first remove the cowl panel followed by disconnecting the electrical connector from the switch while noting the cable orientation. Finally take out the switch from its grommet on the Brake Booster. Set the switch correctly on the brake booster facing upward at 11 o'clock when installed on top or downward at 5 o'clock in the bottom section.


