
My Garage
My Account
Cart
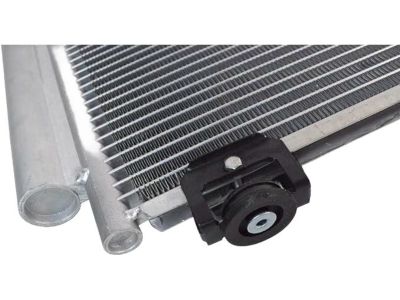
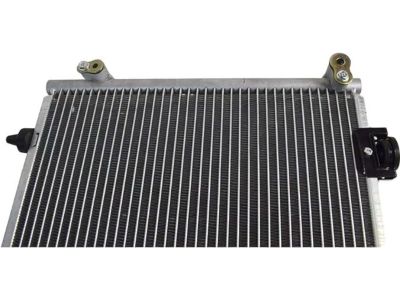
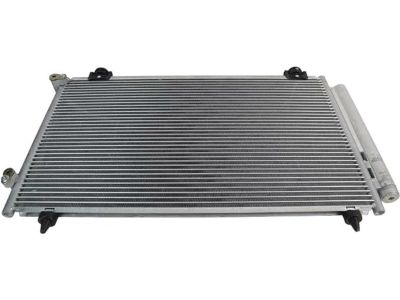
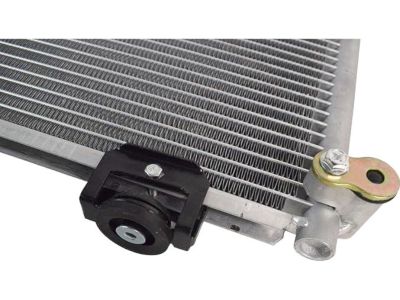
Genuine Toyota Matrix A/C Condenser
Air Conditioning Condenser- Select Vehicle by Model
- Select Vehicle by VIN
Select Vehicle by Model
orMake
Model
Year
Select Vehicle by VIN
For the most accurate results, select vehicle by your VIN (Vehicle Identification Number).
4 A/C Condensers found
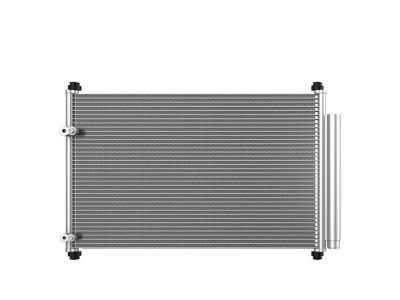
Toyota Matrix Condenser Assembly with Receiver
Part Number: 88450-02330$268.30 MSRP: $384.71You Save: $116.41 (31%)Ships in 1-3 Business DaysToyota Matrix Condenser Assembly with Receiver
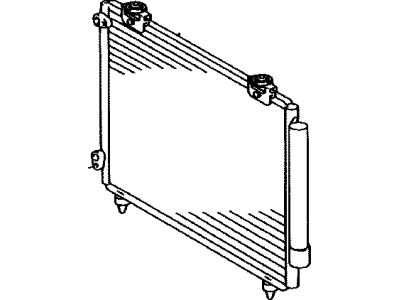
Part Number: 88450-02260$323.26 MSRP: $463.53You Save: $140.27 (31%)Ships in 1-3 Business DaysToyota Matrix Condenser Assembly with Receiver
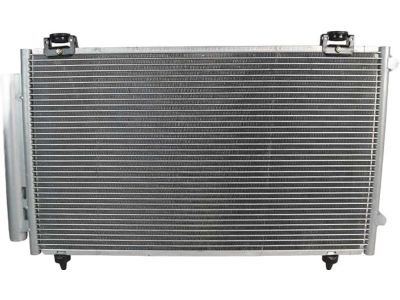
Part Number: 88450-02261$323.26 MSRP: $463.53You Save: $140.27 (31%)Ships in 1-3 Business Days
Toyota Matrix A/C Condenser
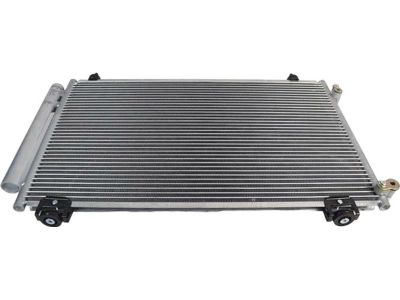
Toyota Matrix A/C Condenser model is specifically tasked with the role of heat exchanger where the hot gaseous refrigerant is cooled and condensed to a liquid state for circulating. Usually located in front of the radiator and significantly smaller that it, this device is a complex network of tubes which take part in conversion. Although the kind or type of A/C Condenser in the different Matrix models may have changed with time, the goal that is set for any of the A/C Condenser in the auto is to maintain different temperatures for the refrigerant and effectively control its operation in order to cool the auto's interiors efficiently.
If you are in demand for superior quality and affordable OEM Toyota Matrix A/C Condenser, then shop with us! We own a wide range of the reduced-priced genuine Toyota Matrix A/C Condenser. You can purchase in confidence as all parts come with a manufacturer's warranty. Any issues with our products? No need to worry as we have a hassle-free return policy to guide you every step of the way.
Toyota Matrix A/C Condenser Parts Questions & Experts Answers
- Q: How to remove the A/C Condenser on a Toyota Matrix?A:To remove the A/C Condenser from the vehicle, the refrigerant must first be discharged and recovered, followed by the removal of the Radiator. Subsequently, disconnect the condenser inlet and outlet fittings and be sure to immediately cap the open fittings to prevent moisture and contamination from entering the system. The final step in the removal process is to take out the condenser mounting bolts, angle the condenser back, and lift it out. When installing the condenser, start by positioning it along with the brackets and bolts, ensuring that the rubber cushions align correctly on the mounting points. Next, reconnect the refrigerant lines, using new O-rings if necessary. If a new condenser has been installed, add roughly 1.5 to 2.0 fluid ounces of new refrigerant oil that is compatible with R-134a. Then, reinstall the remaining parts in the reverse order of their removal, refill the cooling system, and have the system evacuated, charged, and leak tested.
