
My Garage
My Account
Cart
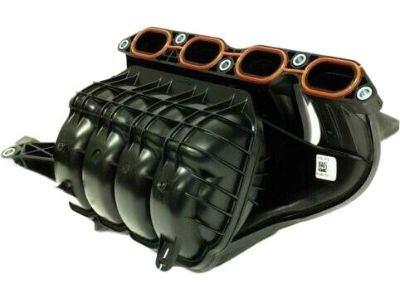
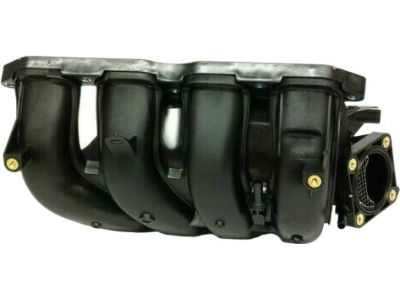
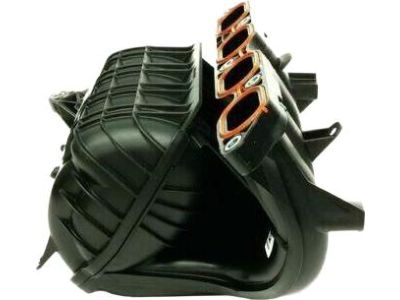
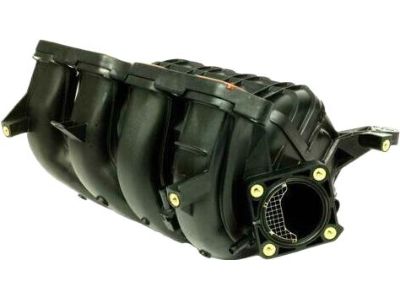
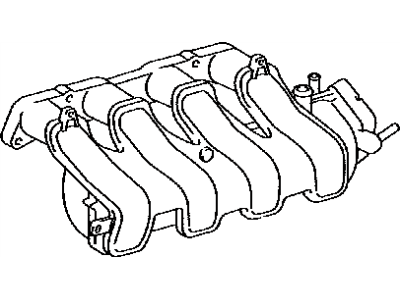
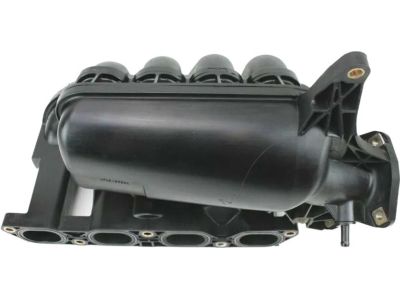
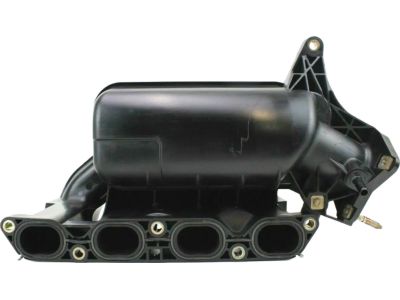
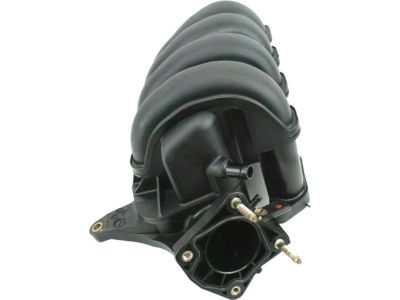
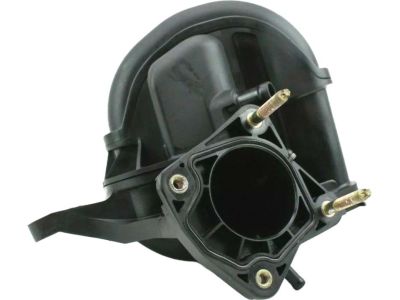
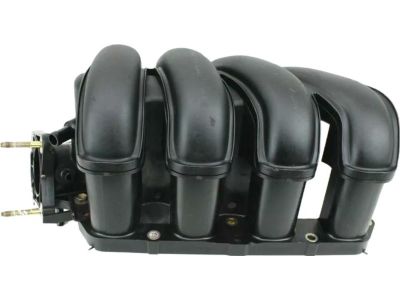
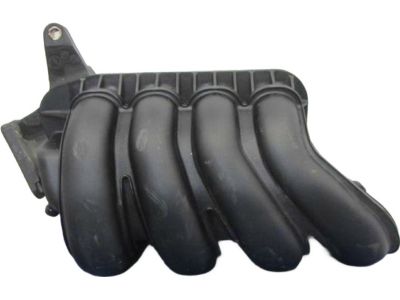
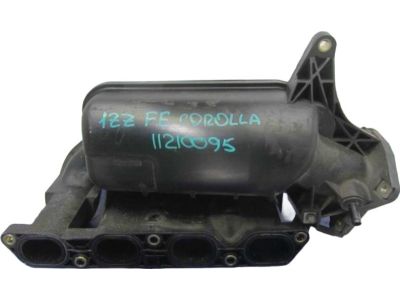
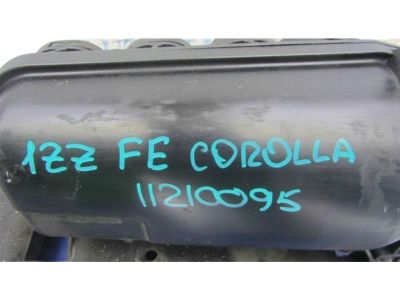
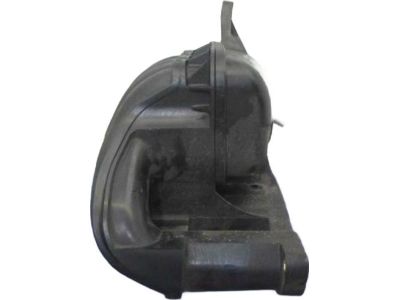
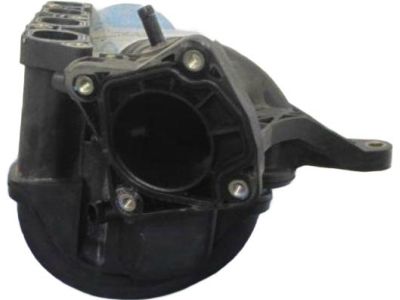
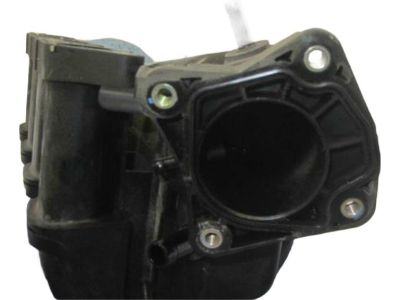
Genuine Toyota Matrix Intake Manifold
Engine Intake Manifold- Select Vehicle by Model
- Select Vehicle by VIN
Select Vehicle by Model
orMake
Model
Year
Select Vehicle by VIN
For the most accurate results, select vehicle by your VIN (Vehicle Identification Number).
14 Intake Manifolds found
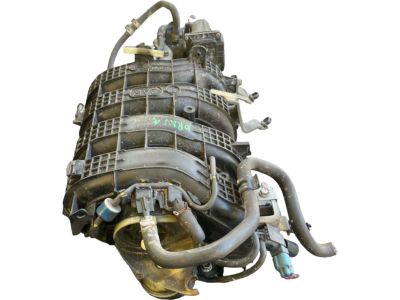
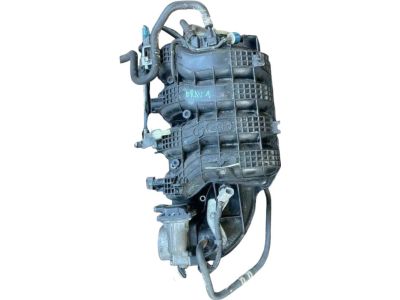
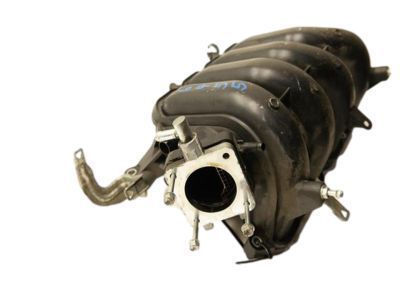
Toyota Matrix Intake Manifold Assembly
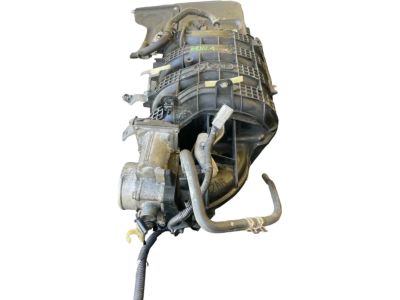
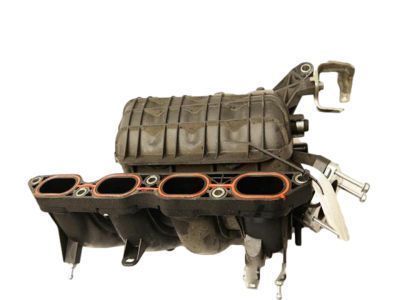
Part Number: 17120-0T012$220.62 MSRP: $316.35You Save: $95.73 (31%)Ships in 1-2 Business DaysToyota Matrix Intake Manifold
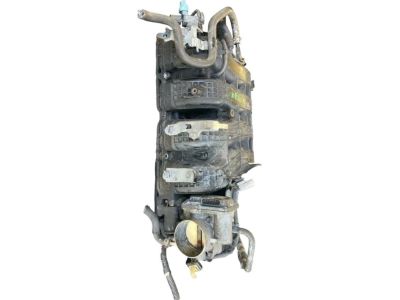
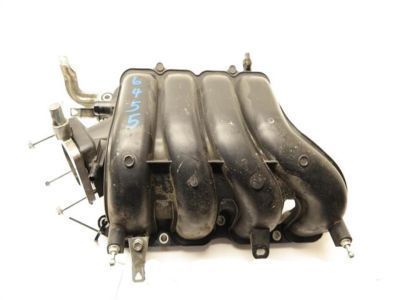
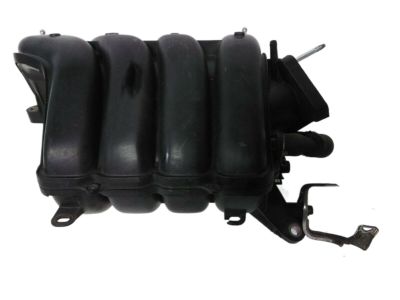
Part Number: 17120-0D040$359.58 MSRP: $536.42You Save: $176.84 (33%)Ships in 1-3 Business DaysToyota Matrix Intake Manifold
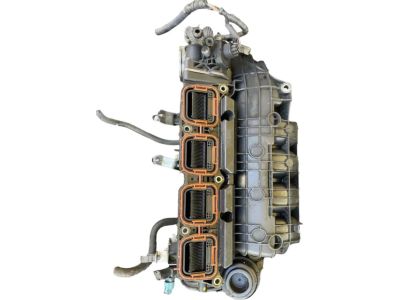
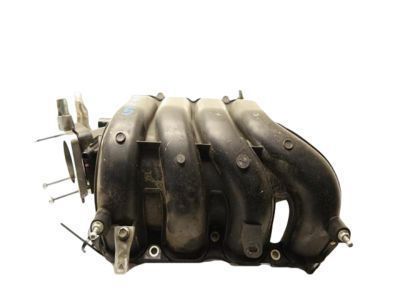
Part Number: 17120-0D080$368.83 MSRP: $550.22You Save: $181.39 (33%)Ships in 1-3 Business DaysToyota Matrix Intake Manifold
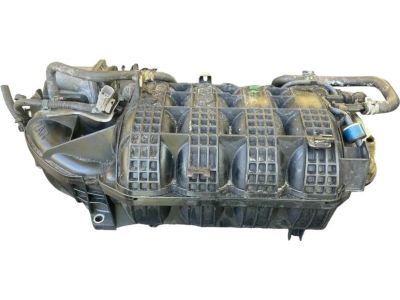
Part Number: 17120-37020$297.88 MSRP: $427.13You Save: $129.25 (31%)Ships in 1-3 Business DaysToyota Matrix Intake Manifold Assembly
Part Number: 17120-0T011$297.88 MSRP: $427.13You Save: $129.25 (31%)Ships in 1-3 Business DaysToyota Matrix Intake Manifold
Part Number: 17120-0T010$297.88 MSRP: $427.13You Save: $129.25 (31%)Ships in 1-3 Business DaysToyota Matrix Intake Manifold
Part Number: 17120-22030$359.58 MSRP: $536.42You Save: $176.84 (33%)Ships in 1-3 Business DaysToyota Matrix Intake Manifold Assembly
Part Number: 17120-37022$220.62 MSRP: $316.35You Save: $95.73 (31%)Ships in 1-2 Business DaysToyota Matrix Intake Manifold
Part Number: 17111-88601$347.81 MSRP: $498.74You Save: $150.93 (31%)Ships in 1-3 Business DaysToyota Matrix Intake Manifold
Part Number: 17120-22070$368.83 MSRP: $550.22You Save: $181.39 (33%)Ships in 1-3 Business DaysToyota Matrix Intake Manifold
Part Number: 17120-37021$297.88 MSRP: $427.13You Save: $129.25 (31%)Ships in 1-3 Business DaysToyota Matrix Intake Manifold
Part Number: 17120-0H080$327.22 MSRP: $469.22You Save: $142.00 (31%)Ships in 1-3 Business DaysToyota Matrix Intake Manifold Assembly
Part Number: 17120-0H081$327.22 MSRP: $469.22You Save: $142.00 (31%)
Toyota Matrix Intake Manifold
If you are in demand for superior quality and affordable OEM Toyota Matrix Intake Manifold, then shop with us! We own a wide range of the reduced-priced genuine Toyota Matrix Intake Manifold. You can purchase in confidence as all parts come with a manufacturer's warranty. Any issues with our products? No need to worry as we have a hassle-free return policy to guide you every step of the way.
Toyota Matrix Intake Manifold Parts Questions & Experts Answers
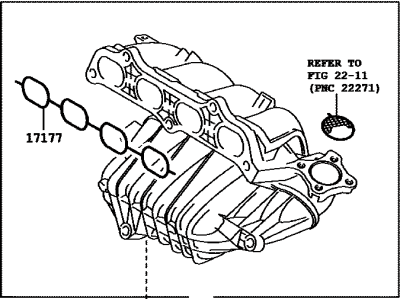
- Q: How to remove and install the intake manifold on Toyota Matrix?A:When unplugging the intake manifold, the fuel managing pressure has to be relieved, the cable from the negative terminal of the battery has to be disconnected and the bolt attached to the oil dipstick tube has to be as well. After that, remove the power train/engine cover, disconnect the two clips, and remove the fuel-injection wiring harness. Take off the fuel rail and injectors as one unit, and the throttle body from the intake manifold. Label and remove the vacuum hoses and the PCV connecting from the back of the intake filter manifold and the electrical connectors if any and lastly, take off the two bolts in the alternator bracket. Next, undo the intake manifold nuts and bolts, and the support bracket bolts and then extract the manifold and the gasket from the engine. To install, degrease the mating surfaces of the intake manifold and the Cylinder Head mounting surface using lacquer thinner or acetone, and if the gaskets are indicative of leaks, then have the manifold examined for warpage and refinished if the case may be. Place a new gasket on the manifold studs and align the manifold over the cylinder head then secure by putting in the nuts, bolts and brackets. The nuts and bolts on the manifold to the cylinder head should be tightened in three or four sequences to the torque as this helps in avoiding warping. Following that, make sure you particularly tighten the manifold-to-cylinder head bolts, the lower bracket bolts. Insert the rest of the parts in the reverse manner they were removed with special attention to the coolant level adding if necessary, and ensure the throttle linkage moves freely before starting the engine. After the engine is running, perform a visual inspection of any leaks such as coolant leak and vacuum leak, followed by a road test to check functionality of all related accessories of the car like cruise control system, if any.
