
My Garage
My Account
Cart
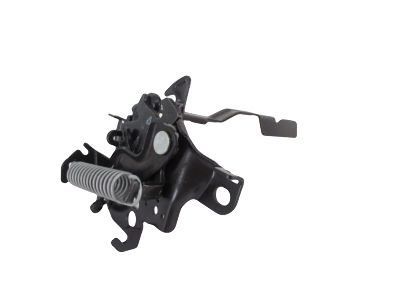
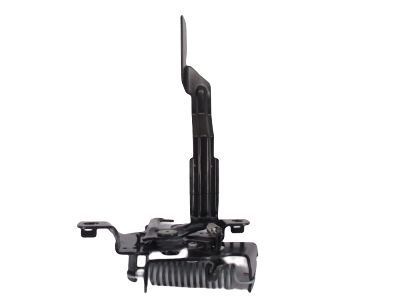
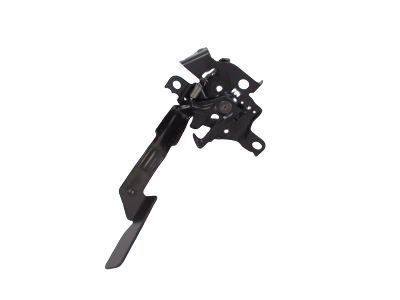
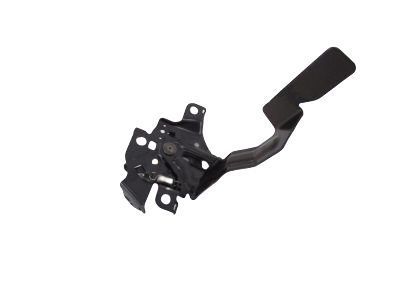
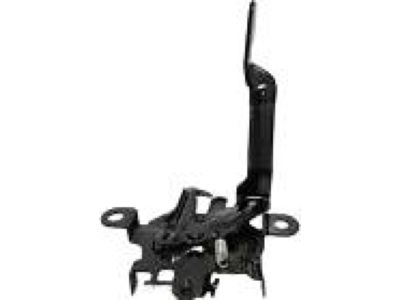
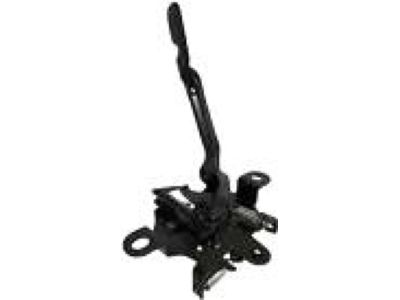
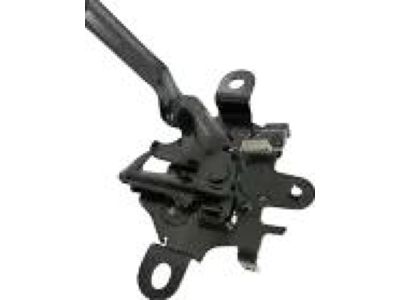
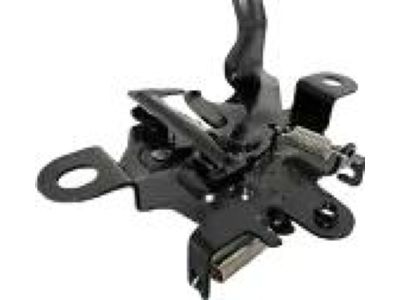
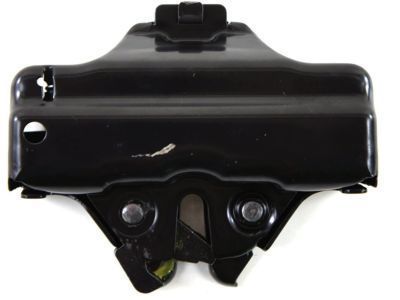
Genuine Toyota RAV4 Hood Latch
Engine Hood Latch- Select Vehicle by Model
- Select Vehicle by VIN
Select Vehicle by Model
orMake
Model
Year
Select Vehicle by VIN
For the most accurate results, select vehicle by your VIN (Vehicle Identification Number).
11 Hood Latches found
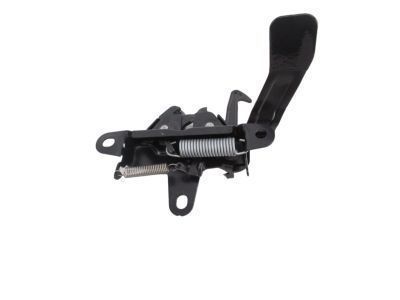
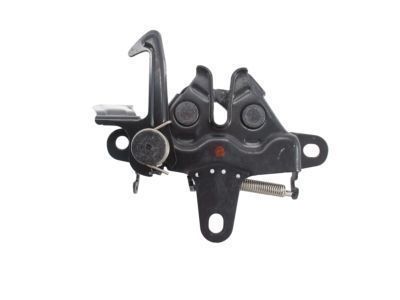
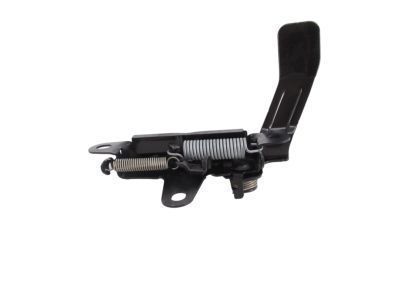
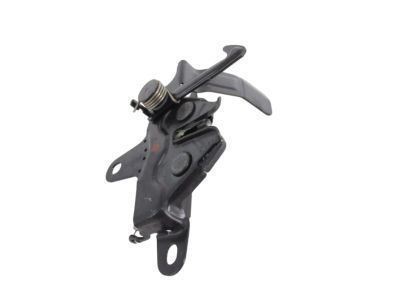
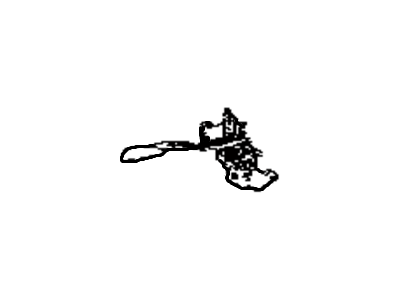
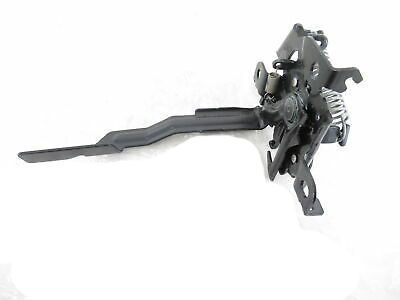
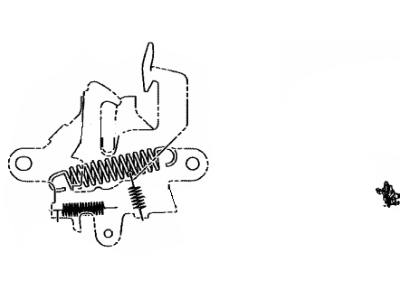
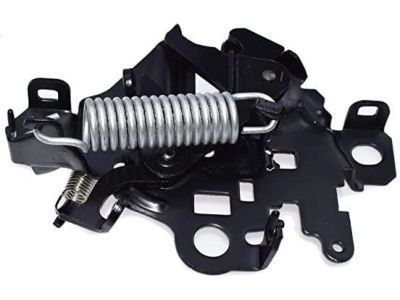
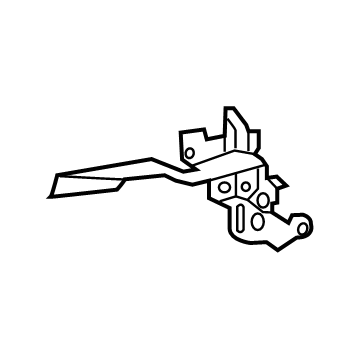
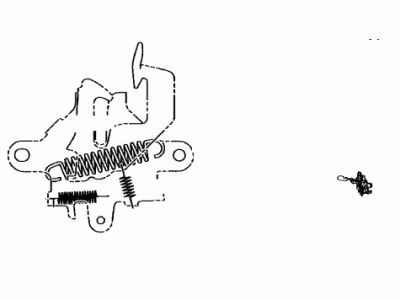
Toyota RAV4 Hood Lock Assembly
Part Number: 53510-42060$66.19 MSRP: $93.29You Save: $27.10 (30%)Ships in 1-3 Business DaysToyota RAV4 Hood Lock Assembly
Part Number: 53510-42100$51.63 MSRP: $72.17You Save: $20.54 (29%)Ships in 1 Business DayToyota RAV4 Hood Lock Assembly
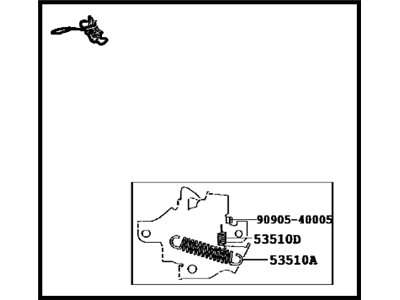
Part Number: 53510-0R030$46.99 MSRP: $65.68You Save: $18.69 (29%)Ships in 1 Business DayToyota RAV4 Hood Lock Assembly
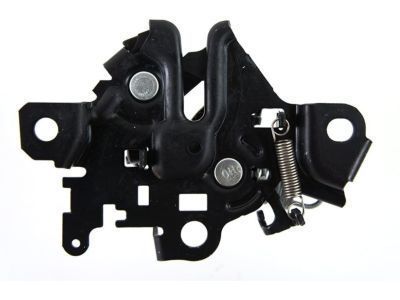
Part Number: 53510-42090$51.87 MSRP: $72.51You Save: $20.64 (29%)Ships in 1-3 Business DaysToyota RAV4 Hood Lock Assembly
Part Number: 53510-0R050$47.47 MSRP: $66.35You Save: $18.88 (29%)Ships in 1-3 Business DaysToyota RAV4 Hood Lock Assembly
Part Number: 53510-42070$51.87 MSRP: $72.51You Save: $20.64 (29%)Ships in 1-2 Business DaysToyota RAV4 Hood Lock Assembly
Part Number: 53510-0R060$75.74 MSRP: $106.77You Save: $31.03 (30%)Ships in 1-3 Business DaysToyota RAV4 Hood Lock Assembly
Part Number: 53510-42130$76.45 MSRP: $107.76You Save: $31.31 (30%)Ships in 1-3 Business DaysToyota RAV4 Hood Lock Assembly
Part Number: 53510-42120$53.54 MSRP: $74.83You Save: $21.29 (29%)Ships in 1-3 Business DaysToyota RAV4 Hood Lock Assembly
Part Number: 53510-42081$70.45 MSRP: $99.30You Save: $28.85 (30%)Ships in 1-3 Business Days
Toyota RAV4 Hood Latch
If you are in demand for superior quality and affordable OEM Toyota RAV4 Hood Latch, then shop with us! We own a wide range of the reduced-priced genuine Toyota RAV4 Hood Latch. You can purchase in confidence as all parts come with a manufacturer's warranty. Any issues with our products? No need to worry as we have a hassle-free return policy to guide you every step of the way.
Toyota RAV4 Hood Latch Parts Questions & Experts Answers
- Q: How to install and adjust a Hood Cable, hood latch, and hood release lever on a Toyota Rav4?A:To bolt the latch, it is recommended to put a marker line around the latch, and then to unscrew the bolts which hold the hood latch on the radiator support and can be adjusted horizontally and vertically. Pull the hood cable, unhooked from the latch belly and pulled the latch assembly out. For the hood release lever, gain access to the interior of the vehicle in order to remove the driver's side kick panel, then use a screwdriver or other tool to pry the hood release lever up by the spring and perform some force on the cable housing end to get the cable out of the handle. If needed, to remove the handle, the retaining tab must be pulled out and downward while the clips are released in the instrument panel and then the cable and an accompanying lever can be removed. Installation on the other hand is in the reverse order/ sequence. When working on the hood cable, initially disconnect it from the inside release lever and then use a piece of thin string or wire and make sure it is long enough to reach the latch of the hood. In the engine compartment, you have to take the cable out from the latch assembly, and separate all the retaining limit clips. In pulling the cable forward, the policy dictates that after the wire or string is visible you then transfer the same from the old cable to the new one. Inside the vehicle retract the wire or string through the firewall to the desired position of the new cable on the interior handle then fix the new cable into the hood release lever sandwiches them properly into the lever bracket. Tug the cable forward until the stop seats in the grommet on the firewall; and then reverse the whole procedure.
Related Toyota RAV4 Parts
Browse by Year
2024 Hood Latch 2023 Hood Latch 2022 Hood Latch 2021 Hood Latch 2020 Hood Latch 2019 Hood Latch 2018 Hood Latch 2017 Hood Latch 2016 Hood Latch 2015 Hood Latch 2014 Hood Latch 2013 Hood Latch 2012 Hood Latch 2011 Hood Latch 2010 Hood Latch 2009 Hood Latch 2008 Hood Latch 2007 Hood Latch 2006 Hood Latch 2005 Hood Latch 2004 Hood Latch 2003 Hood Latch 2002 Hood Latch 2001 Hood Latch 2000 Hood Latch 1999 Hood Latch 1998 Hood Latch 1997 Hood Latch 1996 Hood Latch
