
My Garage
My Account
Cart
Genuine Toyota Sequoia Variable Timing Sprocket
Timing Gear Sprocket- Select Vehicle by Model
- Select Vehicle by VIN
Select Vehicle by Model
orMake
Model
Year
Select Vehicle by VIN
For the most accurate results, select vehicle by your VIN (Vehicle Identification Number).
15 Variable Timing Sprockets found
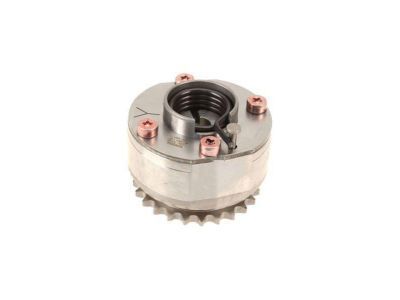
Toyota Sequoia Camshaft Gear Assembly
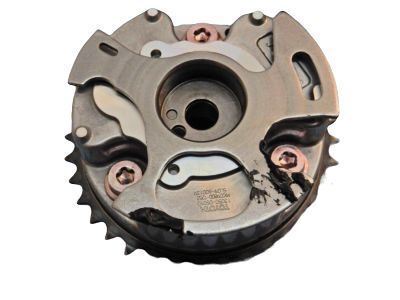
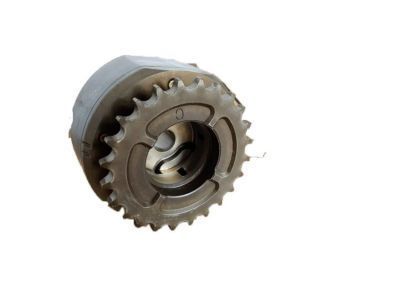
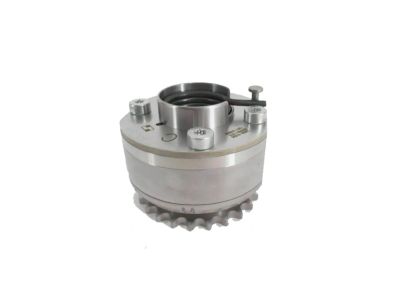
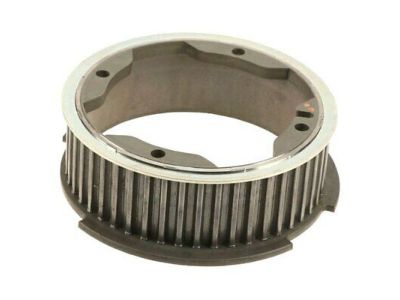
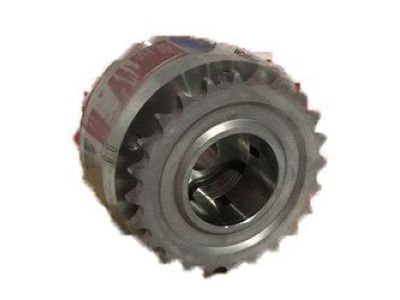
Part Number: 13050-0S010$337.50 MSRP: $503.48You Save: $165.98 (33%)Toyota Sequoia Gear Assy, Camshaft Timing Exhaust, LH
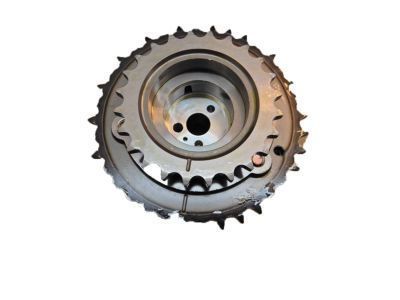
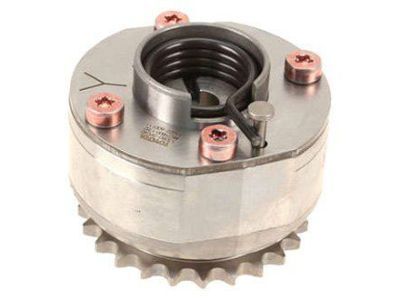
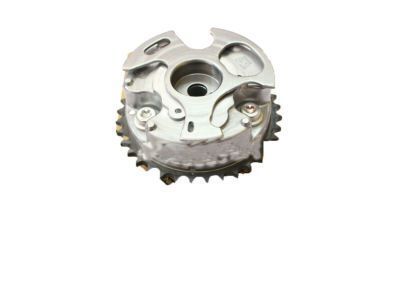
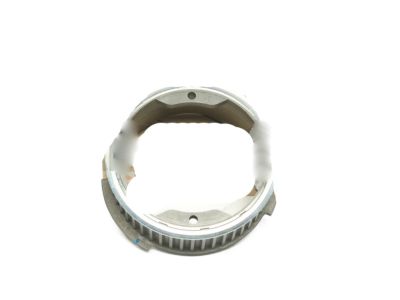
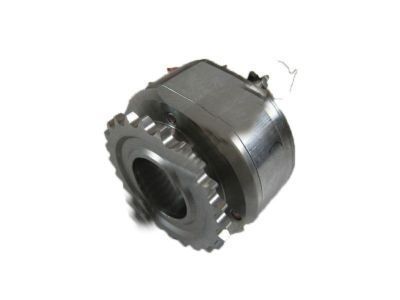
Part Number: 13080-31030$316.55 MSRP: $453.91You Save: $137.36 (31%)Ships in 1-3 Business DaysToyota Sequoia Gear Assembly, Camshaft Timing
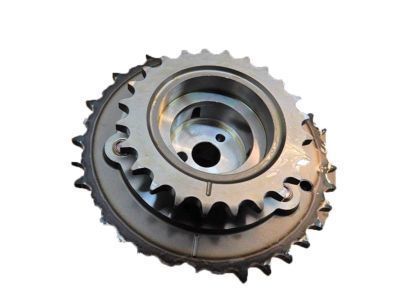
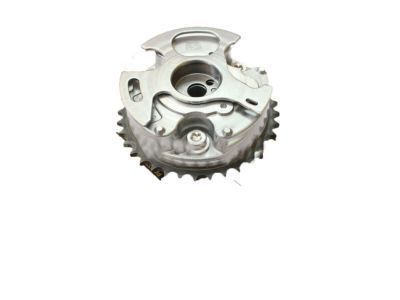
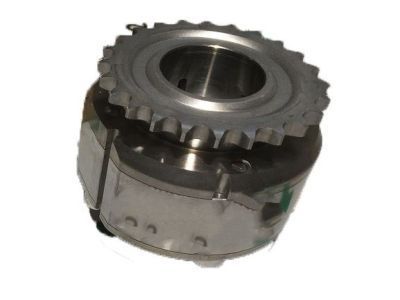
Part Number: 13050-38010$337.50 MSRP: $503.48You Save: $165.98 (33%)Ships in 1-3 Business DaysToyota Sequoia Camshaft Gear Assembly
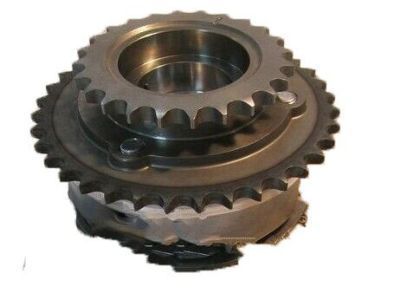
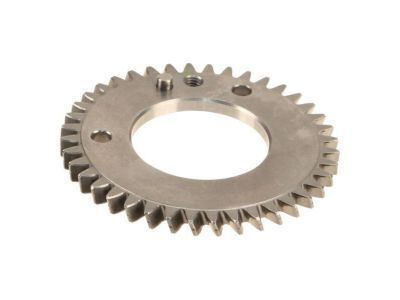
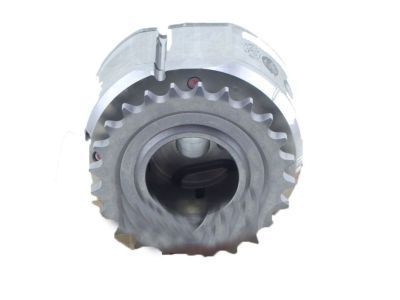
Part Number: 13080-0P040$315.39 MSRP: $452.25You Save: $136.86 (31%)Ships in 1-3 Business DaysToyota Sequoia Gear Assy, Camshaft Timing Exhaust, LH
Part Number: 13080-0P020$315.39 MSRP: $452.25You Save: $136.86 (31%)Ships in 1 Business DayToyota Sequoia Camshaft Gear Assembly
Part Number: 13050-0S020$337.50 MSRP: $503.48You Save: $165.98 (33%)Ships in 1-3 Business DaysToyota Sequoia Pulley Sub-Assy, Camshaft Timing, LH
Part Number: 13056-50050$117.81 MSRP: $167.48You Save: $49.67 (30%)Ships in 1-3 Business DaysToyota Sequoia Gear, Camshaft Sub
Part Number: 13529-50900$27.12 MSRP: $37.91You Save: $10.79 (29%)Ships in 1-3 Business DaysToyota Sequoia Pulley Sub-Assy, Camshaft Timing, LH
Part Number: 13056-50030$116.69 MSRP: $164.48You Save: $47.79 (30%)Ships in 1-3 Business DaysToyota Sequoia Gear, Camshaft Drive
Part Number: 13528-50030$47.35 MSRP: $66.19You Save: $18.84 (29%)Ships in 1-3 Business DaysToyota Sequoia GEAR ASSY, CAMSHAFT
Part Number: 13080-F4010$350.54 MSRP: $522.94You Save: $172.40 (33%)Ships in 1-3 Business DaysToyota Sequoia Gear Assembly Camshaft
Part Number: 13070-F4010$353.67 MSRP: $527.59You Save: $173.92 (33%)Ships in 1-3 Business DaysToyota Sequoia Pulley Sub-Assy, Camshaft Timing, LH
Part Number: 13056-0F010$117.81 MSRP: $167.48You Save: $49.67 (30%)Ships in 1-3 Business DaysToyota Sequoia Engine Timing Camshaft Sprocket
Part Number: 13050-F4010$226.88 MSRP: $325.34You Save: $98.46 (31%)Ships in 1-3 Business DaysToyota Sequoia Camshaft Gear Assembly
Part Number: 13080-0S010$369.95 MSRP: $551.89You Save: $181.94 (33%)
Toyota Sequoia Variable Timing Sprocket
If you are in demand for superior quality and affordable OEM Toyota Sequoia Variable Timing Sprocket, then shop with us! We own a wide range of the reduced-priced genuine Toyota Sequoia Variable Timing Sprocket. You can purchase in confidence as all parts come with a manufacturer's warranty. Any issues with our products? No need to worry as we have a hassle-free return policy to guide you every step of the way.
Toyota Sequoia Variable Timing Sprocket Parts Questions & Experts Answers
- Q: How to Remove and Install a Timing Chain and Variable Timing Sprocket in a 4.6L and 5.7L Engine on a Toyota Sequoia?A:The timing system is slightly involved and drastic engine damage could result in the case of a misunderstanding, this should only be carried out by experienced personnel in consultation with the mechanic in case of difficulties. Start with live electromagnetic termination of the negative companion terminal, eliminating fuel pressure and removing fuel hoses. Before proceeding with the work, you must drain the engine oil and coolant, disconnect the engine cover, the fan shroud and the radiator, the inlet duct and the housing of the air filter. Most connections are disconnected electrically; the intake manifold, heater hoses, thermostat housing, water pump, and the A/C compressor are some of the parts, which can be pulled out of the way only in some cases. Put off the oil filter, the dipstick tube, power-steering pump, the alternator, the fan bracket assembly, the ignition coils, spark plugs, and both the valve covers. Leave the engine to remain on TDC, aside from that, loosen the crankshaft pulley and take the timing chain cover off without scratching the cover. Remove the old crankshaft seal and as far as the piston in No. 1 cylinder is nearing the TDC on the compression stroke to check the crankshaft and camshaft timing marks on the sprockets. Fasten the No.1 tensioner with the retracted position, take out the chain vibration dampers and notice the timing marks before taking off the No. 1 timing chain and crankshaft timing chain sprocket. Tighten the No. 2 chain tensioner and shut the lock, then remove the camshaft timing sprockets and No. 2 tensioner and put the components in anOne of the sealed transparent plastic bags. Do the same for the No. 3 timing chain as well as the timing chain tensioner; however, do not rotate crankshaft during removal. Check all timing chain assembly components for signs of wear and or damage, and check the length of the chain as well as the diameter of the sprockets and the tensioners. To check it, you should grab the crankshaft when the starter is not engaged and try to rotate it; there should be some level of resistance. Timings for the No.2 timing chain is to position the yellow mark links with the timing lines and finally bolt the sprockets onto the cams. Unbolt No. 1 chain cover, and put the long timing chain in position, with orange links engaging timing dots and then bolt the No. 1 tensioner. Scrape off the earlier applied RTV sealant from the mating surfaces, replace the crankshaft oil seal and O-ring, apply gray RTV sealant to the O-ring and finally place the timing chain cover and fasteners while tightening them in the correct manner. reverse all the procedures mentioned under removal, replace the oil and the coolant, join the battery terminals, and start the engine to search for any fluid leakage.
Related Toyota Sequoia Parts
Browse by Year
2025 Variable Timing Sprocket 2024 Variable Timing Sprocket 2023 Variable Timing Sprocket 2022 Variable Timing Sprocket 2021 Variable Timing Sprocket 2020 Variable Timing Sprocket 2019 Variable Timing Sprocket 2018 Variable Timing Sprocket 2017 Variable Timing Sprocket 2016 Variable Timing Sprocket 2015 Variable Timing Sprocket 2014 Variable Timing Sprocket 2013 Variable Timing Sprocket 2012 Variable Timing Sprocket 2011 Variable Timing Sprocket 2010 Variable Timing Sprocket 2009 Variable Timing Sprocket 2008 Variable Timing Sprocket 2007 Variable Timing Sprocket 2006 Variable Timing Sprocket 2005 Variable Timing Sprocket 2004 Variable Timing Sprocket 2003 Variable Timing Sprocket 2002 Variable Timing Sprocket 2001 Variable Timing Sprocket
