
My Garage
My Account
Cart
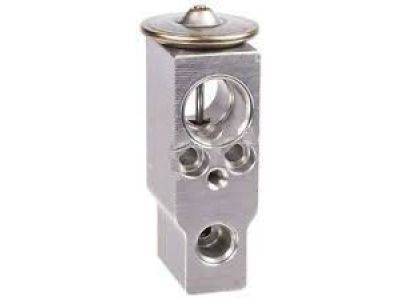
Genuine Toyota Sienna A/C Expansion Valve
Air Conditioning Expansion Valve- Select Vehicle by Model
- Select Vehicle by VIN
Select Vehicle by Model
orMake
Model
Year
Select Vehicle by VIN
For the most accurate results, select vehicle by your VIN (Vehicle Identification Number).
16 A/C Expansion Valves found
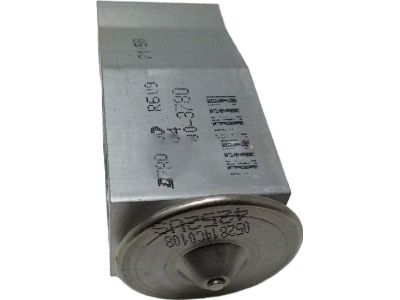
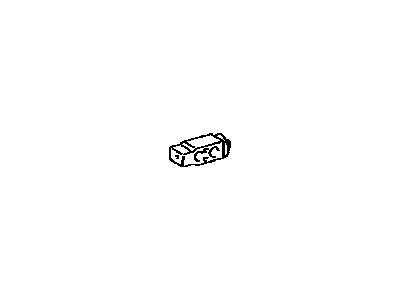
Toyota Sienna Cooler Expansion Valve No
Part Number: 88515-08140$72.20 MSRP: $101.78You Save: $29.58 (30%)Ships in 1-3 Business DaysToyota Sienna Cooler Expansion Valve No
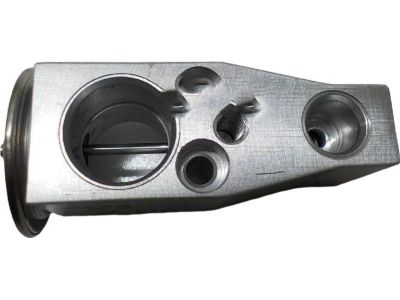
Part Number: 88515-0E110$72.68 MSRP: $102.44You Save: $29.76 (30%)Ships in 1-3 Business DaysToyota Sienna Cooler Expansion Valve
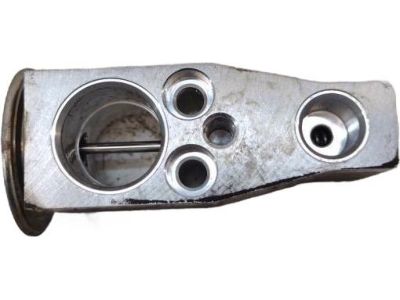
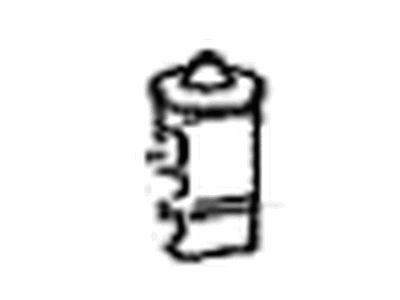
Part Number: 88515-08060$56.63 MSRP: $79.16You Save: $22.53 (29%)Ships in 1-3 Business DaysToyota Sienna Cooler Expansion Valve No
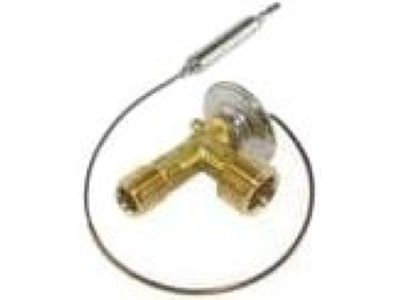
Part Number: 88515-0E160$71.26 MSRP: $100.45You Save: $29.19 (30%)Ships in 1-3 Business DaysToyota Sienna Cooler Expansion Valve
Part Number: 88515-08100$89.55 MSRP: $126.24You Save: $36.69 (30%)Ships in 1-3 Business DaysToyota Sienna Cooler Expansion Valve No
Part Number: 88515-08120$72.68 MSRP: $102.44You Save: $29.76 (30%)Ships in 1-3 Business DaysToyota Sienna Cooler Expansion Valve
Part Number: 88515-08090$89.43 MSRP: $126.06You Save: $36.63 (30%)Ships in 1-3 Business DaysToyota Sienna Expansion Valve
Part Number: 88515-08080$62.88 MSRP: $88.64You Save: $25.76 (30%)Ships in 1-3 Business DaysToyota Sienna Cooler Expansion Valve No
Part Number: 88515-08170$71.50 MSRP: $100.78You Save: $29.28 (30%)Ships in 1-2 Business DaysToyota Sienna Cooler Expansion Valve
Part Number: 88515-08050$81.76 MSRP: $115.26You Save: $33.50 (30%)Ships in 1-3 Business DaysToyota Sienna Cooler Expansion Valve No
Part Number: 88515-50340$89.67 MSRP: $126.40You Save: $36.73 (30%)Ships in 1-3 Business DaysToyota Sienna Cooler Expansion Valve
Part Number: 88515-0C090$71.50 MSRP: $100.78You Save: $29.28 (30%)Ships in 1-3 Business DaysToyota Sienna Cooler Expansion Valve No
Part Number: 88515-08130$72.20 MSRP: $101.78You Save: $29.58 (30%)Ships in 1-3 Business DaysToyota Sienna Expansion Valve
Part Number: 88515-08030$60.52 MSRP: $85.32You Save: $24.80 (30%)Ships in 1-3 Business DaysToyota Sienna Cooler Expansion Valve
Part Number: 88515-08070$89.43 MSRP: $126.06You Save: $36.63 (30%)Ships in 1-3 Business DaysToyota Sienna Cooler Expansion Valve
Part Number: 88515-08110$66.30 MSRP: $93.47You Save: $27.17 (30%)
Toyota Sienna A/C Expansion Valve
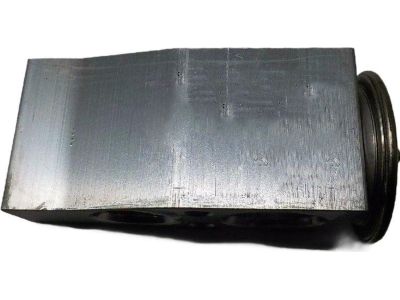
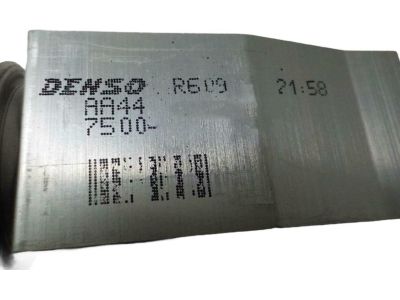
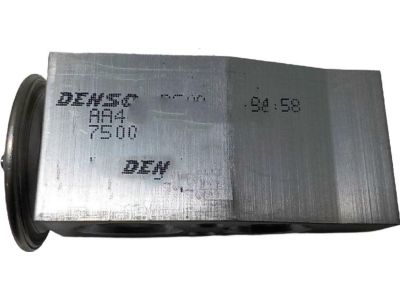
For proper working of A/C in Toyota Sienna models, the A/C Expansion Valve is used to regulate the flow of the refrigerant in the A/C circuit. The A/C Expansion Valve controls the flow of the refrigerant so that the efficiency and performance of the cooling system of automobiles are optimized. There may be manufactured and installed in Sienna models for a long time different kinds of A/C Expansion Valves, and they work in different ways and perform different functions. Without proper knowledge about the A/C Expansion Valve it will be difficult to work or even troubleshoot the A/C system of the Toyota Sienna.
If you are in demand for superior quality and affordable OEM Toyota Sienna A/C Expansion Valve, then shop with us! We own a wide range of the reduced-priced genuine Toyota Sienna A/C Expansion Valve. You can purchase in confidence as all parts come with a manufacturer's warranty. Any issues with our products? No need to worry as we have a hassle-free return policy to guide you every step of the way.
Toyota Sienna A/C Expansion Valve Parts Questions & Experts Answers
- Q: How to remove and install the evaporator and A/C Expansion Valve in a Toyota Sienna's air conditioning system?A:This is a difficult procedure for the home mechanic and involves removal of the dashboard. There are a number of hard-to-reach fasteners and many electrical connectors. For the front evaporator, the air conditioning system needs to be discharged and recovered by a technician. The receiver line and suction line should be disconnected from the evaporator, and the refrigerant lines at the firewall should be removed. The glove compartment and right side lower dash panel should be removed, followed by disconnecting the electrical connectors from the evaporator housing. Under the dash, the cooling unit should be secured to the firewall with rivets, bolts, and a nut. The housing should be separated to remove the evaporator core, and the thermostat sensor and expansion valve should be removed if necessary. For installation, new O-rings should be installed and coated with R-134a refrigerant oil. The system should be evacuated, charged, and leak tested by a technician. For the rear evaporator, the rear heating/air conditioning unit should be removed. The unit case should be separated to remove the evaporator. New O-rings should be installed and coated with refrigerant oil. The system should be evacuated, charged, and leak tested by a technician. For five-door models, the rear cooling unit is located separately from the rear heating unit. The air conditioning system should be discharged and the refrigerant recovered. The rear seats, scuff plate, upper quarter panel trim, and rear quarter trim panel should be removed. From beneath the vehicle, the refrigerant lines should be disconnected. The rear cooling unit should be removed by removing the mounting bolts. The cooling unit housing should be separated to remove the evaporator. Installation is the reverse of removal, with new O-rings and refrigerant oil. The system should be evacuated, charged, and leak tested by a technician.
Related Toyota Sienna Parts
Browse by Year
2024 A/C Expansion Valve 2023 A/C Expansion Valve 2022 A/C Expansion Valve 2021 A/C Expansion Valve 2020 A/C Expansion Valve 2019 A/C Expansion Valve 2018 A/C Expansion Valve 2017 A/C Expansion Valve 2016 A/C Expansion Valve 2015 A/C Expansion Valve 2014 A/C Expansion Valve 2013 A/C Expansion Valve 2012 A/C Expansion Valve 2011 A/C Expansion Valve 2010 A/C Expansion Valve 2009 A/C Expansion Valve 2008 A/C Expansion Valve 2007 A/C Expansion Valve 2006 A/C Expansion Valve 2005 A/C Expansion Valve 2004 A/C Expansion Valve 2003 A/C Expansion Valve 2002 A/C Expansion Valve 2001 A/C Expansion Valve 2000 A/C Expansion Valve 1999 A/C Expansion Valve 1998 A/C Expansion Valve
