
My Garage
My Account
Cart
Genuine Toyota Sienna Brake Master Cylinder
- Select Vehicle by Model
- Select Vehicle by VIN
Select Vehicle by Model
orMake
Model
Year
Select Vehicle by VIN
For the most accurate results, select vehicle by your VIN (Vehicle Identification Number).
14 Brake Master Cylinders found
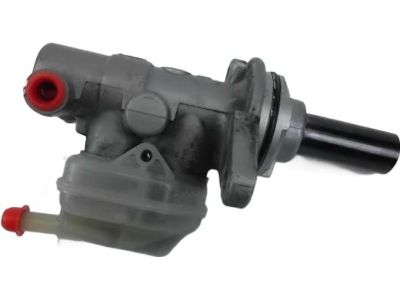
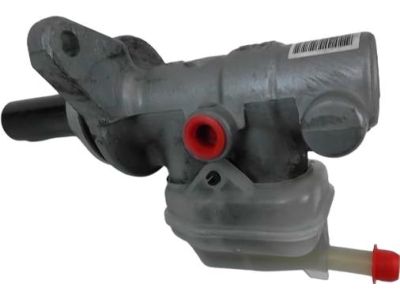
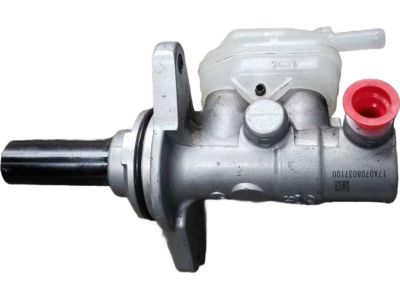
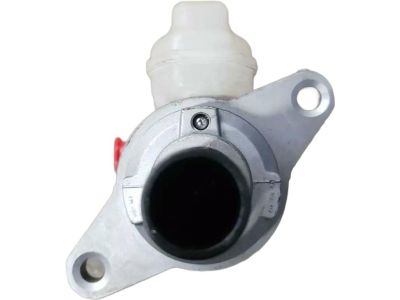
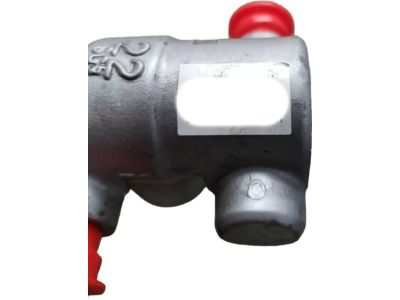
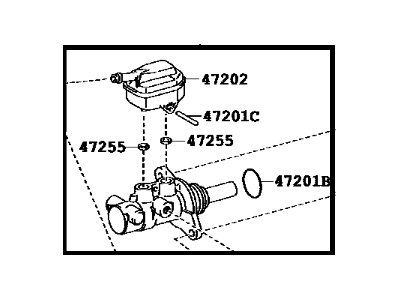
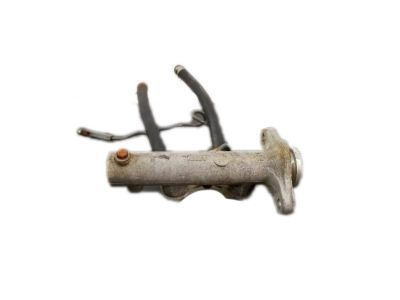
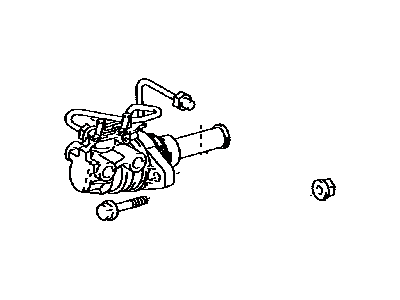
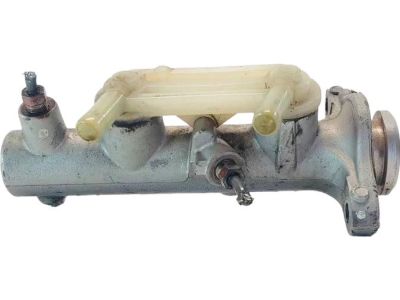
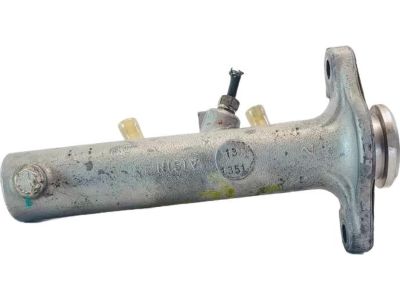
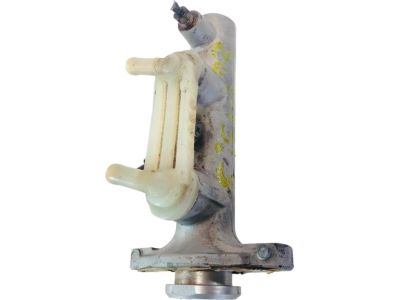
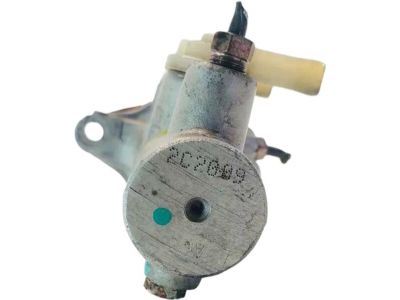
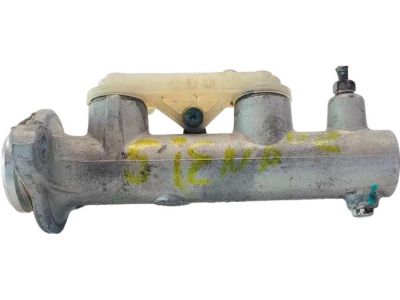
Toyota Sienna Brake Master Cylinder Sub-Assembly
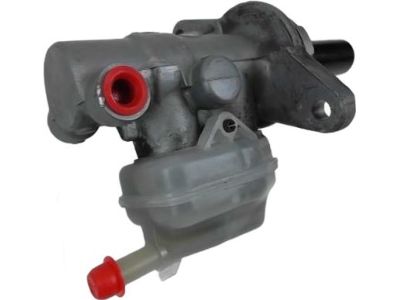
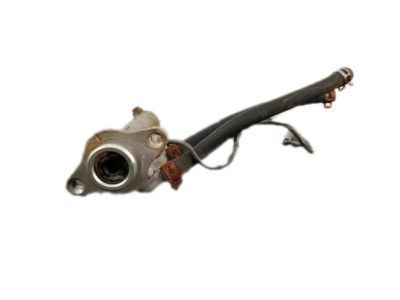
Part Number: 47201-48202$245.68 MSRP: $352.28You Save: $106.60 (31%)Ships in 1-3 Business DaysToyota Sienna Brake Master Cylinder Sub-Assembly
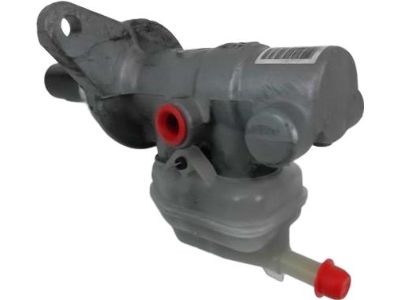
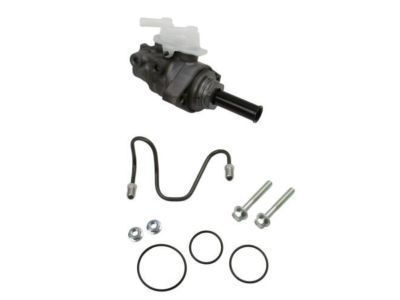
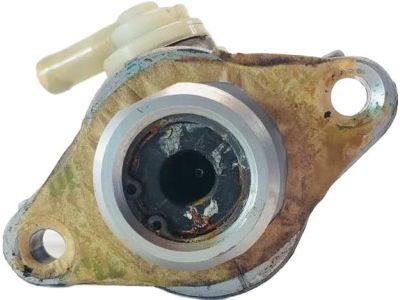
Part Number: 47201-0E060$245.68 MSRP: $352.28You Save: $106.60 (31%)Ships in 1-3 Business DaysToyota Sienna Brake Master Cylinder Sub-Assembly
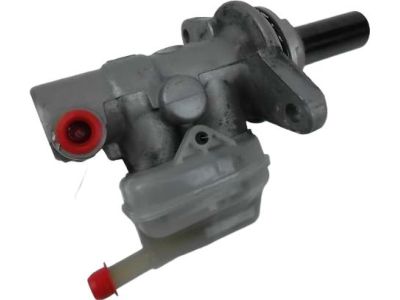
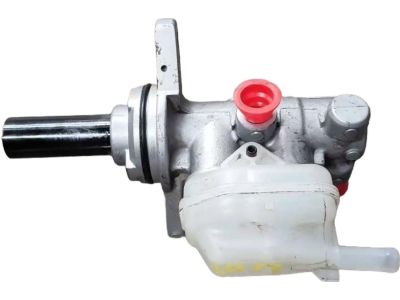
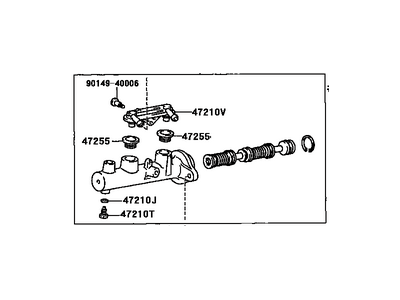
Part Number: 47201-08010$231.87 MSRP: $332.48You Save: $100.61 (31%)Ships in 1-3 Business DaysToyota Sienna Brake Master Cylinder Sub-Assembly Without Reservoir Tank
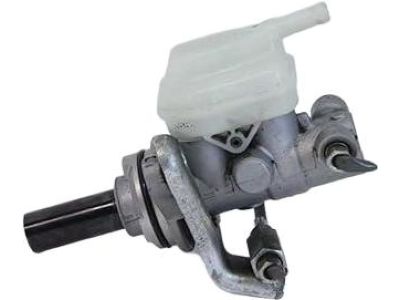
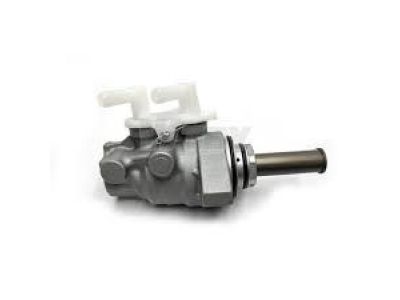
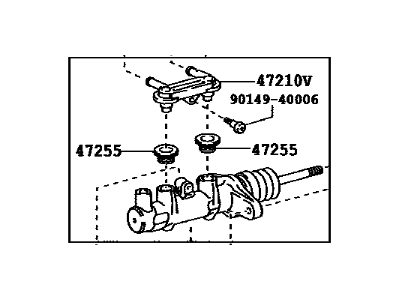
Part Number: 47207-08010$388.37 MSRP: $579.36You Save: $190.99 (33%)Ships in 1-3 Business DaysToyota Sienna Brake Master Cylinder Sub-Assembly
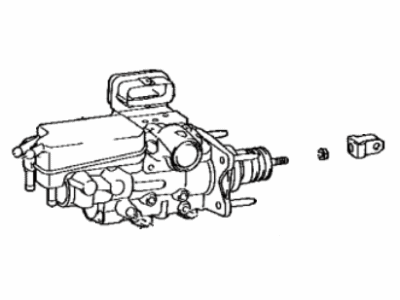
Part Number: 47207-08011$221.43 MSRP: $317.52You Save: $96.09 (31%)Ships in 1-2 Business DaysToyota Sienna Brake Master Cylinder Sub-Assembly Without Connector
Part Number: 47207-08020$386.56 MSRP: $576.67You Save: $190.11 (33%)Ships in 1-3 Business DaysToyota Sienna Brake Master Cylinder Sub-Assembly
Part Number: 47201-08040$178.86 MSRP: $256.48You Save: $77.62 (31%)Ships in 1-3 Business DaysToyota Sienna Brake Master Cylinder Sub-Assembly
Part Number: 47201-48200$245.68 MSRP: $352.28You Save: $106.60 (31%)Ships in 1-3 Business DaysToyota Sienna Brake Master Cylinder Sub-Assembly
Part Number: 47201-08050$233.03 MSRP: $334.15You Save: $101.12 (31%)Ships in 1-3 Business DaysToyota Sienna Brake Master Cylinder Sub-Assembly
Part Number: 47055-08021$886.06 MSRP: $1323.01You Save: $436.95 (34%)Ships in 1-3 Business DaysToyota Sienna Brake Master Cylinder Sub-Assembly
Part Number: 47201-08080$245.68 MSRP: $352.28You Save: $106.60 (31%)Ships in 1-3 Business DaysToyota Sienna Brake Master Cylinder Sub-Assembly
Part Number: 47055-08020$1169.57 MSRP: $1746.33You Save: $576.76 (34%)Ships in 1-3 Business DaysToyota Sienna Brake Master Cylinder Sub-Assembly
Part Number: 47055-45010$1169.57 MSRP: $1746.33You Save: $576.76 (34%)Ships in 1-3 Business Days
Toyota Sienna Brake Master Cylinder
If you are in demand for superior quality and affordable OEM Toyota Sienna Brake Master Cylinder, then shop with us! We own a wide range of the reduced-priced genuine Toyota Sienna Brake Master Cylinder. You can purchase in confidence as all parts come with a manufacturer's warranty. Any issues with our products? No need to worry as we have a hassle-free return policy to guide you every step of the way.
Toyota Sienna Brake Master Cylinder Parts Questions & Experts Answers
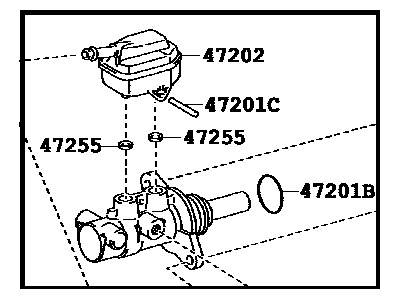
- Q: How to Remove and Install the Brake Master Cylinder on a Toyota Sienna?A:To access the air cleaner assembly, begin by unscrewing the cowl cover and disconnecting the electrical connector of the brake fluid level warning switch but it must be noted that the fluid reservoir is located remote from the air cleaner. At least, you should use a syringe to suck up as much of the fluid as possible from the reservoir; additionally, prepare rags under the fittings, as well as caps (or plastic bags for the ends of the lines if separating them). Now, shut off the fluid line with big pliers from the reservoir without releasing the spring locked clip at the end of the Brake Master Cylinder, so that no brake fluid runs out, as it stains the paint work. Unscrew the fittings at the ends of the used brake line connections entering the Brake Master Cylinder with flare nut wrench to avoid rounding-off the flats, then remove the brake lines and plug the ends to prevent contaminating them. Loosen the nuts that secure the Brake Master Cylinder to the power booster but do not fully unscrew them and unthread the Brake Master Cylinder from the studs with the remote reservoir and its hoses still connected without spilling any fluid. For the installation of new Brake Master Cylinder, bench bleed it; it is secured on the bench in the vise with bleeder tubes connected to the outlet port. Add the brake fluid recommended into the reservoir and slowly force the piston in the Brake Master Cylinder until it squeezes out air and redo this until air is not visible. Once the bleed tubes have been disconnected and the plugs inserted, the Brake Master Cylinder should be bolted on the studs on the power Brake Booster and the nuts tightened with your fingers only. Pass the brake line fittings through the Brake Master Cylinder, such that they cannot be stripped, and then give the mounting nut and brake line fittings as much torque as they are capable of receiving. Add fluid into the Brake Master Cylinder reservoir and at this time turn the cylinder reservoir upside down and pump the brake pedal by an assistant while loosening the fitting nut to allow for air and a clear fluid to come out. Last but not the least, perform the brake system functionality test cautiously before getting back to normal use of the car.
Related Toyota Sienna Parts
Browse by Year
2024 Brake Master Cylinder 2023 Brake Master Cylinder 2022 Brake Master Cylinder 2021 Brake Master Cylinder 2020 Brake Master Cylinder 2019 Brake Master Cylinder 2018 Brake Master Cylinder 2017 Brake Master Cylinder 2016 Brake Master Cylinder 2015 Brake Master Cylinder 2014 Brake Master Cylinder 2013 Brake Master Cylinder 2012 Brake Master Cylinder 2011 Brake Master Cylinder 2010 Brake Master Cylinder 2009 Brake Master Cylinder 2008 Brake Master Cylinder 2007 Brake Master Cylinder 2006 Brake Master Cylinder 2005 Brake Master Cylinder 2004 Brake Master Cylinder 2003 Brake Master Cylinder 2002 Brake Master Cylinder 2001 Brake Master Cylinder 2000 Brake Master Cylinder 1999 Brake Master Cylinder 1998 Brake Master Cylinder
