
My Garage
My Account
Cart
Genuine Toyota Sienna Camshaft
Cam- Select Vehicle by Model
- Select Vehicle by VIN
Select Vehicle by Model
orMake
Model
Year
Select Vehicle by VIN
For the most accurate results, select vehicle by your VIN (Vehicle Identification Number).
57 Camshafts found
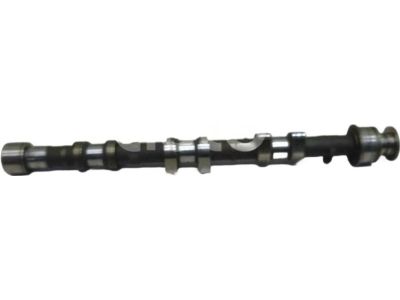
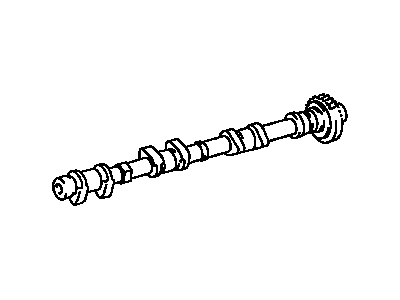
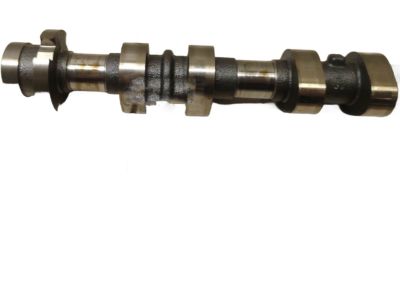
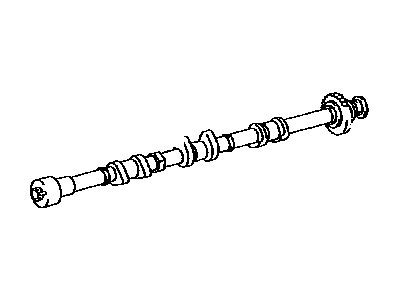
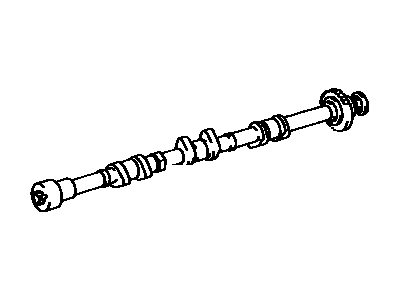
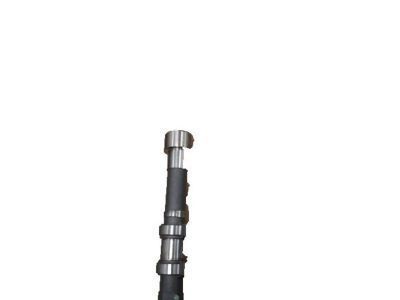
Toyota Sienna Camshaft
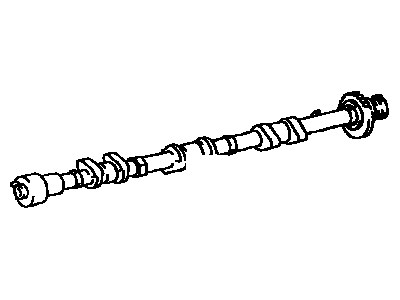
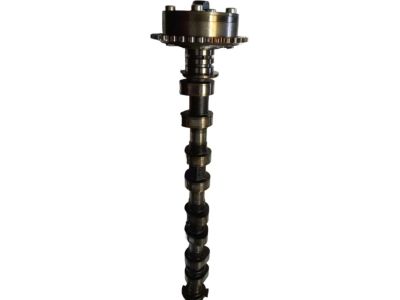
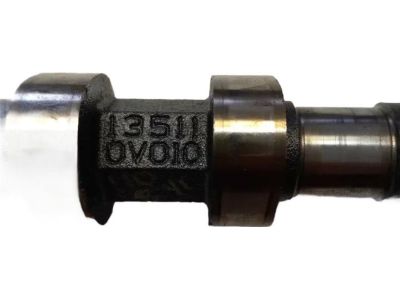
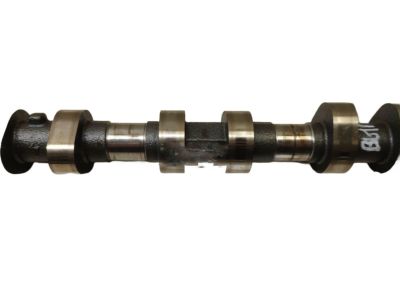
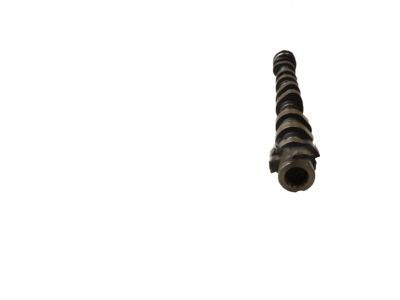
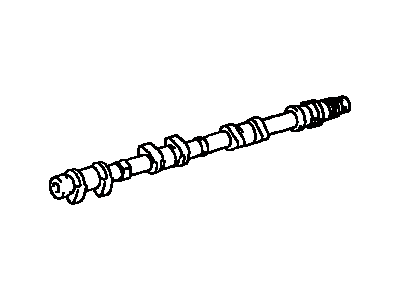
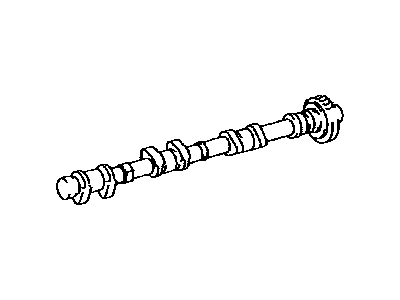
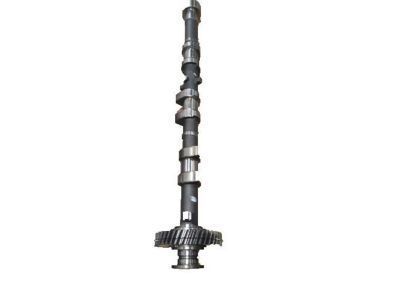
Part Number: 13502-20030$293.12 MSRP: $420.31You Save: $127.19 (31%)Ships in 1-3 Business DaysToyota Sienna Camshaft Sub-Assembly
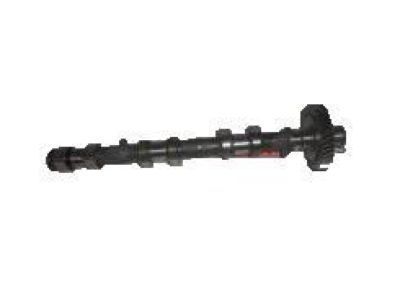
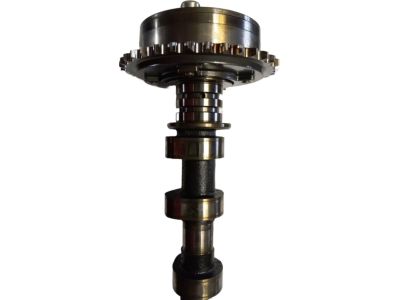
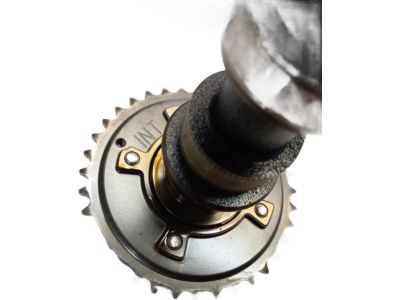
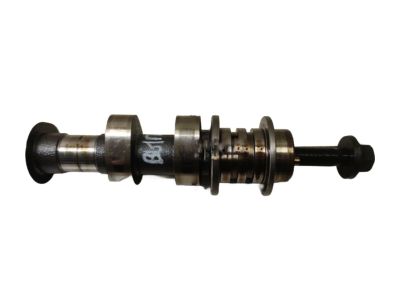
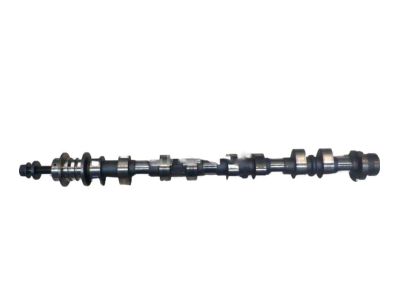
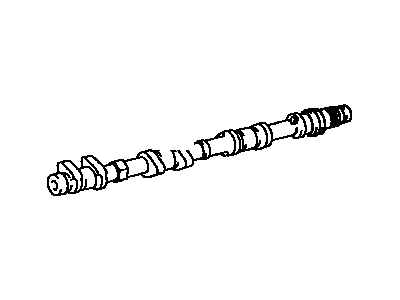
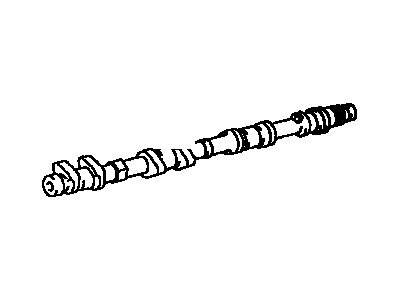
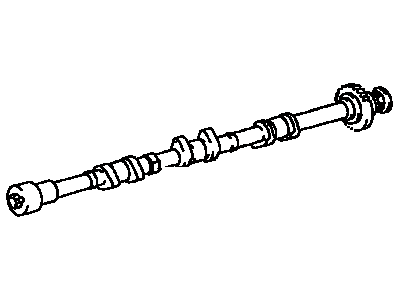
Part Number: 13053-20010$324.21 MSRP: $464.89You Save: $140.68 (31%)Ships in 1-3 Business DaysToyota Sienna N Camshaft Sub-Assembly
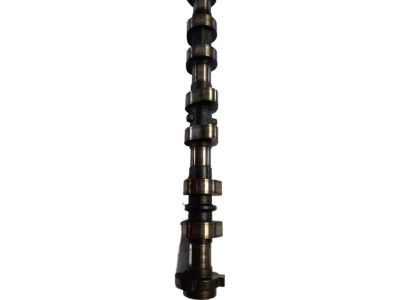
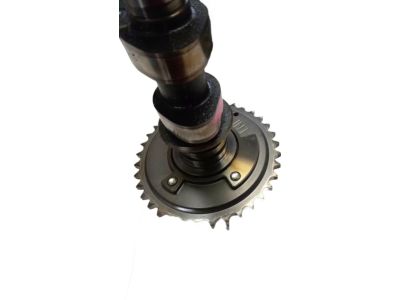
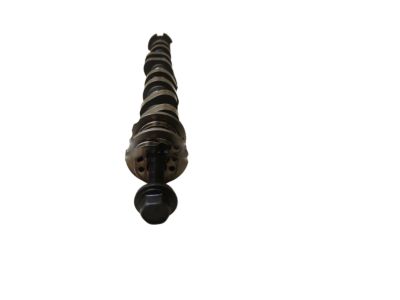
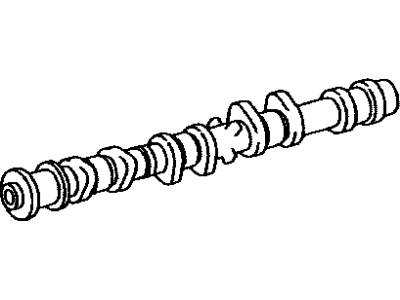
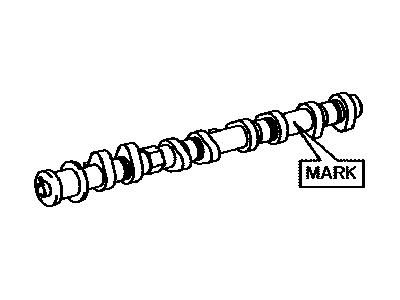
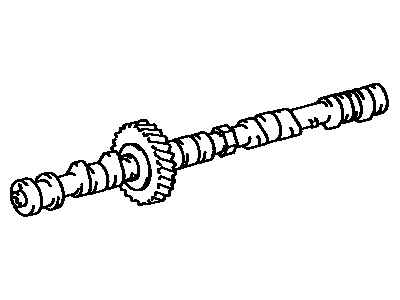
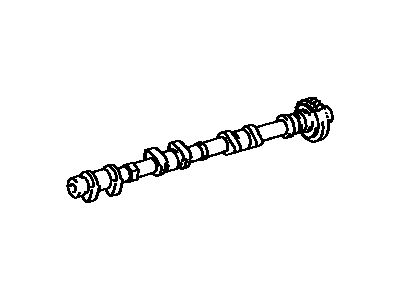
Part Number: 13501-36050$370.95 MSRP: $553.38You Save: $182.43 (33%)Ships in 1-3 Business DaysToyota Sienna N Camshaft Sub-Assembly
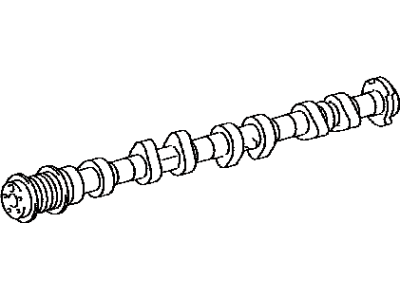
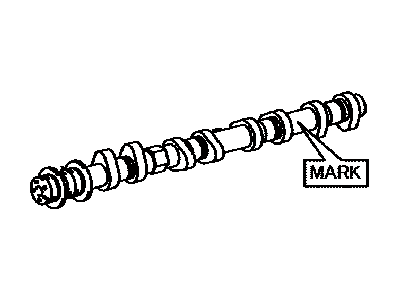
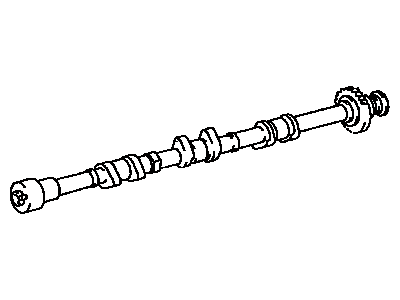
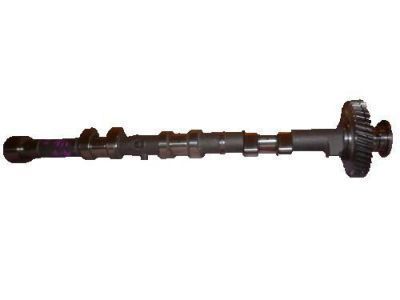
Part Number: 13502-36030$360.91 MSRP: $538.41You Save: $177.50 (33%)Ships in 1-3 Business DaysToyota Sienna N Camshaft Sub-Assembly
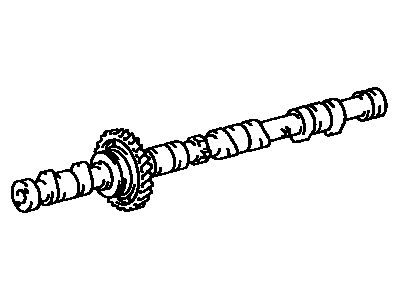
Part Number: 13501-0P030$427.81 MSRP: $638.21You Save: $210.40 (33%)Ships in 1-3 Business DaysToyota Sienna Camshaft Sub-Assembly
Part Number: 13053-20040$338.71 MSRP: $485.68You Save: $146.97 (31%)Ships in 1-3 Business DaysToyota Sienna N Camshaft Sub-Assembly
Part Number: 13502-F0020$355.67 MSRP: $530.60You Save: $174.93 (33%)Ships in 1-3 Business DaysToyota Sienna Camshaft Sub-Assembly
Part Number: 13054-0A030$539.50 MSRP: $805.55You Save: $266.05 (34%)Toyota Sienna Camshaft
Part Number: 13502-20010$217.71 MSRP: $312.18You Save: $94.47 (31%)Ships in 1-3 Business DaysToyota Sienna Camshaft Sub-Assembly
Part Number: 13054-0A020$334.18 MSRP: $479.20You Save: $145.02 (31%)Ships in 1-3 Business DaysToyota Sienna N Camshaft Sub-Assembly
Part Number: 13502-0P030$427.81 MSRP: $638.21You Save: $210.40 (33%)Ships in 1-3 Business DaysToyota Sienna Camshaft Sub-Assembly
Part Number: 13053-20030$323.16 MSRP: $463.40You Save: $140.24 (31%)Ships in 1-3 Business DaysToyota Sienna Camshaft
Part Number: 13501-20040$314.23 MSRP: $450.58You Save: $136.35 (31%)Ships in 1-3 Business DaysToyota Sienna Camshaft
Part Number: 13501-20020$295.64 MSRP: $423.92You Save: $128.28 (31%)Ships in 1-3 Business DaysToyota Sienna Camshaft Sub-Assembly
Part Number: 13054-0P021$524.15 MSRP: $781.93You Save: $257.78 (33%)Ships in 1-3 Business DaysToyota Sienna Camshaft
Part Number: 13501-20050$338.71 MSRP: $485.68You Save: $146.97 (31%)Ships in 1-3 Business DaysToyota Sienna N Camshaft Sub-Assembly
Part Number: 13054-0P030$403.51 MSRP: $601.96You Save: $198.45 (33%)Ships in 1-3 Business DaysToyota Sienna Camshaft Sub-Assembly
Part Number: 13053-31031$450.44 MSRP: $671.96You Save: $221.52 (33%)Ships in 1-3 Business DaysToyota Sienna Camshaft Sub-Assembly
Part Number: 13054-20010$334.18 MSRP: $479.20You Save: $145.02 (31%)Toyota Sienna Camshaft Sub-Assembly
Part Number: 13054-20030$310.06 MSRP: $444.60You Save: $134.54 (31%)
| Page 1 of 3 |Next >
1-20 of 57 Results
Toyota Sienna Camshaft
If you are in demand for superior quality and affordable OEM Toyota Sienna Camshaft, then shop with us! We own a wide range of the reduced-priced genuine Toyota Sienna Camshaft. You can purchase in confidence as all parts come with a manufacturer's warranty. Any issues with our products? No need to worry as we have a hassle-free return policy to guide you every step of the way.
Toyota Sienna Camshaft Parts Questions & Experts Answers
- Q: What are the steps involved in the removal, inspection, and installation of the camshaft in 3.0L and 3.3L V6 engine on Toyota Sienna?A:Prior to the start of this process, it is necessary to acquire two 6 x 1.0 mm bolts, 16 to 20 mm in length called service bolts. The procedures include positioning it at the top dead centre, thereby utilizing the respective tools to remove the valve covers, Timing Belt and the camshaft sprocket. You should use a dial indicator to achieve measurements on the camshaft thrust clearance; if the measurements are over the service limit, then you are indebted to replace the camshaft or the cylinder head. First, for each of the four camshafts, install plastic bushings around the exhaust camshaft subgear, then unbolt intake cam, and finally unbolt exhaust camshaft. Be sure the cam timing marks on the drive and driven gears are lined up, and aligned properly according to the right and left cylinder head. Fasten the exhaust camshaft sub-gear to the driven gear with a service bolt and then slacken the intake camshaft bearing cap bolts in a quarter turn at a time till they are ready to be removed, as the sequence suggested. To do this, unbolt the bearing caps and, very carefully, lift the intake camshaft up and level it. Repeat for the exhaust camshaft using the stored bearing caps in the correct order. In any case, it is possible to take out the valve lifters and shims together with the help of a magnetic tool, and keep them in different containers to prevent confusion. Remove an exhaust camshaft gear by firstly, gaining access to the cam, then engulfing it in a vise and finally using service bolts to take off the final sub gear. Check and indicate the thickness of the end gap of the camshaft gear spring and compare with the standard, if different then replace it. It is necessary to clean out the valve lifters, label and take off the shims, checking each lifter, its wear and the oil clearance. Checked for cam lobes and bearing journals for any signs of damages and measure the height of the each camshaft lobe and diameter of each journal replacing any that orginal specifications. Whenever the journals are excessively worn, use Plastigage to measure the oil clearance of each camshaft journal and change the camshaft or the cylinder head. Intially, bolt-in both the camshafts without the lifters or the exhaust camshaft sub gear, and measure the gear backlash with the help of dial indicator. Replace the camshaft gear spring, sub-gear, wave washer, and snap-ring into the exhaust camshaft gear so that they can be refitted back on the camshaft and the camshaft be mounted in a padded vise for proper fixing. Place one service bolt through the first unthreaded hole you saw of the camshaft subgear with the hole and tighten one other service bolt to join the gears tightly. Insert the valve adjustment shims and place the lifters in their original position; use moly-base grease or engine assembly lube on the lifters. It is preferable to use the camshaft installation lubricant to lubricate the exhaust camshaft lobes, bearing journals as well as the contacting face of the camshaft gear this is followed by positioning of the same exhaust camshaft in such a manner that its mark is aligned to the center of the head. Use RTV sealant on comer edges of the front bearing cap cylinder head mating surfaces, fit the bearing caps according to numbers and tighten the bolts to 1/4 turn each time. Replace the camshaft oil seal, oil the intake camshaft lobes and put the intake camshaft with timing mark facing the exhaust camshaft timing mark. Put the bearing caps in order and tighten the bolts, next undo the service bolt on the exhaust camshaft subgear, replace the camshaft sprockets and timing belt. Install the rest of the components in the reverse sequence, ensure to apply RTV sealant around the valve covers. Where the rubber half-circle plugs are situated at the back of the heads, clean this and put back with new RTV sealant. Last of all, commence the engine and look for any signs of leaks and other malfunctions.
Related Toyota Sienna Parts
Browse by Year
2024 Camshaft 2023 Camshaft 2022 Camshaft 2021 Camshaft 2020 Camshaft 2019 Camshaft 2018 Camshaft 2017 Camshaft 2016 Camshaft 2015 Camshaft 2014 Camshaft 2013 Camshaft 2012 Camshaft 2011 Camshaft 2010 Camshaft 2009 Camshaft 2008 Camshaft 2007 Camshaft 2006 Camshaft 2005 Camshaft 2004 Camshaft 2003 Camshaft 2002 Camshaft 2001 Camshaft 2000 Camshaft 1999 Camshaft 1998 Camshaft
