
My Garage
My Account
Cart
Genuine Toyota Sienna Car Batteries
Auto Battery- Select Vehicle by Model
- Select Vehicle by VIN
Select Vehicle by Model
orMake
Model
Year
Select Vehicle by VIN
For the most accurate results, select vehicle by your VIN (Vehicle Identification Number).
7 Car Batteries found
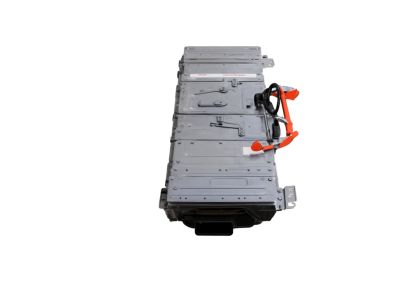
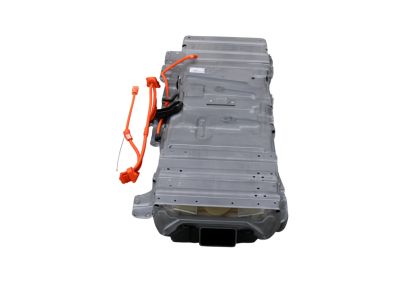
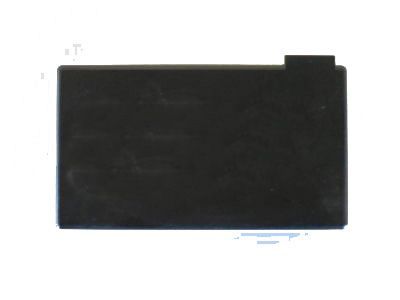
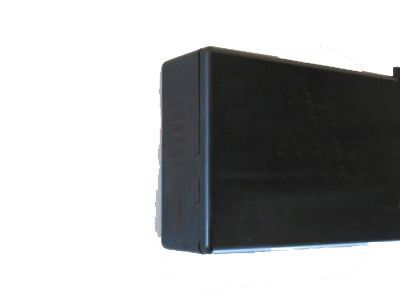
Toyota Sienna Drive Motor Battery Pack
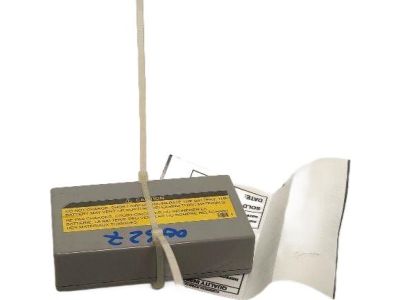
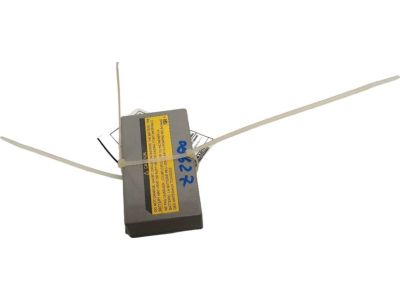
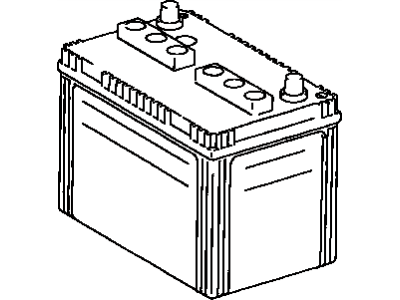
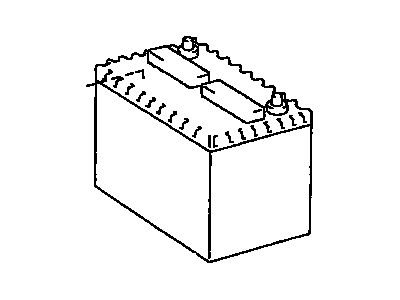
Part Number: G9510-45010$3932.01 MSRP: $5002.79You Save: $1070.78 (22%)Ships in 1-3 Business DaysToyota Sienna Battery, MAYDAY
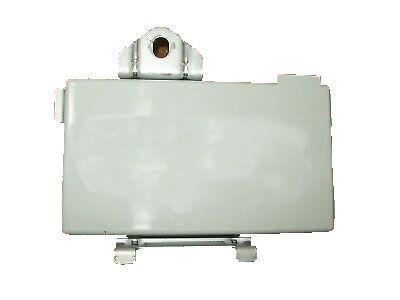
Part Number: 86777-76020$235.82 MSRP: $338.14You Save: $102.32 (31%)Ships in 1-3 Business Days
Toyota Sienna Car Batteries
Car Batteries in Toyota Sienna is one of the vital components in providing electrical current to the systems of the vehicle along with the provision of starting current for the Engine as well as Voltage Regulating. Chiefly, the Car Batteries charges the starter to start the engine and once operating, the alternator charges all the electrical parts. Today's Sienna models employ lead-acid batteries installed in six-cell arrangement for low or no maintenance throughout the battery's usual 3 to 5 years' service. These batteries are built to supply a short-duration high current for cranking the engine while at the same time regulating voltage swings. Thus, battery deterioration signs that suggest its requirement for a check include the leakage of fluids, a swollen case, and slow cranking.
If you are in demand for superior quality and affordable OEM Toyota Sienna Car Batteries, then shop with us! We own a wide range of the reduced-priced genuine Toyota Sienna Car Batteries. You can purchase in confidence as all parts come with a manufacturer's warranty. Any issues with our products? No need to worry as we have a hassle-free return policy to guide you every step of the way.
Toyota Sienna Car Batteries Parts Questions & Experts Answers
- Q: How to check and replace Car Batteries on a Toyota Sienna?A:Disconnect the negative Battery Cable followed by the positive cable from the battery. Check the battery state of charge by visually inspecting the indicator eye on the top; if it appears black, charge the battery. Perform an open voltage circuit test using a digital voltmeter by connecting the black probe to the negative terminal and the red probe to the positive terminal; a fully charged battery should read between 12.6 to 13.2 volts, depending on the outside air temperature. Remove the battery's surface charge by turning on the high beams for ten seconds, then turning them off and allowing the vehicle to stand for two minutes. With the engine and all accessories off, measure the voltage again; it should be 12.6 volts or slightly above. If the voltage is lower, charge the battery before conducting a load test. For the load test, use a battery load tester to evaluate the battery's ability to operate the starter and accessories under heavy amperage draw. Install the load-testing tool onto the terminals and maintain the load for 15 seconds, ensuring the voltage does not drop below 9.6 volts; if the battery is weak or defective, the tool will indicate this. Cold temperatures may cause the minimum voltage reading to drop slightly, so adjust according to the manufacturer's instructions. To replace the battery, disconnect the negative cable first and reconnect it last to avoid shorting. Remove the battery hold-down clamp and lift out the battery carefully, inspecting the battery tray for corrosion. If corrosion is present, detach the bolts and clean the tray to prevent further issues. Ensure the replacement battery matches the original in dimensions, amperage rating, and cold cranking rating, and install it by reversing the removal process.
Related Toyota Sienna Parts
Browse by Year
2024 Car Batteries 2023 Car Batteries 2022 Car Batteries 2021 Car Batteries 2018 Car Batteries 2017 Car Batteries 2016 Car Batteries 2015 Car Batteries 2014 Car Batteries 2013 Car Batteries 2012 Car Batteries 2011 Car Batteries 2010 Car Batteries 2009 Car Batteries 2008 Car Batteries 2007 Car Batteries 2006 Car Batteries 2005 Car Batteries 2004 Car Batteries 2003 Car Batteries 2002 Car Batteries 2001 Car Batteries 2000 Car Batteries 1999 Car Batteries 1998 Car Batteries
