
My Garage
My Account
Cart
Genuine Toyota Solara A/C Accumulator
Accumulator- Select Vehicle by Model
- Select Vehicle by VIN
Select Vehicle by Model
orMake
Model
Year
Select Vehicle by VIN
For the most accurate results, select vehicle by your VIN (Vehicle Identification Number).
2 A/C Accumulators found
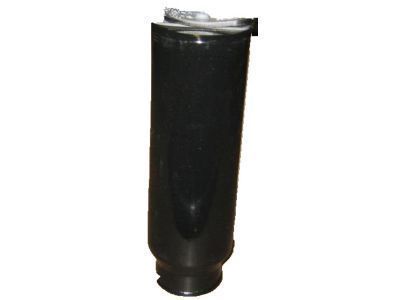
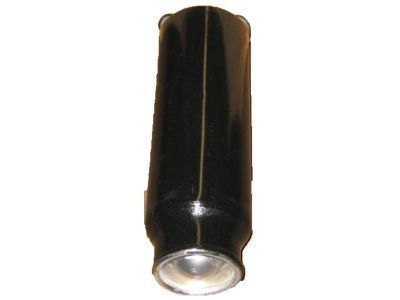
Toyota Solara A/C Receiver Drier
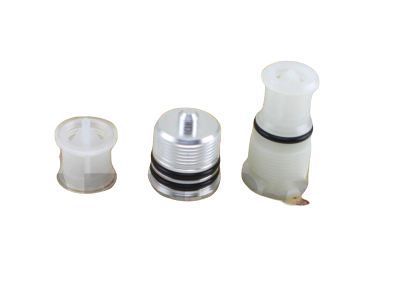
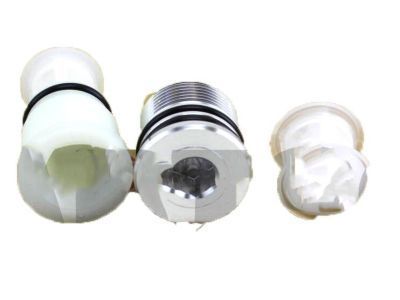
Part Number: 88471-34010$34.26 MSRP: $47.89You Save: $13.63 (29%)Ships in 1-3 Business DaysToyota Solara A/C Receiver Drier
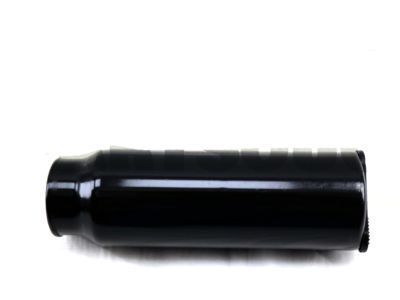
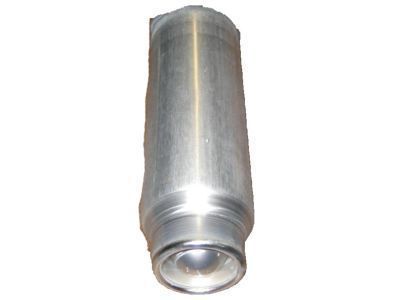
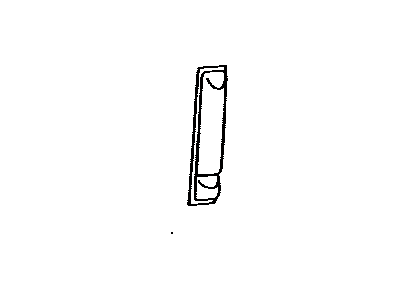
Part Number: 88474-47010$72.52 MSRP: $102.24You Save: $29.72 (30%)Ships in 1-3 Business Days
Toyota Solara A/C Accumulator
A/C Accumulator used in Toyota Solara automobiles performs a very significant function of regulating the air conditioning system. This is a cylindrical component that is conveniently located between the evaporator and the compressor taking responsibility of ensuring that the cooling system is clean and free from moisture, oil, and debris. In this way, the A/C Accumulator plays a protective role of the compressor and contributes to the efficient functioning of the air conditioning. Although there is no special division to the variety or form of A/C Accumulators installed in Solara models, the chief purpose does not vary. The A/C Accumulator also plays the role of filtering contaminants which are vital in the durability of the cooling system in a car thereby emphasizing its role in the operation of the air conditioning system.
If you are in demand for superior quality and affordable OEM Toyota Solara A/C Accumulator, then shop with us! We own a wide range of the reduced-priced genuine Toyota Solara A/C Accumulator. You can purchase in confidence as all parts come with a manufacturer's warranty. Any issues with our products? No need to worry as we have a hassle-free return policy to guide you every step of the way.
Toyota Solara A/C Accumulator Parts Questions & Experts Answers
- Q: How to Replace the A/C Accumulator in a 2002-2008 Toyota Solara?A:Some models have a traditional A/C accumulator, which is mounted at the right front of the engine compartment. Models that do not have a separate A/C accumulator have one that is built into the side of the condenser. First, have the refrigerant discharged by an air conditioning technician. Then, disconnect the negative battery cable. If the A/C accumulator is integral with the condenser, use an Allen wrench to detach the end plug and remove the accumulator from the condenser with a pair of needle-nose pliers. Use new O-rings when installing the new accumulator and tighten the end plug. Be sure to lubricate the O-rings with R-134a compatible refrigerant oil. Installation is the reverse of removal. If the A/C accumulator is separate, disconnect the refrigerant lines from the A/C accumulator and cap the open fittings to prevent the entry of moisture. Unscrew the two mounting bolts and remove the A/C accumulator. Loosen the clamp bolt and slide the A/C accumulator out of the bracket. Install the new A/C accumulator by reversing the removal procedure. If a new A/C accumulator is being installed, add 20cc (0.71 ounce) of R-134a compatible refrigerant oil to it before connecting the lines. Be sure to install new O-rings on the refrigerant lines, and lubricate them with R-134a compatible refrigerant oil, before connecting the lines. Finally, have the system evacuated, charged, and leak tested by the shop that discharged it.
