
My Garage
My Account
Cart
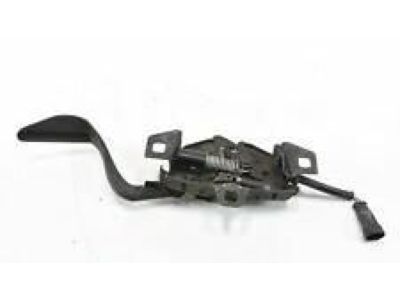
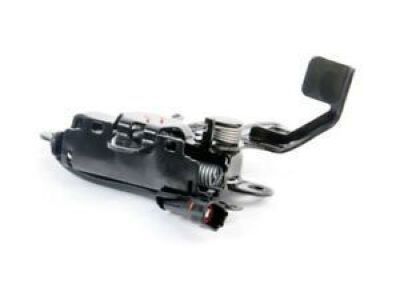
Genuine Toyota Solara Hood Latch
Engine Hood Latch- Select Vehicle by Model
- Select Vehicle by VIN
Select Vehicle by Model
orMake
Model
Year
Select Vehicle by VIN
For the most accurate results, select vehicle by your VIN (Vehicle Identification Number).
4 Hood Latches found
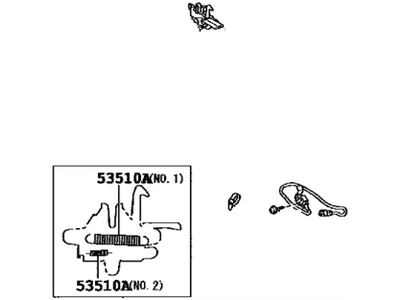
Toyota Solara Hood Lock Assembly
Part Number: 53510-AA051$58.66 MSRP: $81.99You Save: $23.33 (29%)Ships in 1-2 Business DaysToyota Solara Hood Lock Assembly
Part Number: 53510-AA061$86.25 MSRP: $121.58You Save: $35.33 (30%)Ships in 1-2 Business DaysToyota Solara Hood Lock Assembly
Part Number: 53510-06010$58.18 MSRP: $81.32You Save: $23.14 (29%)Ships in 1-3 Business DaysToyota Solara Hood Lock Assembly
Part Number: 53510-06020$58.66 MSRP: $81.99You Save: $23.33 (29%)Ships in 1-3 Business Days
Toyota Solara Hood Latch
The Hood Latch in cars is important because it hold the hood shut to avoid its opening while the car is in operation; specifically in the Toyota Solara. This component is well placed at the lower front of the hood which safeguards essential parts such as the engine, radiator as well as the battery. Although it doesn't differentiate between types or styles of Hood Latch for various Solara models, the fundamental function of the mechanism remains to secure the hood. Hood Latch is quite significant part in the safety and operations of the vehicle hence should not be left out when addressing the structural features of the Toyota Solara.
If you are in demand for superior quality and affordable OEM Toyota Solara Hood Latch, then shop with us! We own a wide range of the reduced-priced genuine Toyota Solara Hood Latch. You can purchase in confidence as all parts come with a manufacturer's warranty. Any issues with our products? No need to worry as we have a hassle-free return policy to guide you every step of the way.
Toyota Solara Hood Latch Parts Questions & Experts Answers
- Q: How to install and adjust Hood Cable and Hood Latch for the hood release on 2002 through 2008 Toyota Solara?A:Start with Solara models by marking a line around the latch to guide your installation, then take out the plastic cover covering the latch if present, held in place with plastic pins. Once you've removed the screws holding the hood latch to the radiator support, loosen the bolts to move the latch both up and down. Also remove the plastic cover underneath for full access. You need to take out the latch, remembering to first remove three screws and the radiator grille if your Solara. Unplug the hood cable by taking it off the latch holder and pulling out the cable base from the latch assembly. We reattach the latch last, making sure it clicks into place firmly and the hood bumpers shift a hair. To access the cable, disconnect it from the latch assembly. Now take a piece of wire or string and attach it to the cable's free end. Unclip every remaining retaining clip holding the cable onto the radiator support. Begin by taking off the plastic inner fender well below the car. In the driver's space, uncouple the driver's door sash cover, foot panel, and knee boost panel, which includes the hood cable lever. Grab both cover and grommet at the back of the car, keep moving them forward until you can see the wire through the opening, verify that the new wire has a matching grommet, and loop the string from the old grommet's end onto the new one. Pull the new cable and wire or string through the firewall opening by hand until you reach the latch assembly. Reinsert the new cable into the hood cable lever in your passenger compartment. Make sure the cable housing fits properly into its notch on the handle bracket. Place the cable back in by unlatching it from the passenger side, then press the rubber grommet down from the cabin to line it up correctly in the firewall hole.


