
My Garage
My Account
Cart
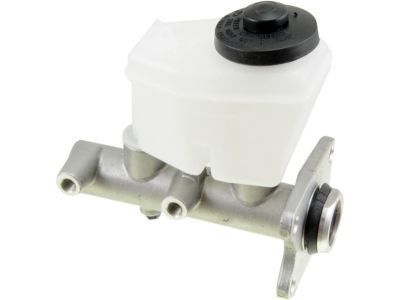
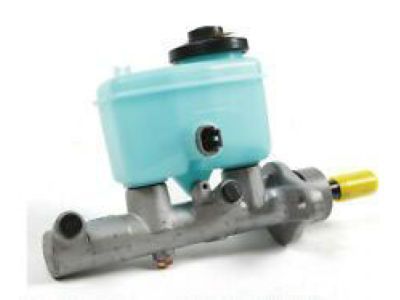
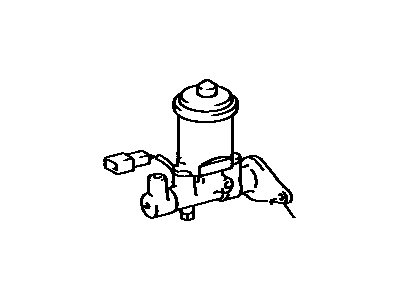
Genuine Toyota T100 Brake Master Cylinder
- Select Vehicle by Model
- Select Vehicle by VIN
Select Vehicle by Model
orMake
Model
Year
Select Vehicle by VIN
For the most accurate results, select vehicle by your VIN (Vehicle Identification Number).
7 Brake Master Cylinders found
Toyota T100 Brake Master Cylinder
The Brake Master Cylinder is part of the braking system in the Toyota T100 car; this part translates force exerted by the foot into hydraulic pressure that operates slave cylinders. This system uses hydraulic fluid to transfer force created by the master cylinder's piston to slave cylinders which improves force and displacement. New Toyota T100 cars come with dual circuit master cylinders with two pistons that mean even if the there is hydraulic failure in one circuit the second circuit is capable of supplying enough pressure to enable a car to stop. It is used to directly operate the calipers or drum brake and produce the friction needed to stop the wheels besides using its slave cylinder to operate the clutch release. The Brake Master Cylinder regulates hydraulic force and the pressure distribution, therefore, its effective operation is critical to the braking and the clutch system of any vehicle.
If you are in demand for superior quality and affordable OEM Toyota T100 Brake Master Cylinder, then shop with us! We own a wide range of the reduced-priced genuine Toyota T100 Brake Master Cylinder. You can purchase in confidence as all parts come with a manufacturer's warranty. Any issues with our products? No need to worry as we have a hassle-free return policy to guide you every step of the way.
Toyota T100 Brake Master Cylinder Parts Questions & Experts Answers
- Q: How to Overhaul the Brake Master Cylinder on a Toyota T100?A:Before fixing the Brake Master Cylinder, check if you can find and afford a new Brake Master Cylinder or a factory rebuild, plus whether a rebuild kit is available. Wipe up the Brake Line points first, then get ready to cap off the lines when disconnected. Brake fluid hurts paint, so use cloth to trap it; mask all colorful areas and work carefully to prevent spills. Pull out the electrical plug for the brake fluid level warning switch. Take off the tube nuts at the Brake Master Cylinder end of the brake lines with a flare-nut wrench, then use plugs to seal the brake lines to keep dirt out. Take off the four Brake Master Cylinder mounting bolts while protecting the hydraulic lines from kinking. Pull the Brake Master Cylinder out of your vehicle. Take off the reservoir cap and throw away the fluid left inside. If you take out the Brake Master Cylinder, you need to empty and refill the whole hydraulic system. It takes less time to bleed the system if you start with fluid in and bench bleed the Brake Master Cylinder before putting it back in. Place the Brake Master Cylinder in a vise using gentle, soft-clamping jaws on its flat side. Then fill its two fluid containers with brake fluid. Shield the openings where brake lines connect with your fingers to keep air from sucking back into the Brake Master Cylinder, then push on the piston several times slowly to get all air out while pressing down with a large Phillips screwdriver. Give several seconds each time before pushing down the piston again, while making sure your fingers block the holes before letting go. Put plugs in the holes for now and install the Brake Master Cylinder in reverse order. After that, bleed the brake system.


