
My Garage
My Account
Cart
Genuine Toyota T100 Camshaft
Cam- Select Vehicle by Model
- Select Vehicle by VIN
Select Vehicle by Model
orMake
Model
Year
Select Vehicle by VIN
For the most accurate results, select vehicle by your VIN (Vehicle Identification Number).
8 Camshafts found
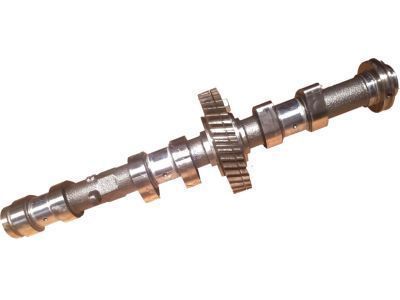
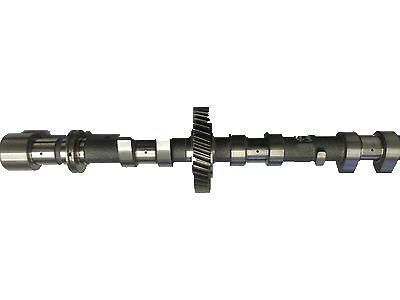
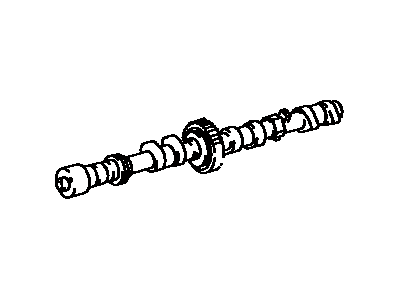
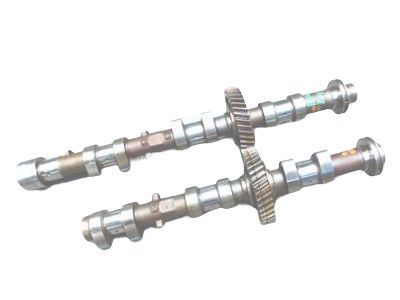
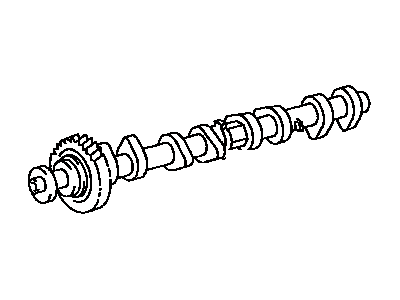
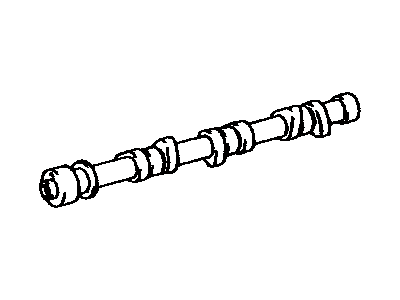
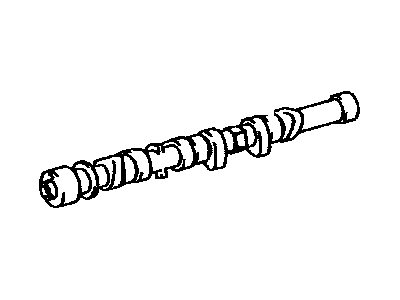
Toyota T100 Camshaft Sub-Assembly
Part Number: 13054-62030$231.76 MSRP: $332.32You Save: $100.56 (31%)Ships in 1-3 Business DaysToyota T100 Camshaft
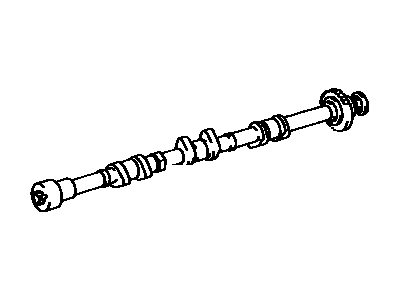
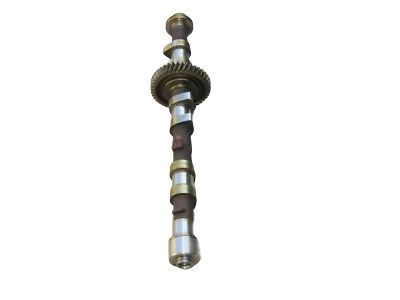
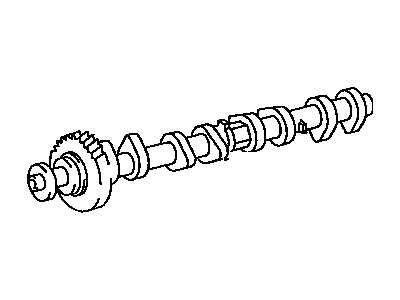
Part Number: 13502-62030$231.76 MSRP: $332.32You Save: $100.56 (31%)Ships in 1-3 Business DaysToyota T100 Camshaft Sub-Assembly
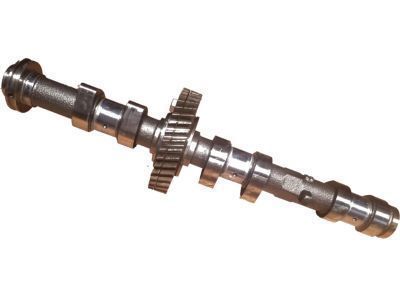
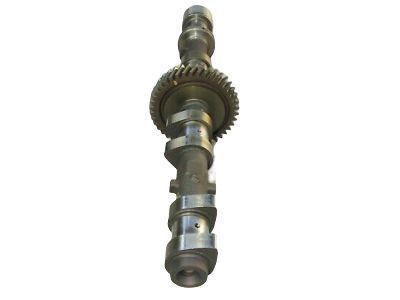
Part Number: 13053-62050$336.97 MSRP: $483.19You Save: $146.22 (31%)Ships in 1-3 Business DaysToyota T100 Camshaft
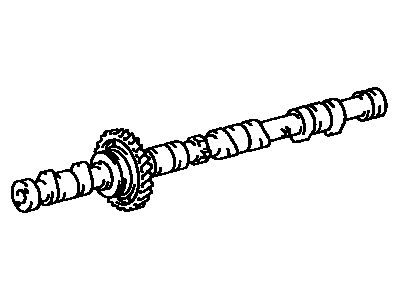
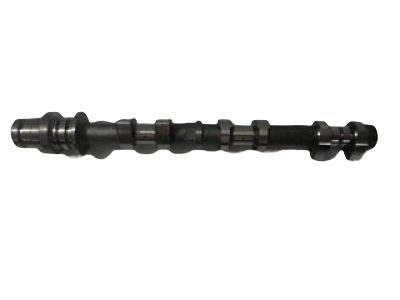
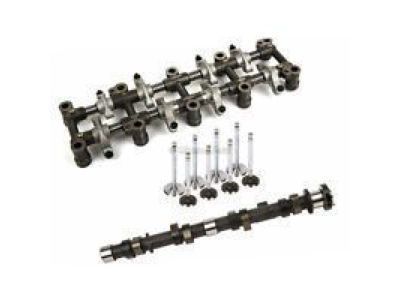
Part Number: 13501-75030$426.48 MSRP: $636.22You Save: $209.74 (33%)Ships in 1-3 Business Days
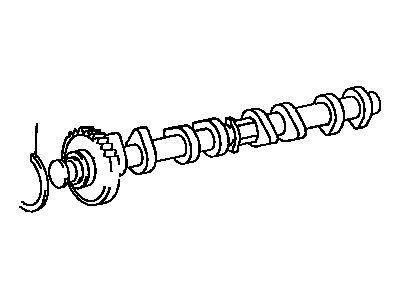
Toyota T100 Camshaft
The Camshaft is one of the parts that determine its reliability and the ability of the Toyota T100, which is a full-size pickup truck manufactured from 1993 to 1998. Strengthening, the Camshaft acts as an efficient and reliable part of the vehicle's structure to control the opening and closing of inlet and outlet valves that allows the mixture of fuel and air for combustion as well as expulsion of burnt gases. Made from iron or steel, the Camshaft works through eccentric lobes, types include OHV, SOHC, DOHC etc., that boost the performance ability of the Toyota car. The Camshaft is available for multiple Toyota T100 models, which, by its turn, makes it an excellent option for those owners seeking to enhance their vehicle's performance or, at least, to keep it as safe as possible. Due to accurate coupling with the crankshaft which rotates at half the speed of the Toyota T100 via a timing belt or chain, the T100 is known to run efficiently and is considered very reliable. Other services, for instance, the control of torque and idle quality through LSAs, give a customized performance upgrade. This Camshaft improves the drive while at the same time strengthening the position of the Toyota T100 within auto's market, considered to be the market of quality and performance. Because of the reliability and efficiency coupled with the high levels of innovation driven into the Camshaft of the Toyota T100 series, Toyota continues to stand out in this series of vehicles.
If you are in demand for superior quality and affordable OEM Toyota T100 Camshaft, then shop with us! We own a wide range of the reduced-priced genuine Toyota T100 Camshaft. You can purchase in confidence as all parts come with a manufacturer's warranty. Any issues with our products? No need to worry as we have a hassle-free return policy to guide you every step of the way.
Toyota T100 Camshaft Parts Questions & Experts Answers
- Q: How to remove and install camshafts in V6 engine on Toyota T100?A:For the 3.4L engine, before starting, get two 6 x 1.0 mm bolts 16 to 20 mm long called service bolts is required. First of all, you should unlock and then unbolt the valve covers and the Timing Belt. Recommended that the engine is situated at TDC with reference to the number 1 piston. EACH OF the four camshafts is removed by first immobilizing the exhaust camshaft subgear then withdrawing the exhaust cam and finally the intake camshaft with due regard to the direction of the cams' timing marks. Next, using a service bolt fix the exhaust camshaft sub-gear to the driven gear, and while removing the camshafts, the camshafts should always be in level position. While tightening: turn the quantities of cap bolts for the camshaft bearing cap to the amount of 1/4 and remove both bearing caps and the exhaust camshafts; gently lift it up and level it. Repeat the same process for the intake camshaft and the other left hand cylinder head. Place the bearing caps back in order and then take out the valve lifters and shims with the help of a magnetic tool and store them away. On removal of a camshaft gear, the cam must be fixed in the vise, apply a service bolt in the ungeared hole and rotate the sub-gear in the clockwise direction to come out the first service bolt. Take out the Sub-gear snap-ring and the wave washer sub-gear and the CAMSHAFT GEAR SPRING. For installation, to assemble the exhaust camshaft gear, screwing of the components are done in reverse manner and for holding the camshaft in position, padded vise is used and the location of the holes of the camshaft driven gear and sub-gear is also aligned before tightening of the service bolts. Coat the lifters with RG or assembly lube on the flat as well as the camshaft components, align the intake camshaft such that its timing marks face the exhaust side and put on the bearing caps in numerical sequence. Remove the bearing cap bolts and replace the camshaft oil seal also tighten the bolts. As for the exhaust camshaft, the procedure should be the same which means to align the camshaft and to tighten it. Return all the parts in reverse order and tighten the nuts, and use grease where required in the place of the sealant. Last, turn on the engine and look for drip and make sure every gear is in its correct function. In the aspects of 3.0L parts removal, the operation includes the removal of the valve covers, timing belt, number 3 timing belt cover and the camshaft housing rear cover on the right bank. Tighten the camshaft bearing cap bolts in the amount of 1/4 turn, take off the bearing caps and carefully lift the camshaft up, but ensure that it is slightly oriented horizontally. React for the left bank, and put the bearing caps in order. Place cookies of grease or assembly lube on the lifters or cams of the camshaft and put the camshafts in position where the bearing caps go in front. On the mating surfaces, coat with sealant. I recommend that you how to replace the bearing cap bolts and camshaft oil seal. Perform the final installation of the rest of the components in the reverse sequence to the removal and apply sealant where necessary, then start up the engine and check for any leakage or improper functioning.
