
My Garage
My Account
Cart
Genuine Toyota T100 Crankshaft Seal
- Select Vehicle by Model
- Select Vehicle by VIN
Select Vehicle by Model
orMake
Model
Year
Select Vehicle by VIN
For the most accurate results, select vehicle by your VIN (Vehicle Identification Number).
3 Crankshaft Seals found
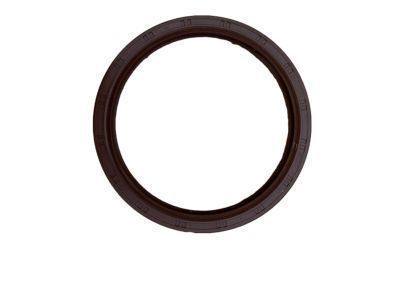
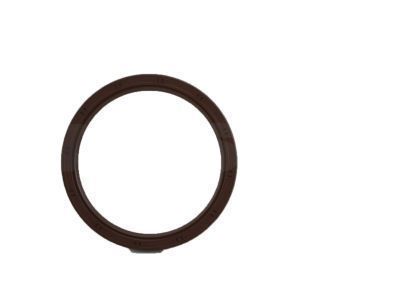
Toyota T100 Engine Rear Oil Seal
Part Number: 90311-92006$43.90 MSRP: $61.37You Save: $17.47 (29%)Ships in 1-3 Business DaysToyota T100 Oil Seal
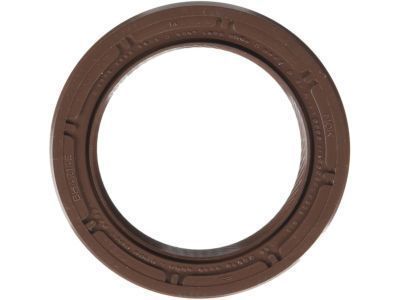
Part Number: 90311-48014$12.96 MSRP: $18.11You Save: $5.15 (29%)Ships in 1-3 Business DaysToyota T100 Engine Rear Oil Seal
Part Number: 90311-88003$34.62 MSRP: $48.39You Save: $13.77 (29%)Ships in 1-3 Business Days
Toyota T100 Crankshaft Seal
If you are in demand for superior quality and affordable OEM Toyota T100 Crankshaft Seal, then shop with us! We own a wide range of the reduced-priced genuine Toyota T100 Crankshaft Seal. You can purchase in confidence as all parts come with a manufacturer's warranty. Any issues with our products? No need to worry as we have a hassle-free return policy to guide you every step of the way.
Toyota T100 Crankshaft Seal Parts Questions & Experts Answers
- Q: How to install a crankshaft seal on Toyota T100?A:The crankshaft should be installed first, followed by bolting the bearing caps in place, after which a new Crankshaft Seal can be installed in the retainer and secured to the block. It is essential to inspect the crankshaft's seal contact surface for any scratches or nicks that could compromise the new Crankshaft Seal and lead to oil leaks; if damage is found, a replacement crankshaft is necessary. The old seal can be removed from the retainer by driving it out from the back with a hammer and punch, ensuring to support the retainer on wood blocks and noting the depth of the old Crankshaft Seal for proper installation of the new one, while avoiding damage to the bore. The retainer should be cleaned, and a thin coat of engine oil applied to the outer edge of the new Crankshaft Seal, which must be pressed squarely into the bore; if a press is unavailable, using two smooth pieces of wood and a large vise can help achieve even pressure. Tapping the Crankshaft Seal into the retainer with a hammer is a last resort, ensuring to use a block of wood for even force distribution. Before attaching the Crankshaft Seal/retainer to the crankshaft and block, the seal lips should be lubricated with clean engine oil or moly-based grease. For four-cylinder engines, a new gasket and sealant are required, with dowel pins in place, while V6 engines do not need a gasket but require a 2 mm wide bead of RTV sealant on the retainer-to-block surface. Finally, the bolts should be tightened gradually to the specified torque.
