
My Garage
My Account
Cart
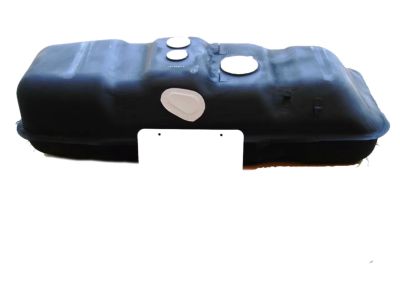
Genuine Toyota T100 Fuel Tank
Gas Tank- Select Vehicle by Model
- Select Vehicle by VIN
Select Vehicle by Model
orMake
Model
Year
Select Vehicle by VIN
For the most accurate results, select vehicle by your VIN (Vehicle Identification Number).
5 Fuel Tanks found
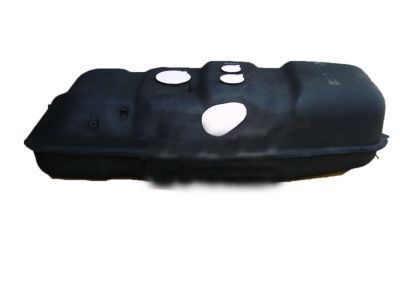
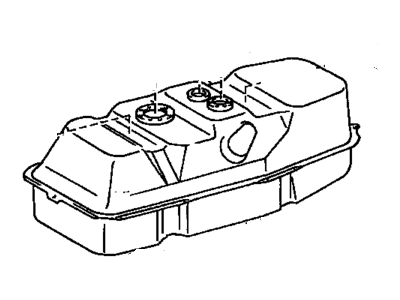
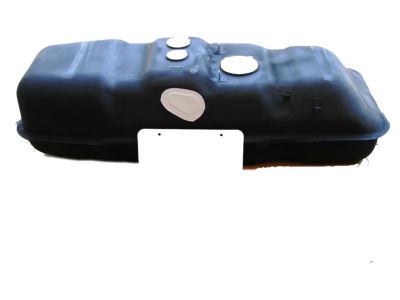
Toyota T100 Fuel Tank Assembly
Part Number: 77001-34042$991.23 MSRP: $1480.04You Save: $488.81 (34%)Ships in 1-3 Business DaysToyota T100 Fuel Tank Assembly
Part Number: 77001-34020$437.91 MSRP: $653.27You Save: $215.36 (33%)Ships in 1-3 Business DaysToyota T100 Fuel Tank Assembly
Part Number: 77001-34041$927.84 MSRP: $1385.39You Save: $457.55 (34%)Ships in 1-3 Business Days
Toyota T100 Fuel Tank
The Fuel Tank is a relevant spare part that expresses the dependability and effectiveness of the Toyota T100 series, manufactured in 1993-1998. Intended for maintaining an optimal supply of fuel to the engine, the Fuel Tank boasts a strong construction and may be manufactured from metal and plastic to combat corrosion. This Fuel Tank is ideal for different models of the Toyota T100, making the vehicle efficient and safe because of its capability to manage fuel well. Some standard features of the Fuel Tank include fuel filler pipe, vent system, and locking rings, all of which undergo leak tests to ensure optimal performance. Different models exist for the design, mid-ship and after-axle are among them, hence its applicability to users depending on their style of driving. Presently, the Toyota T100 has been acknowledged for quality by several bodies, aural of which is J.D. Power and associates, thus putting the Fuel Tank in a better standing with other contestants in the market. Extra options like having a supercharged V6 engine in the TRD trim encourage the driver to be performance-crazy, making the Toyota T100 not just an ordinary pickup truck, but a performance car as well. Finally, the Fuel Tank is applied effectively to ensure that while the Toyota T100 unites efficiency, safety, and power, it meets with engineering exactness.
If you are in demand for superior quality and affordable OEM Toyota T100 Fuel Tank, then shop with us! We own a wide range of the reduced-priced genuine Toyota T100 Fuel Tank. You can purchase in confidence as all parts come with a manufacturer's warranty. Any issues with our products? No need to worry as we have a hassle-free return policy to guide you every step of the way.
Toyota T100 Fuel Tank Parts Questions & Experts Answers
- Q: How to remove a fuel tank on Toyota T100?A:The procedure is much easier to perform with an empty fuel tank, which may have a drain plug for this purpose; if not, drain the fuel into an approved container using a siphoning kit, avoiding mouth siphoning, or wait until the tank is nearly empty. Begin by removing the fuel tank filler cap to relieve pressure, then detach the cable from the negative terminal of the battery, ensuring you have the activation code for any anti-theft stereo system. If fuel remains, drain it from the fuel filler hose after raising the vehicle, or remove the drain plug if available. Securely raise the vehicle on jack stands, then remove screws from the top of the fuel filler neck and disconnect it from the vehicle body, noting that some models may have bolts and nuts instead. Disconnect the fuel lines and vapor return line, labeling them if necessary to simplify reattachment, and plug the hoses to prevent leakage. Loosen the hose clamp(s) to detach the fuel filler neck from the tank, siphoning out any remaining fuel from the feed port using a siphoning kit. If equipped, remove the protective shield from the tank, then support the tank with a floor jack, using wood to protect it. Disconnect the fuel tank retaining straps and lower the tank enough to disconnect the wires and ground strap from the Fuel Pump/fuel gauge sending unit before removing the tank. For models with an auxiliary fuel tank, removal is similar but involves bolts around the flange instead of straps. Installation follows the reverse order of removal.
