
My Garage
My Account
Cart
Genuine Toyota T100 Wheel Hub
Wheel Axle Hub- Select Vehicle by Model
- Select Vehicle by VIN
Select Vehicle by Model
orMake
Model
Year
Select Vehicle by VIN
For the most accurate results, select vehicle by your VIN (Vehicle Identification Number).
5 Wheel Hubs found
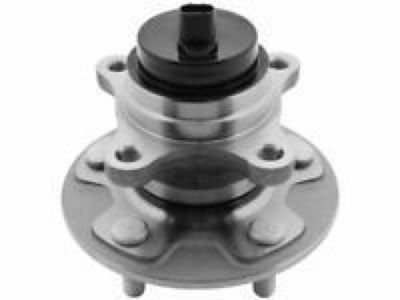
Toyota T100 Right Front Axle Hub Sub-Assembly
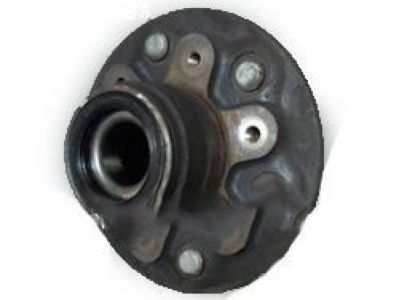
Part Number: 43511-39015$257.04 MSRP: $368.58You Save: $111.54 (31%)Ships in 1-3 Business DaysToyota T100 Right Front Axle Hub Sub-Assembly
Part Number: 43503-29015$301.94 MSRP: $432.95You Save: $131.01 (31%)Ships in 1-3 Business DaysToyota T100 Right Front Axle Hub Sub-Assembly
Part Number: 43511-35905$257.04 MSRP: $368.58You Save: $111.54 (31%)Ships in 1-3 Business Days
Toyota T100 Wheel Hub
The Wheel Hub of Toyota T100 automobile models are responsible for effective coupling of the wheels with the vehicle body effectively offering a circular platform that holds other parts such as the wheel bearings and the sensors. The first is a solid subassembly of a hub and hub-bearing carrier that usually houses an ABS sensor, which usually comes as a single component. Depending on the type, there are three types of hubs and bearings the most common of which is the unit assembly type. A few front-wheel-drive vehicles might need the steering knuckle to be dismantled for servicing. Further, the non-driven axle hubs use replaceable tapered roller bearings; these can be checked from the wear and tear and demand correct lubrication when their replacement is made. It is thus important to maintain the integrity of the Wheel Hub since any radical bearing defect can lead to serious problems, right from causing loss of the wheel.
If you are in demand for superior quality and affordable OEM Toyota T100 Wheel Hub, then shop with us! We own a wide range of the reduced-priced genuine Toyota T100 Wheel Hub. You can purchase in confidence as all parts come with a manufacturer's warranty. Any issues with our products? No need to worry as we have a hassle-free return policy to guide you every step of the way.
Toyota T100 Wheel Hub Parts Questions & Experts Answers
- Q: How to remove and install the Wheel Hub on Toyota T100?A:First, here the hub cover is adjusted to the Free position, then the mounting bolts of the hub cover with a clutch assembly are removed and the cover pulled off. Next, if the shifter is equipped, remove the bolt from the end of the driveaxle and if the freewheel hub body is accessible, remove the mounting nuts from the shell. With the help of a brass hammer one tapping needs to be done on the hub body to remove the cone washers and then the freewheel hub body has to be pulled off the adjacent splines of the driveaxle. Do not forget that the freewheel hub clutch assemblies could be plugged with dirt or water, making them ineffective. In the case of its disassembly and inspection of the clutch assembly: When dismantling, be sure to lay out the elements in the sequence in which they are removed. Wash each part and put it back in the same order, apply multi-purpose grease in thin layer before fitting it together in the reversed order. When reinstalling the hub assembly to the driveaxle, it should follow the dismantling process, but for the purpose of this note, the following details: Utilise new gaskets; apply Multi-Purpose Grease to the splines of the inner hub; ensure that the control handle is in the Free position and the cover is fitted and the claws, namely the pawl tabs, engage with the non-toothed part of the body. Full-time hubs should first have the dust cap slid off; the hub cover mounting bolts should then be taken off, as should the bolt located at the end of the driveaxle. To remove the hub cover use a brass hammer to gently knock the cone washers to force them little to get off and finally twist of the hub disc. After that, installation takes place in the reversing order to that of the removal process.


