
My Garage
My Account
Cart
Genuine Toyota Tacoma Brake Master Cylinder
- Select Vehicle by Model
- Select Vehicle by VIN
Select Vehicle by Model
orMake
Model
Year
Select Vehicle by VIN
For the most accurate results, select vehicle by your VIN (Vehicle Identification Number).
70 Brake Master Cylinders found
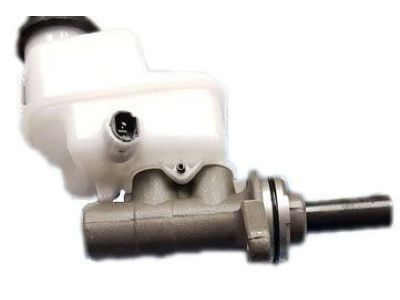
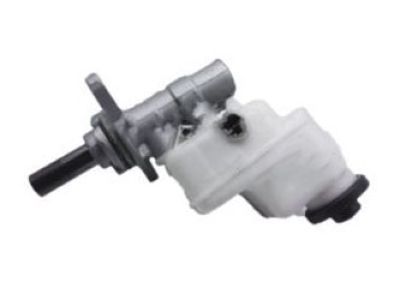
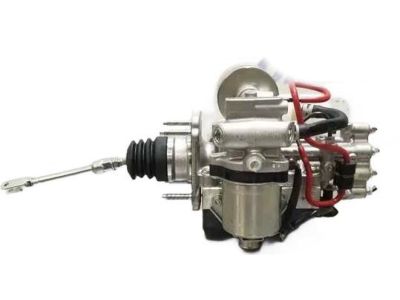
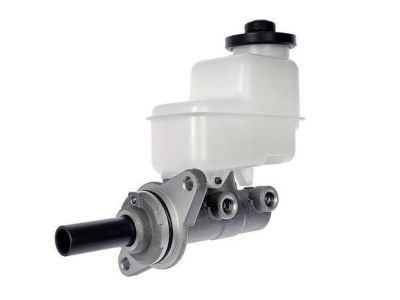
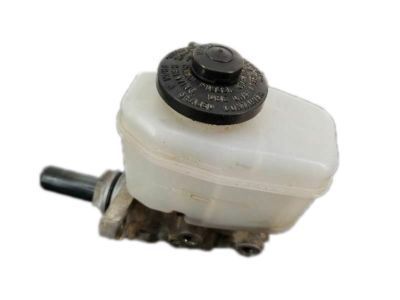
Toyota Tacoma Brake Master Cylinder Sub-Assembly
Part Number: 47201-04150$129.51 MSRP: $184.12You Save: $54.61 (30%)Ships in 1-2 Business DaysToyota Tacoma Brake Master Cylinder Sub-Assembly
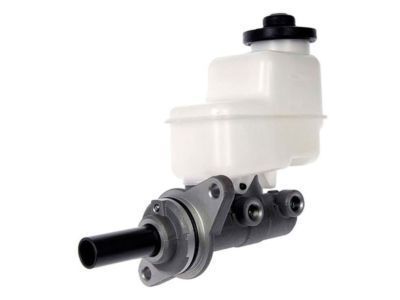
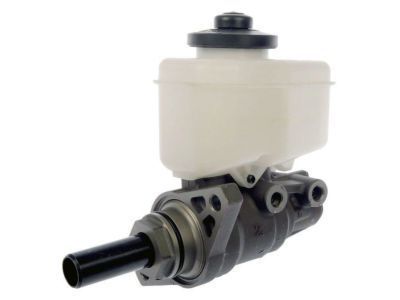
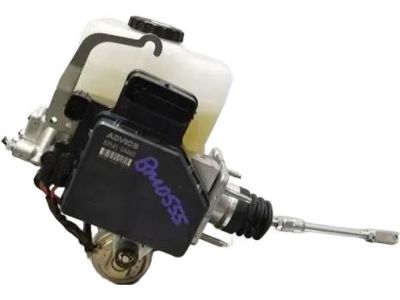
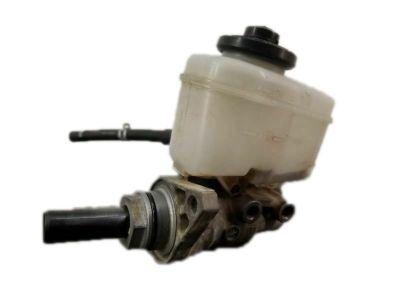
Part Number: 47201-04170$129.51 MSRP: $184.12You Save: $54.61 (30%)Ships in 1-3 Business DaysToyota Tacoma Brake Master Cylinder Sub-Assembly with Plate
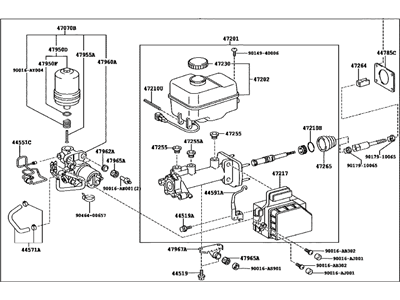
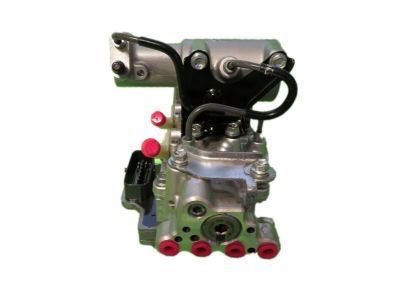
Part Number: 47028-04030$244.98 MSRP: $351.28You Save: $106.30 (31%)Ships in 1-3 Business DaysToyota Tacoma Brake Cylinder Assembly
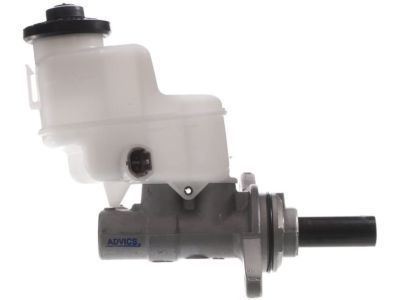
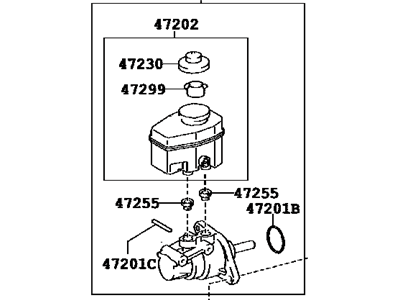
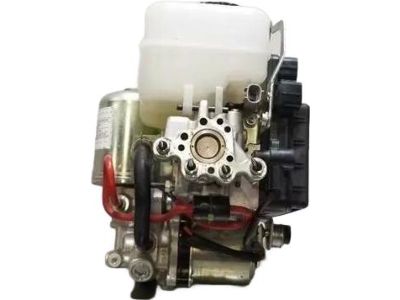
Part Number: 47050-04180$1365.64 MSRP: $2039.10You Save: $673.46 (34%)Ships in 1-3 Business DaysToyota Tacoma Brake Master Cylinder Sub-Assembly
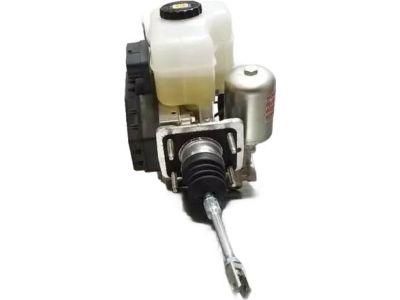
Part Number: 47201-04160$129.51 MSRP: $184.12You Save: $54.61 (30%)Ships in 1-3 Business DaysToyota Tacoma Brake Master Cylinder Sub-Assembly with Plate
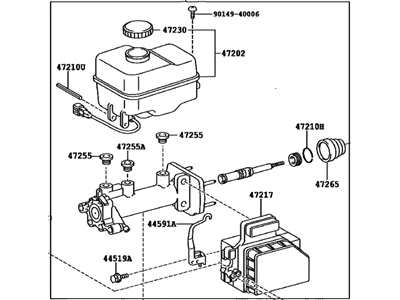
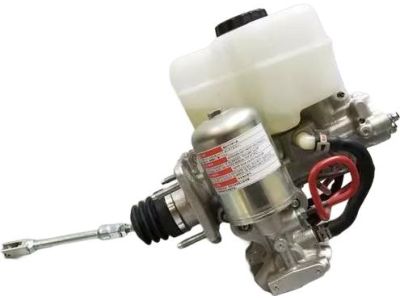
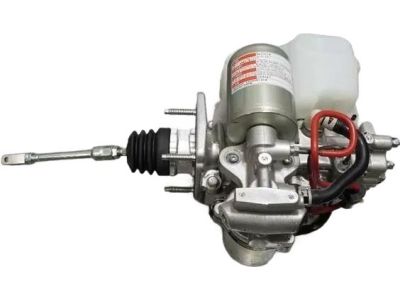
Part Number: 47028-04040$320.61 MSRP: $459.73You Save: $139.12 (31%)Ships in 1-2 Business DaysToyota Tacoma Brake Booster Assembly with Master Cylinder
Part Number: 47050-04052$1365.64 MSRP: $2039.10You Save: $673.46 (34%)Ships in 1-3 Business DaysToyota Tacoma Brake Master Cylinder Sub-Assembly
Part Number: 47025-04081$1169.58 MSRP: $1746.34You Save: $576.76 (34%)Ships in 1-3 Business DaysToyota Tacoma Brake Master Cylinder Sub-Assembly
Part Number: 47201-04180$129.51 MSRP: $184.12You Save: $54.61 (30%)Ships in 1-3 Business DaysToyota Tacoma Brake Master Cylinder Sub-Assembly
Part Number: 47025-04180$1144.85 MSRP: $1709.42You Save: $564.57 (34%)Ships in 1-3 Business DaysToyota Tacoma Brake Cylinder Assembly
Part Number: 47050-04120$1342.25 MSRP: $2004.16You Save: $661.91 (34%)Ships in 1-3 Business DaysToyota Tacoma Brake Cylinder Assembly
Part Number: 47050-04092$1365.64 MSRP: $2039.10You Save: $673.46 (34%)Ships in 1-3 Business DaysToyota Tacoma Brake Cylinder Sub-Assembly
Part Number: 47025-04120$1144.85 MSRP: $1709.42You Save: $564.57 (34%)Ships in 1-3 Business DaysToyota Tacoma Brake Master Cylinder Sub-Assembly
Part Number: 47025-04040$1233.51 MSRP: $1841.79You Save: $608.28 (34%)Ships in 1-3 Business DaysToyota Tacoma Brake Cylinder Assembly
Part Number: 47050-04091$1365.64 MSRP: $2039.10You Save: $673.46 (34%)Ships in 1-3 Business DaysToyota Tacoma Brake Cylinder Sub-Assembly
Part Number: 47025-04130$737.46 MSRP: $1101.12You Save: $363.66 (34%)Ships in 1-3 Business DaysToyota Tacoma Brake Cylinder Assembly
Part Number: 47050-04101$1380.00 MSRP: $2060.54You Save: $680.54 (34%)Ships in 1-3 Business DaysToyota Tacoma Brake Master Cylinder Sub-Assembly
Part Number: 47025-04082$1146.41 MSRP: $1711.74You Save: $565.33 (34%)Toyota Tacoma Brake Master Cylinder Sub-Assembly
Part Number: 47025-04052$1169.58 MSRP: $1746.34You Save: $576.76 (34%)
| Page 1 of 4 |Next >
1-20 of 70 Results
Toyota Tacoma Brake Master Cylinder
Brake Master Cylinder of the Toyota Tacoma cars is part of the brake system that translates the foot force applied to hydraulic pressure to operate the slave cylinders. This system hydraulically transmits force form the master cylinder piston to slave cylinders; it increases both force and displacement. Most Toyota Tacoma have a dual circuit master cylinder with two pistons, thus even if one hydraulic circuit is non-functional, the second one would provide enough pressure to stop the vehicle. It engages the calipers or the drum brakes to produce friction to lock the wheels; besides, it actuates the slave cylinder that releases the clutch. Altogether, Brake Master Cylinder is vital in the optimum and flawless functionality of the brake and clutch systems due to the proper control of hydraulic force and pressure.
If you are in demand for superior quality and affordable OEM Toyota Tacoma Brake Master Cylinder, then shop with us! We own a wide range of the reduced-priced genuine Toyota Tacoma Brake Master Cylinder. You can purchase in confidence as all parts come with a manufacturer's warranty. Any issues with our products? No need to worry as we have a hassle-free return policy to guide you every step of the way.
Toyota Tacoma Brake Master Cylinder Parts Questions & Experts Answers
- Q: How to remove and install a brake master cylinder on 2005 through 2009 Toyota Tacoma?A:To remove and install a brake master cylinder, follow these steps. Start by disconnecting the cable from the negative terminal of the battery. Use a syringe or turkey baster to remove fluid from the reservoir. Disconnect the electrical connector for the fluid level sensor. If the vehicle has a manual transmission, disconnect the fluid hose for the clutch master cylinder and plug it in. Prepare rags and caps to cover the fluid fittings and lines once disconnected. Use a flare-nut wrench to loosen the fittings at the ends of the Brake Lines entering the brake master cylinder, plug the ends, and pull the lines away. Remove the brake master cylinder mounting nuts, pull the brake master cylinder off the studs, and discard the O-ring seal. If installing a new brake master cylinder, transfer the reservoir by removing the roll pin and using a new grommet seal. For installation, measure the clearance between the brake master cylinder and the Brake Booster pushrod if using a new brake master cylinder. Bench bleed the new brake master cylinder by mounting it in a vise and attaching bleeder tubes to the outlet ports. Fill the reservoir with brake fluid, push the pistons into the cylinder to expel air into the reservoir, and repeat until no air bubbles remain. Install a new O-ring seal and mount the brake master cylinder over the studs, tightening the mounting nuts finger tight. Thread the brake line fittings and fully tighten the mounting nuts and fittings to the specified torque. Connect the clutch master cylinder fluid hose if applicable. Fill the reservoir with fluid, bleed the brake master cylinder and brake system, and test the brake operation before resuming normal vehicle use. The remaining installation steps are the reverse of removal. By following these steps, you can effectively remove and install a brake master cylinder.
- Q: How to Overhaul the Brake Master Cylinder on 1995 through 2004 Toyota Tacoma?A:Before fixing the Brake Master Cylinder, check if you can find and afford a new Brake Master Cylinder or a factory rebuild, plus whether a rebuild kit is available. Wipe up the Brake Line points first, then get ready to cap off the lines when disconnected. Brake fluid hurts paint, so use cloth to trap it; mask all colorful areas and work carefully to prevent spills. Pull out the electrical plug for the brake fluid level warning switch. Take off the tube nuts at the Brake Master Cylinder end of the brake lines with a flare-nut wrench, then use plugs to seal the brake lines to keep dirt out. Take off the four Brake Master Cylinder mounting bolts while protecting the hydraulic lines from kinking. Pull the Brake Master Cylinder out of your vehicle. Take off the reservoir cap and throw away the fluid left inside. If you take out the Brake Master Cylinder, you need to empty and refill the whole hydraulic system. It takes less time to bleed the system if you start with fluid in and bench bleed the Brake Master Cylinder before putting it back in. Place the Brake Master Cylinder in a vise using gentle, soft-clamping jaws on its flat side. Then fill its two fluid containers with brake fluid. Shield the openings where brake lines connect with your fingers to keep air from sucking back into the Brake Master Cylinder, then push on the piston several times slowly to get all air out while pressing down with a large Phillips screwdriver. Give several seconds each time before pushing down the piston again, while making sure your fingers block the holes before letting go. Put plugs in the holes for now and install the Brake Master Cylinder in reverse order. After that, bleed the brake system.
Related Toyota Tacoma Parts
Browse by Year
2025 Brake Master Cylinder 2024 Brake Master Cylinder 2023 Brake Master Cylinder 2022 Brake Master Cylinder 2021 Brake Master Cylinder 2020 Brake Master Cylinder 2019 Brake Master Cylinder 2018 Brake Master Cylinder 2017 Brake Master Cylinder 2016 Brake Master Cylinder 2015 Brake Master Cylinder 2014 Brake Master Cylinder 2013 Brake Master Cylinder 2012 Brake Master Cylinder 2011 Brake Master Cylinder 2010 Brake Master Cylinder 2009 Brake Master Cylinder 2008 Brake Master Cylinder 2007 Brake Master Cylinder 2006 Brake Master Cylinder 2005 Brake Master Cylinder 2004 Brake Master Cylinder 2003 Brake Master Cylinder 2002 Brake Master Cylinder 2001 Brake Master Cylinder 2000 Brake Master Cylinder 1999 Brake Master Cylinder 1998 Brake Master Cylinder 1997 Brake Master Cylinder 1996 Brake Master Cylinder 1995 Brake Master Cylinder
