
My Garage
My Account
Cart
Genuine Toyota Tercel A/C Compressor
Air Conditioning Compressor- Select Vehicle by Model
- Select Vehicle by VIN
Select Vehicle by Model
orMake
Model
Year
Select Vehicle by VIN
For the most accurate results, select vehicle by your VIN (Vehicle Identification Number).
39 A/C Compressors found
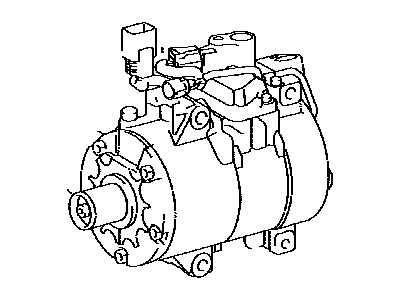
Toyota Tercel Cooler Compressor Assembly
Part Number: 88320-10510$883.00 MSRP: $1318.44You Save: $435.44 (34%)Ships in 1-3 Business DaysToyota Tercel Cooler Compressor Assembly
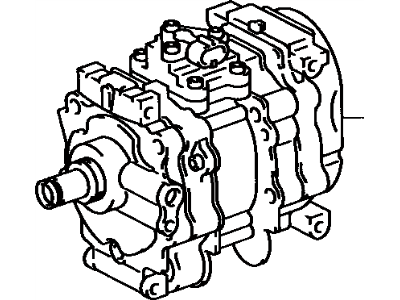
Part Number: 88320-10521$549.37 MSRP: $820.28You Save: $270.91 (34%)Ships in 1-3 Business DaysToyota Tercel Cooler Compressor Assembly
Part Number: 88320-16241$429.42 MSRP: $647.22You Save: $217.80 (34%)Ships in 1-3 Business DaysToyota Tercel Cooler Compressor Assembly
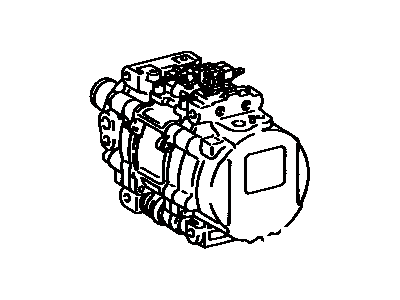
Part Number: 88320-16110$387.37 MSRP: $583.85You Save: $196.48 (34%)Ships in 1-3 Business DaysToyota Tercel Cooler Compressor Assembly
Part Number: 88320-16461$549.37 MSRP: $820.28You Save: $270.91 (34%)Ships in 1-3 Business DaysToyota Tercel Cooler Compressor Assembly
Part Number: 88320-10520$611.73 MSRP: $922.91You Save: $311.18 (34%)Ships in 1-3 Business DaysToyota Tercel Cooler Compressor Assembly
Part Number: 88320-16160$731.42 MSRP: $1094.28You Save: $362.86 (34%)Ships in 1-3 Business DaysToyota Tercel Cooler Compressor Assembly
Part Number: 88320-16340$731.42 MSRP: $1094.28You Save: $362.86 (34%)Ships in 1-3 Business DaysToyota Tercel Cooler Compressor Assembly
Part Number: 88320-16240$740.93 MSRP: $1106.32You Save: $365.39 (34%)Ships in 1-3 Business DaysToyota Tercel Cooler Compressor Assembly
Part Number: 88320-10551$790.54 MSRP: $1180.38You Save: $389.84 (34%)Ships in 1-3 Business DaysToyota Tercel Cooler Compressor Assembly
Part Number: 88320-16250$845.84 MSRP: $1262.96You Save: $417.12 (34%)Ships in 1-3 Business DaysToyota Tercel Cooler Compressor Assembly
Part Number: 88320-16251$859.33 MSRP: $1283.10You Save: $423.77 (34%)Ships in 1-3 Business DaysToyota Tercel Cooler Compressor Assembly
Part Number: 88320-16170$859.93 MSRP: $1283.99You Save: $424.06 (34%)Ships in 1-3 Business DaysToyota Tercel Cooler Compressor Assembly
Part Number: 88320-16330$859.93 MSRP: $1283.99You Save: $424.06 (34%)Ships in 1-3 Business DaysToyota Tercel Cooler Compressor Assembly
Part Number: 88320-10511$951.08 MSRP: $1420.09You Save: $469.01 (34%)Ships in 1-3 Business DaysToyota Tercel Cooler Compressor Assembly
Part Number: 88320-16130$233.11 MSRP: $337.72You Save: $104.61 (31%)Ships in 1-3 Business DaysToyota Tercel Cooler Compressor Assembly
Part Number: 88320-16060$298.20 MSRP: $432.02You Save: $133.82 (31%)Ships in 1-3 Business DaysToyota Tercel Cooler Compressor Assembly
Part Number: 88320-16061$298.20 MSRP: $432.02You Save: $133.82 (31%)Ships in 1-3 Business DaysToyota Tercel Cooler Compressor Assembly
Part Number: 88320-12670$310.79 MSRP: $445.64You Save: $134.85 (31%)Ships in 1-3 Business DaysToyota Tercel Cooler Compressor Assembly
Part Number: 88320-16120$310.79 MSRP: $445.64You Save: $134.85 (31%)Ships in 1-3 Business Days
| Page 1 of 2 |Next >
1-20 of 39 Results
Toyota Tercel A/C Compressor
If you are in demand for superior quality and affordable OEM Toyota Tercel A/C Compressor, then shop with us! We own a wide range of the reduced-priced genuine Toyota Tercel A/C Compressor. You can purchase in confidence as all parts come with a manufacturer's warranty. Any issues with our products? No need to worry as we have a hassle-free return policy to guide you every step of the way.
Toyota Tercel A/C Compressor Parts Questions & Experts Answers
- Q: How to Remove and Install an A/C Compressor on a Toyota Tercel?A:To remove the refrigerant from the vehicle's air conditioning system, it is recommended to have it discharged at a dealer service department or an automotive air conditioning repair facility. Before starting the removal process, disconnect the battery cable from the negative battery terminal and remove the battery, ensuring you have the correct activation code for the stereo if it has an anti-theft system. Next, detach the refrigerant lines from the compressor and cap the open fittings to prevent dirt and moisture from entering. Disconnect the clutch wire from the A/C Compressor and remove the accessory drive belt. Then, remove the compressor mounting bolts and take out the compressor from the engine compartment, keeping it level during handling and storage. If the compressor is seized or there are metal particles in the refrigerant lines, the system must be flushed out and the A/C Accumulator replaced by a professional. For installation, turn the center of the clutch six times to disperse any collected oil before installing the compressor in the reverse order of removal. If a new compressor is being installed, transfer the cycling clutch assembly to the new compressor using a special tool if necessary. Add additional refrigerant oil equal to the amount removed with the replaced component, ensuring compatibility with the system being repaired. Finally, have the system evacuated, charged, and leak tested by the shop that discharged it. If the compressor clutch fails to engage, inspect the magnetic clutch relay located either in the relay center under the hood for 1990 and earlier models, or under the dash on the passenger side of the center control assembly for 1991 and later models. Use an ohmmeter to check for continuity at the indicated terminals and replace the relay if continuity is not as specified.
Related Toyota Tercel Parts
Browse by Year
1999 A/C Compressor 1998 A/C Compressor 1997 A/C Compressor 1996 A/C Compressor 1995 A/C Compressor 1994 A/C Compressor 1993 A/C Compressor 1992 A/C Compressor 1991 A/C Compressor 1990 A/C Compressor 1989 A/C Compressor 1988 A/C Compressor 1987 A/C Compressor 1986 A/C Compressor 1985 A/C Compressor 1984 A/C Compressor 1983 A/C Compressor 1982 A/C Compressor 1981 A/C Compressor 1980 A/C Compressor


