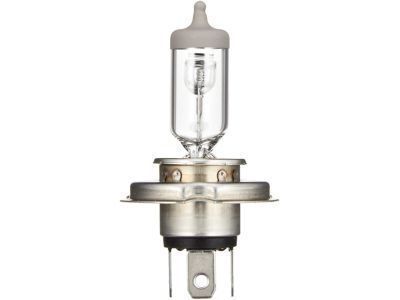
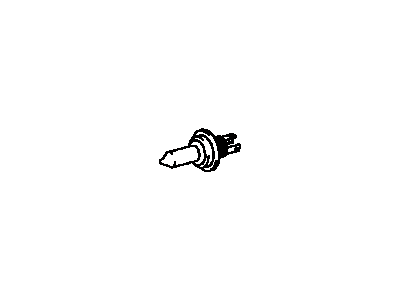
Whenever a bulb is renewed, disconnect the battery negative lead before starting work, and remember that if the light has just been in use, the bulb may be extremely hot. Always check the bulb contacts and holder, ensuring clean metal-to-metal contact between the bulb and its live(s) and earth, cleaning off any corrosion or dirt before fitting a new bulb. For bayonet-type bulbs, ensure that the live contact(s) bear firmly against the bulb contact. Always ensure that the new bulb is of the correct rating and completely clean before fitting it, particularly for headlight and foglight bulbs. Access to the headlight bulbholders may be limited, and it may be helpful to remove the battery or at least the top clamp to improve access. Pull the wiring plug from the rear of the bulb, then remove the rubber cover. Release the bulb's wire retaining clip, pivot it down, and withdraw the bulb. When handling the new bulb, use a tissue or clean cloth to avoid touching the glass with fingers, as moisture and grease can cause blackening and rapid failure; if touched, wipe it clean with methylated spirit. Install the new bulb, ensuring its locating tabs are correctly seated, and secure it with the spring clip. Refit the rubber cover, ensuring a good seal, and reconnect the wiring plug. For the front sidelight, disconnect the wiring plug, twist the bulbholder anti-clockwise, and pull it from the rear of the headlight. Pull out the wedge-base bulb and fit a new one firmly into place, then re-secure the bulbholder. For the front direction indicator light, turn the steering wheel for better access, remove screws and clips securing the wheel arch liner, disconnect the wiring plug, twist the bulbholder anti-clockwise, and remove the bulb. Fit the new bulb, twist the bulbholder clockwise, and re-secure the wheel arch liner screws. For the front foglight, follow similar steps to gain access, disconnect the wiring plug, and twist the bulb anti-clockwise to remove it. Handle the new bulb carefully, fit it, reconnect the wiring plug, and re-secure the wheel arch liner screws. For the indicator side repeater light, slide the light unit forward against its internal spring clip, unhook its rear edge, withdraw the light unit, and disconnect the wiring plug. The bulb is not available separately, so a new light unit must be obtained if it fails. Refitting is a reversal of removal. For rear lights, open the tailgate, unclip the trim panel, twist the required bulbholder anti-clockwise to remove it, and replace any bayonet-fitting bulbs by pressing and turning them anti-clockwise. Fit the new bulb(s), clip the bulbholder back onto the light unit, and reclip the trim panel. For the number plate light, prise it from the bumper with a small screwdriver, twist the bulbholder anti-clockwise, pull out the wedge-base bulb, and press a new one into place. Refitting is a reversal of removal. For the high-level stop-light, open the tailgate, unclip the cover, remove the mounting bolt, withdraw the light, twist the bulbholder anti-clockwise, and replace the bulb by pulling the old one out and pressing in a new one. Refitting is a reversal of removal.