My Garage
My Account
Cart
This part fits
2008 Toyota Land Cruiser
Check another vehicle- The location this part fits: Front Passenger Side, Front Driver Side
- Production Date: 09/2007-01/2012
- Fitting Vehicle Options: URJ200
Toyota 48510-69405 Shock Absorber Assembly Front Left
2008-2016 Toyota Land Cruiser 4851069405
Customer Questions & Expert Answers (2)

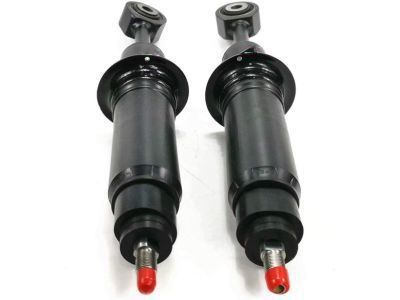
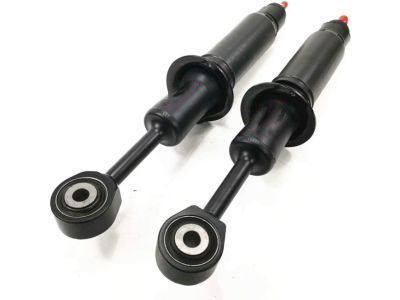
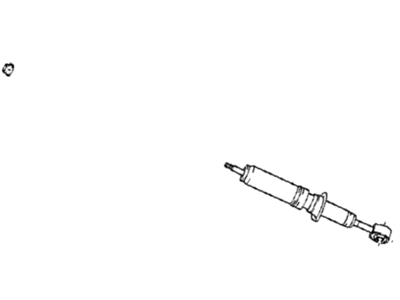
- Part DescriptionAbsorber Set, Shock ; Absorber Assembly, Shock, Front Lh
- MARK 48510-60180,MEXICO SPEC
- PositionFront Driver Side
- ManufacturerToyota
This part fits
2008 Toyota Land Cruiser
Check another vehicle- The location this part fits: Front Passenger Side, Front Driver Side
- Production Date: 09/2007-01/2012
- Fitting Vehicle Options: URJ200
$134.19 MSRP: $190.77
You Save: $56.58 (30%)
1
- Related Parts
- Specifications
- Q&A
Product Specifications
Brand Genuine Toyota Manufacturer Part Number 48510-69405 Part Description Absorber Set, Shock ; Absorber Assembly, Shock, Front Lh Manufacturer Note MARK 48510-60180,MEXICO SPEC Item Dimensions 28.5 x 8.4 x 7.9 inches Item Weight 9.40 Pounds Position Front Driver Side Condition New Fitment Type Direct Replacement Manufacturer Toyota SKU 48510-69405 Warranty This genuine Toyota part is covered by warranty. Shipping & Return Shipping Policy Return Policy Warning: California's Proposition 65Customer Questions & Expert Answers
- Q:Is the above part number correct or is there another correct number for my car? Posted by ToyotaPartsDeal Specialist
- A:You can Select Your Vehicle to check if 48510-69405 fits your vehicle.Posted by ToyotaPartsDeal Specialist
- Installation and Repair Tips by AI Expert
- Removal steps 1. Park on level ground, chock remaining wheels, engage parking brake, and put on appropriate PPE. 2. Raise the vehicle and support it securely on jack stands at manufacturer-approved locations; remove the wheel to access the strut area. 3. Disconnect the negative battery cable and wait the manufacturer-recommended time for SRS/airbag systems to de-energize. 4. If the vehicle has supplemental restraint or steering/ride-height sensors, follow manufacturer guidance to disable or protect them before working near the strut. 5. Support the lower suspension knuckle or control arm with a jack or stand to prevent sudden movement when the strut is released. 6. Disconnect any electrical connectors and detached sensors routed to the strut housing (for example ABS or height sensors) and unclip brake lines or hoses from the strut as required. 7. Remove the fasteners that attach the strut housing to the suspension and body per the vehicle's design, supporting components as you go; leave fasteners loosely removed until the strut is supported. 8. If the strut assembly contains a coil spring and you must disassemble it, use a proper spring compressor and follow safe procedures; otherwise remove the complete strut housing assembly intact. 9. Lower the support and carefully remove the strut housing from the vehicle, keeping it upright and clear of hoses, wires, and bodywork. Installation steps 1. Inspect mounting points, rubber mounts, lines, and connectors for damage; replace worn or damaged hardware before installing the new housing. 2. If assembling a strut that includes a compressed spring, use a professional spring compressor and assemble per component instructions before installation. 3. Position and support the strut housing in place, align it with the upper mount, and start upper fasteners by hand to hold it. 4. Reattach the lower suspension connections and any links, then resecure brake lines, hoses, and electrical connectors to the strut housing as originally routed. 5. With the suspension supported at the correct ride height per service procedures, tighten all fasteners to the manufacturer's specified torques (do not guess torque values). 6. Reconnect the negative battery cable and follow manufacturer steps for any required SRS/airbag reinitialization or fault clearances. 7. Reinstall the wheel, lower the vehicle, torque wheel fasteners to spec, and perform a visual check for correct routing, clearances, and leaks. 8. Perform a careful road test to confirm normal steering, ride, and braking behavior and have a professional wheel alignment performed after replacing the strut housing. Repair tip: mark the orientation of the strut relative to the body and steering knuckle before removal and keep fasteners and sensors labeled to simplify correct reassembly.
- Q:
Why choose Toyota Parts Deal
- Dedicated Service
Your complete satisfaction is our #1 goal
- Lowest Prices
Best deals on genuine OE parts from dealerships
- Fast Delivery
Orders are processed and delivered promptly