My Garage
My Account
Cart
This part fits
2002 Toyota 4Runner
Check another vehicle- Production Date: from 08/2000
- Fitting Vehicle Options: VZN18#
Toyota 47050-35010 Brake Booster Assembly with Master Cylinder
2000-2002 Toyota 4Runner 4705035010
Customer Questions & Expert Answers (2)
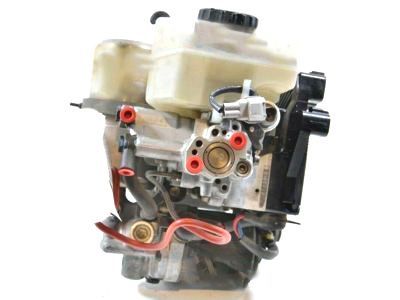

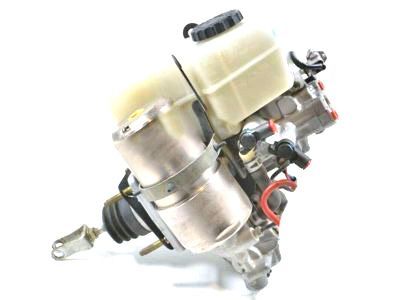
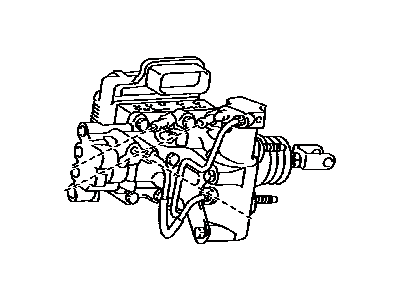
- Part DescriptionBrake Booster Assy, W/Master Cylinder
- Part Name Code47210L
- ManufacturerToyota
This part fits
2002 Toyota 4Runner
Check another vehicle- Production Date: from 08/2000
- Fitting Vehicle Options: VZN18#
$1343.70 MSRP: $2006.33
You Save: $662.63 (34%)
1
- Related Parts
- Product Specifications
- Customer Questions & Expert Answers
Product Specifications
Brand Genuine Toyota Part Name Code 47210L Manufacturer Part Number 47050-35010 Part Description Brake Booster Assy, W/Master Cylinder Other Names Actuator Assembly Item Dimensions 17.4 x 14.6 x 12.8 inches Item Weight 29.80 Pounds Condition New Fitment Type Direct Replacement Manufacturer Toyota SKU 47050-35010 Warranty This genuine Toyota part is guaranteed by Toyota's factory warranty. Shipping & Return Shipping Policy Return Policy Warning: California's Proposition 65Customer Questions & Expert Answers
- Q:Is the above part number correct or is there another correct number for my car? Posted by ToyotaPartsDeal Specialist
- A:You can Select Your Vehicle to check if 47050-35010 fits your vehicle.Posted by ToyotaPartsDeal Specialist
- Q:How to Overhaul the Brake Master Cylinder on Toyota 4Runner? Posted by Customer
- A:Before deciding to overhaul the Brake Master Cylinder, check on the availability and cost of a new or factory rebuilt unit and also the availability of a rebuild kit. Place rags under the brake line fittings and prepare caps or plastic bags to cover the ends of the lines once they're disconnected, as brake fluid will damage paint; cover all painted surfaces and avoid spilling fluid during this procedure. Unplug the brake fluid level warning switch electrical connector. Loosen the tube nuts at the ends of the brake lines where they enter the Brake Master Cylinder using a flare-nut wrench to prevent rounding off the flats on these nuts. Pull the brake lines away from the Brake Master Cylinder slightly and plug the ends to prevent contamination. Remove the two Brake Master Cylinder mounting nuts, ensuring not to kink the hydraulic lines, and take the Brake Master Cylinder out of the vehicle. Remove the reservoir cap and discard any fluid remaining in the reservoir. Whenever the Brake Master Cylinder is removed, the entire hydraulic system must be bled, and the time required to bleed the system can be reduced if the Brake Master Cylinder is filled with fluid and bench bled before installation. Mount the Brake Master Cylinder in a vise equipped with soft jaws clamping on the flange of the Brake Master Cylinder and fill the reservoirs with brake fluid. Hold fingers tightly over the holes where the brake lines normally connect to prevent air from being drawn back into the Brake Master Cylinder. Slowly depress the piston several times to ensure all air has been expelled, using a large Phillips screwdriver to push on the piston assembly, waiting several seconds each time for brake fluid to be drawn from the reservoir into the piston bore before depressing the piston again, ensuring fingers cover the holes before releasing the piston. When the bleeding procedure is complete, temporarily install plugs in the holes. Carefully install the Brake Master Cylinder by reversing the removal steps and bleed the brake system.Posted by ToyotaPartsDeal Specialist
If you have any questions about this product, please don't hesitate to ask us. We will be happy to help you!- Q:
Why choose Toyota Parts Deal
- Dedicated Service
Your complete satisfaction is our #1 goal
- Lowest Prices
Best deals on genuine OE parts from dealerships
- Fast Delivery
Orders are processed and delivered promptly