My Garage
My Account
Cart
This part fits
2008 Toyota Land Cruiser
Check another vehicle- Production Date: 09/2007-08/2010
- Fitting Vehicle Options: URJ200
Toyota 77740-60471 Vapor Canister
2008-2014 Toyota Land Cruiser 7774060471
Customer Questions & Expert Answers (1)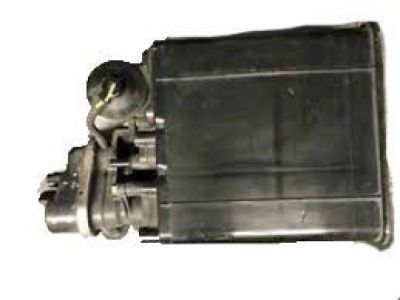
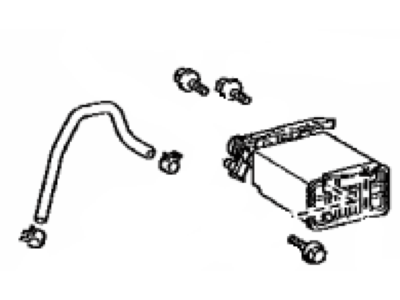
- Part DescriptionCanister Assembly, Charcoal
- Part Name Code77740
- Replaces
- ManufacturerToyota
This part fits
2008 Toyota Land Cruiser
Check another vehicle- Production Date: 09/2007-08/2010
- Fitting Vehicle Options: URJ200
$603.78 MSRP: $901.52
You Save: $297.74 (34%)
Ships in 1-2 Business Days
1
- Related Parts
- Specifications
- Q&A
Product Specifications
Brand Genuine Toyota Part Name Code 77740 Manufacturer Part Number 77740-60471 Part Description Vapor Canister; Canister Assembly, Charcoal Item Dimensions 23.1 x 20.6 x 8.6 inches Item Weight 7.60 Pounds Condition New Fitment Type Direct Replacement Replaces 77740-60470 Manufacturer Toyota SKU 77740-60471 Warranty This genuine Toyota part is covered by warranty. Shipping & Return Shipping Policy Return Policy Warning: California's Proposition 65Customer Questions & Expert Answers
- Installation & Repair Tips by AI Expert
- Removal steps 1. Park on level ground, set the parking brake, chock wheels and wear eye protection and gloves. 2. Open the fuel filler cap to relieve any trapped tank vapors. 3. Disconnect the negative battery terminal and stow the cable away from the battery. 4. Raise and support the vehicle with jack stands only if required for access; confirm it is secure before working underneath. 5. Locate the vapor canister (location varies by design) and inspect surrounding lines and connectors. 6. Photograph or label hose routing and connector positions to ensure correct reassembly. 7. Disconnect any electrical connectors to the purge/vent valves by releasing retaining tabs. 8. Cap or plug EVAP lines immediately after disconnecting to keep contaminants out. 9. Loosen clamps and disconnect vapor and purge hoses from the canister, using pliers or appropriate tools as needed. 10. Remove the mounting fasteners or bracket and lower the canister, keeping track of any spacers or hardware. Installation steps 1. Compare the new canister to the old unit and transfer any brackets or isolators if required. 2. Position the canister and install mounting fasteners; snug them securely by hand then tighten appropriately (do not invent torque values). 3. Reconnect vapor and purge hoses to the correct ports, using new clamps or OEM-style clamps if available; ensure hoses are fully seated and not kinked. 4. Reattach electrical connectors to the purge/vent valves until they click into place. 5. Remove any plugs/caps from hoses, reinstall the fuel filler cap, and confirm proper routing and clearance from heat or moving parts. 6. Lower the vehicle if it was raised and reconnect the negative battery terminal. 7. Start the engine and let it idle; scan for EVAP-related trouble codes and monitor for warnings or abnormal smells. 8. If available, perform an EVAP system leak or smoke test to verify system integrity and repair any leaks found. Repair tip: Replace worn rubber hoses, clamps, and grommets when replacing the canister to prevent future leaks and simplify reassembly.