My Garage
My Account
Cart
This part fits
2016 Toyota Prius
Check another vehicle- The location this part fits: Front
- Production Date: 11/2015-07/2016
- Fitting Vehicle Options: 2ZRFXE.. ZVW5#
Toyota 17410-37A00 Front Exhaust Pipe Assembly
2016-2017 Toyota Prius 1741037A00
Customer Questions & Expert Answers (2)
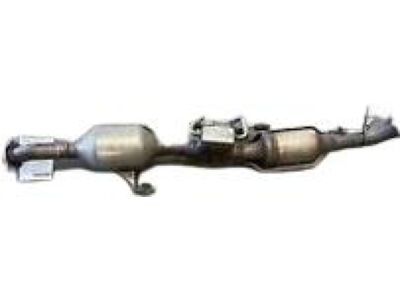
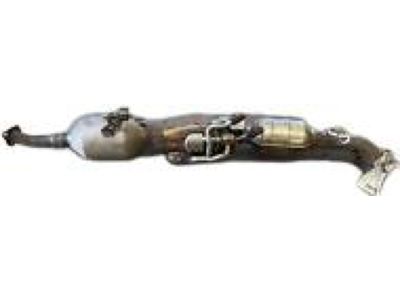
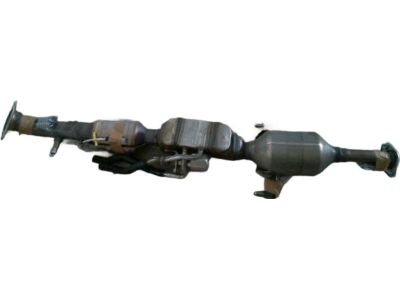
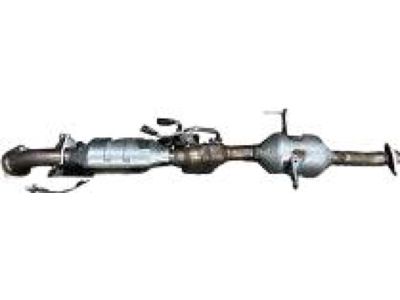
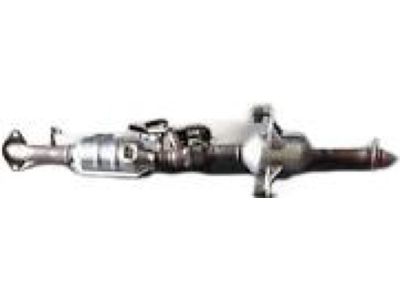
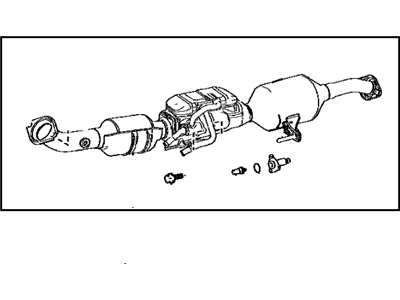
- Part DescriptionPipe Assembly, Exhaust, Front
- *114=TOYOTA/TL3/Y
- Part Name Code17410
- PositionFront
- Replaced By
- ManufacturerToyota
This part fits
2016 Toyota Prius
Check another vehicle- The location this part fits: Front
- Production Date: 11/2015-07/2016
- Fitting Vehicle Options: 2ZRFXE.. ZVW5#
$1085.25 MSRP: $1484.18
You Save: $398.93 (27%)
Ships in 1-3 Business Days
1
- Related Parts
- Specifications
- Q&A
Product Specifications
Brand Genuine Toyota Part Name Code 17410 Manufacturer Part Number 17410-37A00 Part Description Pipe Assembly, Exhaust, Front Manufacturer Note *114=TOYOTA/TL3/Y Item Weight 13.30 Pounds Position Front Condition New Fitment Type Direct Replacement Manufacturer Toyota SKU 17410-37A00 Warranty This genuine Toyota part is covered by warranty. Shipping & Return Shipping Policy Return Policy Warning: California's Proposition 65Customer Questions & Expert Answers
- Q:Does it fit my car? Posted by ToyotaPartsDeal Specialist
- A:You can Select Your Vehicle to check if 17410-37A00 fits your vehicle.Posted by ToyotaPartsDeal Specialist
- Installation and Repair Tips by AI Expert
- Removal steps: 1. Work in a well-ventilated area on a level surface; chock wheels, wear eye/hand protection, and allow the exhaust to cool completely. 2. Disconnect the 12-volt (auxiliary) battery negative terminal to prevent electrical faults. 3. Disable the hybrid high-voltage system per manufacturer procedures before touching any HV components; if you are not certified for high-voltage work, have a trained technician perform this step. 4. Safely raise and support the vehicle with jack stands or a lift so you can access the exhaust; support the exhaust system near the catalytic converter with a transmission jack or suitable support. 5. Locate and remove or loosen any heat shields or covers that block access to the converter (designs vary). 6. Label and disconnect any oxygen sensor electrical connectors and remove the sensors from the converter assembly; keep track of sensor locations and orientation. 7. Inspect fasteners/clamps at converter-to-exhaust joints; apply penetrating oil if rusted and loosen or remove flange bolts, nuts, or clamps as applicable (some converters are welded or require cutting). 8. Support the converter and separate it from the exhaust system, taking care not to stress hangers or nearby components; remove the converter assembly from under the vehicle. 9. Clean mating surfaces and collect any reused gaskets or hardware for inspection; discard damaged gaskets and severely corroded hardware. Installation steps: 1. Confirm mating surfaces are clean and flange faces are aligned; use new gaskets and new hardware where required. 2. If oxygen sensors were removed, install them into the new converter in their original positions; follow sensor manufacturer guidance regarding anti-seize (use only if specified). 3. Position and support the new catalytic converter, aligning it with exhaust pipes and hangers before final fastening. 4. Assemble flanges, clamps, or joints hand-tight first to align the system, then snug progressively-do not overtighten or assume torque values. 5. Reinstall any heat shields or covers that were removed. 6. Reconnect oxygen sensor electrical connectors, ensuring wiring is routed away from hot surfaces and secured. 7. Re-enable the hybrid high-voltage system per manufacturer procedure and reconnect the 12-volt battery negative terminal. 8. Start the vehicle (only after HV is safe to restore) and inspect for exhaust leaks, unusual noises, and proper sensor operation; check for fault codes with a scan tool and clear/monitor readiness as needed. 9. Lower the vehicle and perform a brief road test to confirm normal operation and absence of leaks or warning lights. Repair tip: 1. Use penetrating oil on rusted fasteners, support the exhaust to avoid twisting during removal/installation, replace gaskets and severely corroded hardware, and if any step involves high-voltage work you are not trained for, have a certified hybrid technician complete that portion.
- Q:
Why choose Toyota Parts Deal
- Dedicated Service
Your complete satisfaction is our #1 goal
- Lowest Prices
Best deals on genuine OE parts from dealerships
- Fast Delivery
Orders are processed and delivered promptly