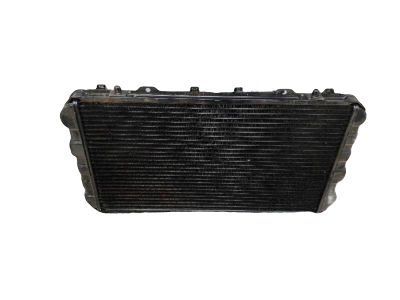
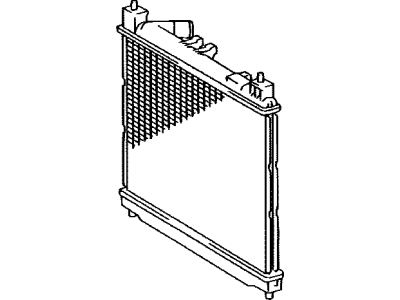
Drain the coolant. Remove both electric cooling fans. Disconnect the upper and lower radiator hoses. To remove the radiator, use a pair of channel lock pliers to pinch the radiator upper hose clamp and slide it back, then detach the hose from the radiator. Disconnect the lower radiator hose by squeezing the clamp. Disconnect the temperature switch electrical connector from the lower left backside of the radiator. Unplug the electrical connector from the temperature switch located at the lower left backside of the radiator. Remove both upper radiator support bolts and the supports. Remove the radiator retaining bracket bolts and brackets and lift the radiator out of the vehicle. Remove the radiator from the vehicle. Carefully examine the radiator for evidence of leaks and damage. Any necessary repairs should be performed by a radiator repair shop. With the radiator removed, brush accumulations of insects and leaves from the cooling fins. Inspect the radiator hoses. If they have become cracked, swollen or otherwise deteriorated, replace them. Flush the radiator. Replace the radiator cap with a new one of the same rating. If the cap is relatively new, have it pressure tested at a service station. Installation is the reverse of removal. Make sure that the radiator support bracket rubber insulators are properly seated against the top of the radiator. When reinstalling the radiator, make sure that the 3 rubber cushions between the top of the radiator and the brackets are not pinched, the insulators will crack and the radiator will start rubbing against the brackets. If they are pinched when the support bracket bolts are tightened, they will be damaged and will have to be replaced.