

My Garage
My Account
Cart
This part fits
1976 Toyota Land Cruiser United States Of America; 6 Cyl 4.2L
Check another vehicle- Production Date: 01/1975-07/1980
- Fitting Vehicle Options: 2F.. FJ40, 55; 2F.. FJ40, 55.. USA
Toyota 19102-45150 Distributor Rotor Sub-Assembly
1973-1980 Toyota 1910245150
Customer Questions & Expert Answers (2)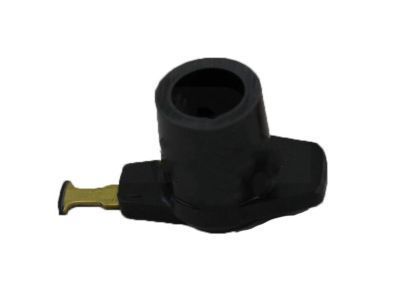
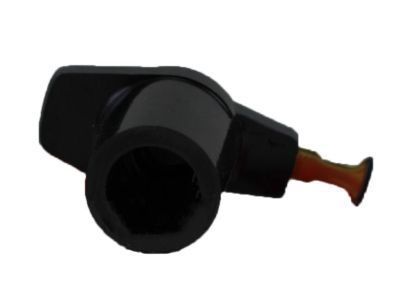
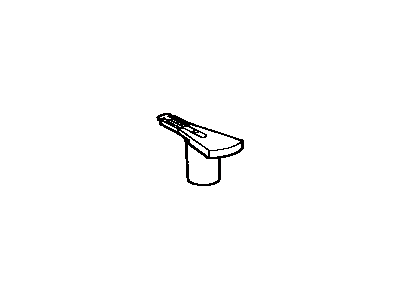
- Part DescriptionRotor Sub-Assy, Distributor
- Part Name Code19102
- Replaces
- ManufacturerToyota
This part fits
1976 Toyota Land Cruiser United States Of America; 6 Cyl 4.2L
Check another vehicle- Production Date: 01/1975-07/1980
- Fitting Vehicle Options: 2F.. FJ40, 55; 2F.. FJ40, 55.. USA
$12.84 MSRP: $17.95
You Save: $5.11 (29%)
Ships in 1-3 Business Days
1
- Related Parts
- Specifications
- Q&A
Product Specifications
Brand Genuine Toyota Part Name Code 19102 Manufacturer Part Number 19102-45150 Part Description Rotor Sub-Assy, Distributor Item Dimensions 2.9 x 1.8 x 1.1 inches Item Weight 0.60 Pounds Condition New Fitment Type Direct Replacement Replaces 19102-45060 Manufacturer Toyota SKU 19102-45150 Warranty This genuine Toyota part is covered by warranty. Shipping & Return Shipping Policy Return Policy Warning: California's Proposition 65Customer Questions & Expert Answers
- Q:Does it fit my car? Posted by ToyotaPartsDeal Specialist
- A:You can Select Your Vehicle to check if 19102-45150 fits your vehicle.Posted by ToyotaPartsDeal Specialist
- Installation and Repair Tips by AI Expert
- Removal steps 1. Park on level ground, set the parking brake, chock wheels, wear safety glasses, and let the engine cool. 2. Disconnect the negative battery cable to prevent accidental ignition sparks. 3. Remove or move aside any covers or components that block access to the distributor cap; access methods vary by vehicle. 4. Photograph or clearly label each spark plug wire or ignition lead at the distributor cap to preserve firing order. 5. Carefully remove spark plug wires by pulling the boots, not the wires, and set them aside in order. 6. Remove the distributor cap fasteners and lift the cap straight off; some caps have internal leads-handle gently. 7. Identify the rotor retention method (press-fit, clip, or screw); remove the retaining clip or screw if present, or pull the rotor straight up if it is a friction fit. 8. Lift the rotor from the distributor shaft, noting its orientation for correct reinstallation. Installation steps 1. Confirm the replacement rotor matches the original in shape and orientation before installing. 2. Clean the distributor shaft and cap seating area of debris and corrosion with a lint-free cloth. 3. Install the new rotor onto the distributor shaft in the same orientation as removed; push it straight on or reinstall the retaining fastener if one is used-do not use excessive force. 4. Reposition the distributor cap and secure its fasteners, ensuring it seats evenly and any indexing features engage. 5. Reattach spark plug wires to the correct terminals using your labels or photos, seating each boot fully on its terminal. 6. Reconnect the negative battery cable. 7. Start the engine and observe for normal idle and absence of misfires; if running poorly, recheck rotor seating and wire order. 8. After a short test run, inspect for oil or moisture intrusion around the distributor and confirm all fasteners remain secure. Repair tip 1. It is common practice to replace the distributor cap at the same time as the rotor for reliable performance and longer service life.
- Q:
Why choose Toyota Parts Deal
- Dedicated Service
Your complete satisfaction is our #1 goal
- Lowest Prices
Best deals on genuine OE parts from dealerships
- Fast Delivery
Orders are processed and delivered promptly