

My Garage
My Account
Cart
This part fits
1990 Toyota Land Cruiser United States Of America; FJ62LG-PNEA
Check another vehicle- Production Date: 08/1987-01/1990
- Fitting Vehicle Options: FJ62
Toyota 68141-90A03 Front Door Glass Run
1985-1990 Toyota Land Cruiser 6814190A03
Customer Questions & Expert Answers (2)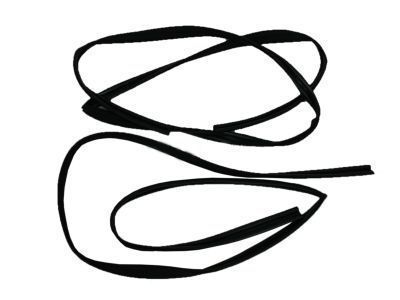
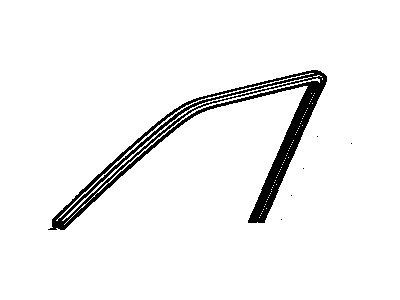
- Part DescriptionRun, Front Door Glass
- Part Name Code68141
- PositionFront
- ManufacturerToyota
- Require Quantity2
- Package Quantity1
This part fits
1990 Toyota Land Cruiser United States Of America; FJ62LG-PNEA
Check another vehicle- Production Date: 08/1987-01/1990
- Fitting Vehicle Options: FJ62
$80.82 MSRP: $113.92
You Save: $33.10 (30%)
1
- Related Parts
- Specifications
- Q&A
Product Specifications
Brand Genuine Toyota Part Name Code 68141 Manufacturer Part Number 68141-90A03 Part Description Run, Front Door Glass Other Names Run Channel Item Weight 0.90 Pounds Position Front Condition New Fitment Type Direct Replacement Require Quantity 2 Manufacturer Toyota SKU 68141-90A03 Warranty This genuine Toyota part is covered by warranty. Shipping & Return Shipping Policy Return Policy Warning: California's Proposition 65Customer Questions & Expert Answers
- Q:Can you verify fitment for this part? Posted by ToyotaPartsDeal Specialist
- A:You can Select Your Vehicle to check if 68141-90A03 fits your vehicle.Posted by ToyotaPartsDeal Specialist
- Installation and Repair Tips by AI Expert
- Removal: 1. Park on level ground, set parking brake, chock wheels and disconnect the negative battery cable; allow systems to power down. 2. If the door contains a side airbag, avoid disturbing airbag components and follow manufacturer safety guidance. 3. Remove interior trim and hardware as needed to reach the door inner panel and window area (armrest, handles, switch bezel, screws, and trim clips); commonly this exposes the window run access. 4. For power windows, remove the switch assembly and disconnect its electrical connector after the battery is disconnected. 5. Carefully peel back or loosen the vapor/water barrier enough to access the window channel; preserve it for reinstallation. 6. Position the window glass to expose the run area and secure the glass so it cannot move (tape, suction cups, or a support wedge). 7. Remove any retaining clips, fasteners, or adhesive holding the run in place; designs vary so remove only what's necessary to free the run. 8. Work the old run out of the channel, cutting or prying as required and collecting any broken clips or seal fragments. 9. Clean the channel and surrounding area of adhesive residue, dirt, and corrosion and inspect for damage before installing the new run. Installation: 1. Compare the new run to the old part to confirm fit and identify orientation before starting. 2. If the design calls for adhesive, apply a thin, appropriate weatherstrip adhesive to the mounting surface per adhesive instructions; not all installations require glue. 3. Begin seating the new run at one end and work it progressively into the window channel, making sure the sealing lips fully engage without stretching or bunching. 4. Reinstall any clips or fasteners replaced during removal; replace any broken retainers with new ones. 5. Reposition and reseal the vapor/water barrier so it provides a good seal against moisture. 6. Reconnect any window switch or harnesses, then reconnect the negative battery cable temporarily to test the window operation through full travel, watching for smooth engagement and proper sealing. 7. If adjustment is needed, correct run seating or clip placement, then disconnect the battery again if further disassembly is required. 8. Reinstall the door trim, hardware, and switch bezel; reconnect the battery for final tests. 9. Perform a final check: cycle the window several times, listen for noise, check alignment and sealing, and verify door electrical functions. 10. Repair tip: apply a small amount of silicone-based lubricant or rubber conditioner to the new run to reduce noise and help smooth glass travel.
- Q:
Why choose Toyota Parts Deal
- Dedicated Service
Your complete satisfaction is our #1 goal
- Lowest Prices
Best deals on genuine OE parts from dealerships
- Fast Delivery
Orders are processed and delivered promptly