

My Garage
My Account
Cart
Genuine 1998 Toyota Tacoma Cylinder Head
Head- Select Vehicle by Model
- Select Vehicle by VIN
Select Vehicle by Model
orMake
Model
Year
Select Vehicle by VIN
For the most accurate results, select vehicle by your VIN (Vehicle Identification Number).
6 Cylinder Heads found
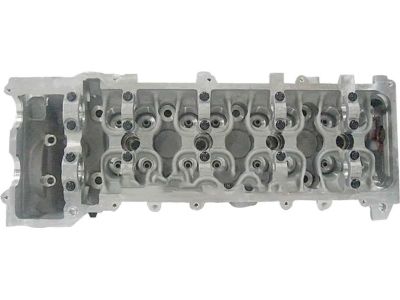
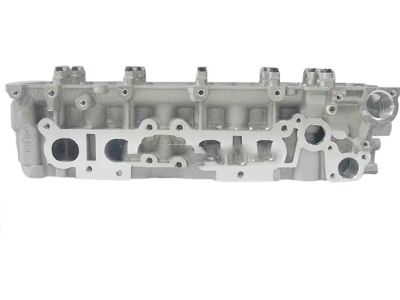
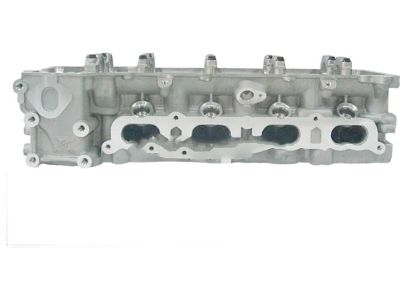
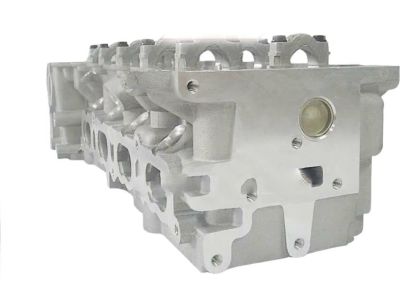
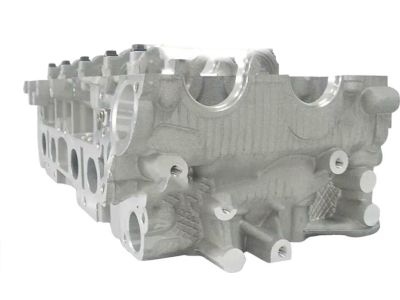
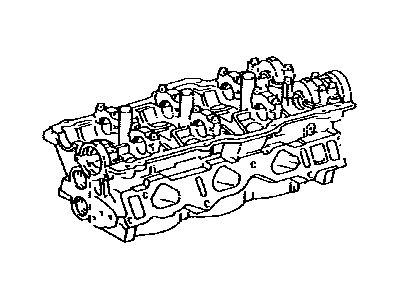
1998 Toyota Tacoma Cylinder Head Sub-Assembly
Part Number: 11101-79275$1186.40 MSRP: $1506.53You Save: $320.13 (22%)Ships in 1-3 Business DaysProduct Specifications- Other Name: Head Sub-Assy, Cylinder
- Replaced by: 11101-79276
- Part Name Code: 11101
- Item Weight: 36.00 Pounds
- Item Dimensions: 23.5 x 10.1 x 8.4 inches
- Condition: New
- Fitment Type: Direct Replacement
- SKU: 11101-79275
- Warranty: This genuine Toyota part is covered by warranty.
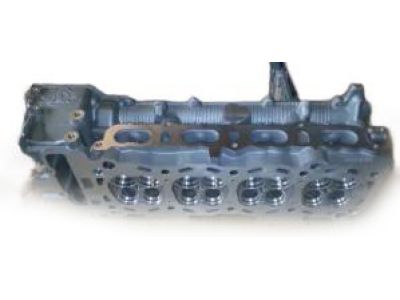
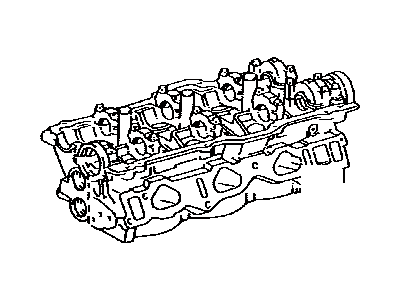
1998 Toyota Tacoma Cylinder Head Sub-Assembly
Part Number: 11101-79105$623.93 MSRP: $792.30You Save: $168.37 (22%)Ships in 1-3 Business DaysProduct Specifications- Other Name: Head Sub-Assy, Cylinder
- Replaced by: 11101-79106
- Part Name Code: 11101
- Item Weight: 27.80 Pounds
- Item Dimensions: 21.7 x 12.6 x 10.4 inches
- Condition: New
- Fitment Type: Direct Replacement
- SKU: 11101-79105
- Warranty: This genuine Toyota part is covered by warranty.
1998 Toyota Tacoma Cylinder Head Sub-Assembly
Part Number: 11101-79185$1186.40 MSRP: $1506.53You Save: $320.13 (22%)Ships in 1-3 Business DaysProduct Specifications- Other Name: Head Sub-Assy, Cylinder
- Replaced by: 11101-79276
- Part Name Code: 11101
- Item Weight: 28.10 Pounds
- Item Dimensions: 21.7 x 12.4 x 10.5 inches
- Condition: New
- Fitment Type: Direct Replacement
- SKU: 11101-79185
- Warranty: This genuine Toyota part is covered by warranty.
1998 Toyota Tacoma Cylinder Head Sub-Assembly
Part Number: 11101-79186$1186.40 MSRP: $1506.53You Save: $320.13 (22%)Product Specifications- Other Name: Head Sub-Assy, Cylinder; Cylinder Head
- Replaced by: 11101-79276
- Replaces: 11101-79185
- Part Name Code: 11101
- Item Weight: 26.30 Pounds
- Item Dimensions: 21.3 x 12.3 x 10.5 inches
- Condition: New
- Fitment Type: Direct Replacement
- SKU: 11101-79186
- Warranty: This genuine Toyota part is covered by warranty.
1998 Toyota Tacoma Cylinder Head Sub-Assembly
Part Number: 11101-69135$1083.80 MSRP: $1376.25You Save: $292.45 (22%)Product Specifications- Other Name: Head Sub-Assy, Cylinder
- Replaced by: 11101-69136
- Part Name Code: 11101
- Item Weight: 25.80 Pounds
- Item Dimensions: 21.9 x 12.6 x 10.6 inches
- Condition: New
- Fitment Type: Direct Replacement
- Require Quantity: 2
- SKU: 11101-69135
- Warranty: This genuine Toyota part is covered by warranty.
1998 Toyota Tacoma Cylinder Head Sub-Assembly
Part Number: 11101-79106$623.93 MSRP: $792.30You Save: $168.37 (22%)Product Specifications- Other Name: Head Sub-Assy, Cylinder; Cylinder Head
- Replaces: 11101-79105
- Part Name Code: 11101
- Item Weight: 26.30 Pounds
- Item Dimensions: 22.1 x 12.3 x 10.2 inches
- Condition: New
- Fitment Type: Direct Replacement
- SKU: 11101-79106
- Warranty: This genuine Toyota part is covered by warranty.
1998 Toyota Tacoma Cylinder Head
With ToyotaPartsDeal.com, you have access to an extensive inventory of genuine 1998 Toyota Tacoma Cylinder Head, all priced competitively. Feel secure in your purchase, as all our OEM 1998 Toyota Tacoma Cylinder Head are covered by warranty. Plus, we offer a hassle-free return policy and speedy delivery service.
1998 Toyota Tacoma Cylinder Head Parts Questions & Experts Answers
- Q:How to reassemble the Cylinder Head for the 1998 Toyota Tacoma?Posted by Aninka F.A:On 2.7L engines only, remove the balance shaft assembly. Use your fingernail to feel if a ridge has begun reassembly. If the head was sent out for valve servicing, the valves and related components will already be in place. Begin the reassembly procedure by installing new seals on each of the valve guides, ensuring that intake and exhaust valves have different seals and are not mixed up. Gently tap each intake valve seal into place until it's seated on the guide, using a deep socket and hammer, but avoid hammering on the valve seals once they're seated to prevent damage, and do not twist or cock the seals during installation. Starting at one end of the head, lubricate and install the first valve, applying moly-based grease or clean engine oil to the valve stem. Drop the spring seat or shim(s) over the valve guide and set the valve spring and retainer in place. Compress the springs with a valve spring compressor and carefully install the keepers in the upper groove, then slowly release the compressor, ensuring the keepers seat properly. A small dab of grease can be applied to each keeper to hold it in place if necessary, as the small valve stem keepers are easier to position when coated with grease. Repeat the procedure for the remaining valves, ensuring that components are returned to their original locations. Finally, check the valve spring installed height using a dial or vernier caliper for the most accurate measurement, confirming the distance from the top of the seat/shims to the top of the shield or the bottom of the retainer.Answered by Toyota Parts Specialist Manuel / Dec 20, 2025
Related 1998 Toyota Tacoma Parts
 1998 Toyota Tacoma Cylinder Head Bolts
 1998 Toyota Tacoma Cylinder Head Gasket
 1998 Toyota Tacoma Timing Cover
 1998 Toyota Tacoma Camshaft