
My Garage
My Account
Cart
Genuine 2004 Toyota Sienna Piston
Engine Pistons- Select Vehicle by Model
- Select Vehicle by VIN
Select Vehicle by Model
orMake
Model
Year
Select Vehicle by VIN
For the most accurate results, select vehicle by your VIN (Vehicle Identification Number).
1 Piston found
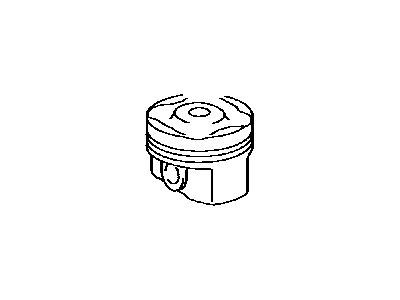
2004 Toyota Sienna Piston Sub-Assembly with Pin
Part Number: 13101-0A040$115.86 MSRP: $163.32You Save: $47.46 (30%)Ships in 1-3 Business DaysProduct Specifications- Other Name: Piston Sub-Assy, W/Pin; Piston
- Replaces: 13101-20050
- Part Name Code: 13101
- Item Weight: 1.70 Pounds
- Item Dimensions: 4.2 x 3.8 x 3.6 inches
- Condition: New
- Fitment Type: Direct Replacement
- Require Quantity: 6
- SKU: 13101-0A040
- Warranty: This genuine part is guaranteed by Toyota's factory warranty.
2004 Toyota Sienna Piston
With ToyotaPartsDeal.com, you have access to an extensive inventory of genuine 2004 Toyota Sienna Piston, all priced competitively. Feel secure in your purchase, as all our OEM 2004 Toyota Sienna Piston are covered by the manufacturer's warranty. Plus, we offer a hassle-free return policy and speedy delivery service.
2004 Toyota Sienna Piston Parts Questions & Experts Answers
- Q: How to install piston and connecting rod assemblies for the 2004 Toyota Sienna?A: Prior to the pistons and its respective con rod, you must carefully clean the cylinder walls, top edge of all the cylinders should be deburred and crank shaft should be installed. Open namespace number one connecting rod, take out the original bearing inserts and clean the bearing surface with a clean, free from lint cloth. On the new upper bearing insert, clean the back side and then put it in the connecting rod such that the tab of the insert is placed in the recess and all the oil hole are lined properly. Do the same for the other bearing insert in the rod cap, making sure all surfaces which mate are clean and free from oil. Space the piston ring gaps evenly around the piston before putting in the piston rings. Utilize cut-off bolts with the rubber tubing so as not to damage the crankshaft when situating the pistons and rods. Wipe the piston and the rings with clean engine oil, slide the piston ring compressor onto the piston and ease the piston into the cylinder with pistons skirt outside. Turn the crankshaft in such a way that the number one connecting rod journal is facing the data mark at BDC and lubricate the cylinder wall with the engine oil. Place the piston/connecting rod assembly into the cylinder bore ensuring that the dimple is at the front of the engine and then tap it to the bottom of the cylinder bore while displacing the connecting rod onto the crankshaft journal. After, installation or removal of the connecting rod bearing, use Plastigage to check the oil clearance of the bearing, , ensure that the connecting rod cap is correctly fitted and the mating marks set correctly. Tighten the nuts in three equal steps but make sure that the underside is coated with a little oil Before checking the oil clearance, compare width of the crushed Plastigage with the scale. If the clearance is off, then check that there was no dirt or oil when the journal diameter was measured. Any excess of Plastigage must be trimmed off very cautiously, the bearing faces wiped and a layer of moly-base grease or early engine assembly lube must be applied on before replacing the connecting rod and the cap. Perform the steps on the other pistons and connecting rods in the manner and state that the dimple of the piston should face the front of the engine. Following the installations of all assemblies, move the crankshaft to feel for binding and then measure the connecting rod clearance to the correct specifications. In case new rods or a new crankshaft were to be supplied, resizing may be done because at times the end play is not enough.


