
My Garage
My Account
Cart
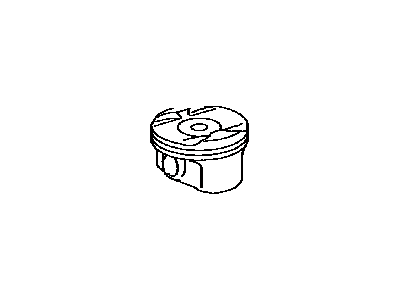
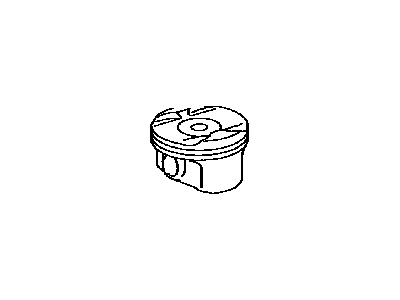
Genuine Toyota Sienna Piston
Engine Pistons- Select Vehicle by Model
- Select Vehicle by VIN
Select Vehicle by Model
orMake
Model
Year
Select Vehicle by VIN
For the most accurate results, select vehicle by your VIN (Vehicle Identification Number).
28 Pistons found
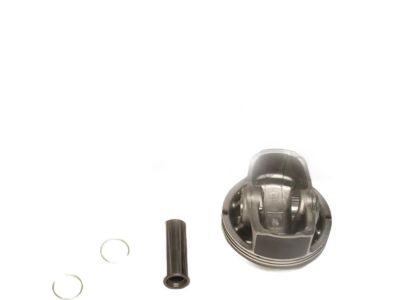
Toyota Sienna Piston Sub-Assembly with Pin
Part Number: 13101-0P040$105.01 MSRP: $148.03You Save: $43.02 (30%)Ships in 1-3 Business DaysToyota Sienna Piston Sub-Assembly with Pin
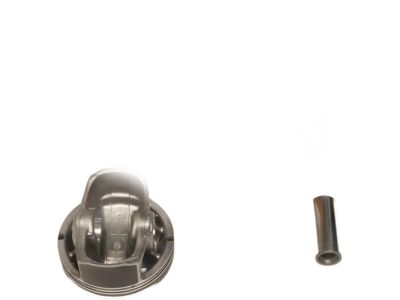
Part Number: 13101-31090$60.14 MSRP: $84.79You Save: $24.65 (30%)Ships in 1-3 Business DaysToyota Sienna Piston
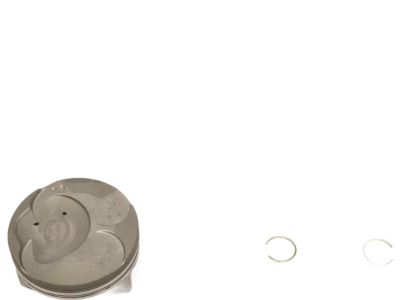
Part Number: 13211-36041-A0$95.21 MSRP: $134.22You Save: $39.01 (30%)Ships in 1-3 Business DaysToyota Sienna Piston Sub-Assembly with Pin
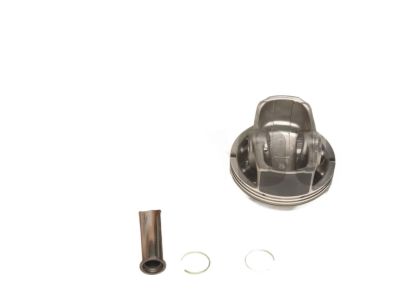
Part Number: 13301-0P030$92.26 MSRP: $130.05You Save: $37.79 (30%)Ships in 1-3 Business DaysToyota Sienna Piston
Part Number: 13211-0V070-A0$96.87 MSRP: $136.55You Save: $39.68 (30%)Ships in 1-3 Business DaysToyota Sienna Piston Sub-Assembly with Pin
Part Number: 13101-31091$60.14 MSRP: $84.79You Save: $24.65 (30%)Ships in 1-3 Business DaysToyota Sienna Piston Sub-Assembly with Pin
Part Number: 13101-25040$85.89 MSRP: $121.08You Save: $35.19 (30%)Ships in 1-3 Business DaysToyota Sienna Piston Sub-Assembly with Pin
Part Number: 13101-0P050$69.36 MSRP: $97.77You Save: $28.41 (30%)Ships in 1-3 Business DaysToyota Sienna Piston Sub-Assembly with Pin
Part Number: 13101-0A020$117.99 MSRP: $166.32You Save: $48.33 (30%)Ships in 1-3 Business DaysToyota Sienna Piston Sub-Assembly with Pin
Part Number: 13101-20030$117.99 MSRP: $166.32You Save: $48.33 (30%)Ships in 1-3 Business DaysToyota Sienna Piston
Part Number: 13211-36040-A0$95.21 MSRP: $134.22You Save: $39.01 (30%)Ships in 1-3 Business DaysToyota Sienna Piston
Part Number: 13211-36041-B0$95.21 MSRP: $134.22You Save: $39.01 (30%)Ships in 1-3 Business DaysToyota Sienna Piston
Part Number: 13211-36041-C0$100.41 MSRP: $141.53You Save: $41.12 (30%)Ships in 1-3 Business DaysToyota Sienna Piston Sub-Assembly with Pin
Part Number: 13101-0A040$115.86 MSRP: $163.32You Save: $47.46 (30%)Ships in 1-3 Business DaysToyota Sienna Piston Sub-Assembly with Pin
Part Number: 13301-0A020$98.01 MSRP: $138.16You Save: $40.15 (30%)Ships in 1-3 Business DaysToyota Sienna Piston Sub-Assembly with Pin
Part Number: 13101-0A010$117.99 MSRP: $166.32You Save: $48.33 (30%)Ships in 1-3 Business DaysToyota Sienna Piston Sub-Assembly with Pin
Part Number: 13101-0P052$69.36 MSRP: $97.77You Save: $28.41 (30%)Ships in 1-3 Business DaysToyota Sienna Piston Sub-Assembly with Pin
Part Number: 13101-F0020$79.46 MSRP: $112.00You Save: $32.54 (30%)Ships in 1-3 Business DaysToyota Sienna Piston
Part Number: 13211-0V070-B0$96.87 MSRP: $136.55You Save: $39.68 (30%)Ships in 1-3 Business DaysToyota Sienna Piston
Part Number: 13211-0V070-C0$95.80 MSRP: $135.05You Save: $39.25 (30%)Ships in 1-3 Business Days
| Page 1 of 2 |Next >
1-20 of 28 Results
Toyota Sienna Piston
If you are in demand for superior quality and affordable OEM Toyota Sienna Piston, then shop with us! We own a wide range of the reduced-priced genuine Toyota Sienna Piston. You can purchase in confidence as all parts come with a manufacturer's warranty. Any issues with our products? No need to worry as we have a hassle-free return policy to guide you every step of the way.
Toyota Sienna Piston Parts Questions & Experts Answers
- Q: How to remove piston/connecting rod assemblies on Toyota Sienna?A:Prior to removing the piston and connecting rod assemblies, the cylinder head(s), oil pan, and oil pump pick-up tube must be taken off. Clean the top of the block and upper cylinder walls with a cloth and lacquer thinner. Use your fingernail to check for any ridge formed at the upper limit of ring travel, approximately 1/4-inch down from the top of each cylinder; if ridges are present due to carbon deposits or cylinder wear, they must be completely removed with a ridge reamer before attempting to remove the pistons to avoid damage. After removing the ridges, turn the engine upside-down with the crankshaft facing up. Before removing the connecting rods, check the endplay with feeler gauges, ensuring the play is removed; if the endplay exceeds the specified service limit, new connecting rods may be necessary, and if new rods or a new crankshaft are installed, the endplay may need to be machined to restore it. Check the connecting rods and caps for identification marks, and if they are not marked, use a small center punch to create indentations to indicate their associated cylinders. Loosen each connecting rod cap nut gradually until they can be removed by hand, and take care not to drop the bearing insert out of the cap. For V6 engines, use padded bolts to protect the crankshaft surface during the removal or installation of the pistons and rods. Push the connecting rod/piston assembly out through the top of the engine using a wooden hammer handle, ensuring all ridge material has been removed if resistance is felt. Repeat this process for the remaining cylinders, turning the crankshaft as needed to align the rod with the cylinder bore. After removal, reassemble the connecting rod caps and bearing inserts in their respective rods and install the cap nuts finger tight to prevent accidental damage to the bearing surfaces. Avoid separating the pistons from the connecting rods.
Related Toyota Sienna Parts
Browse by Year
2024 Piston 2023 Piston 2022 Piston 2021 Piston 2020 Piston 2019 Piston 2018 Piston 2017 Piston 2016 Piston 2015 Piston 2014 Piston 2013 Piston 2012 Piston 2011 Piston 2010 Piston 2009 Piston 2008 Piston 2007 Piston 2006 Piston 2005 Piston 2004 Piston 2003 Piston 2002 Piston 2001 Piston 2000 Piston 1999 Piston 1998 Piston
