

My Garage
My Account
Cart
Genuine 2018 Toyota Sequoia Control Arm
Suspension Arm- Select Vehicle by Model
- Select Vehicle by VIN
Select Vehicle by Model
orMake
Model
Year
Select Vehicle by VIN
For the most accurate results, select vehicle by your VIN (Vehicle Identification Number).
7 Control Arms found
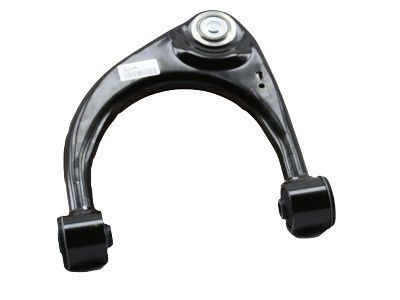
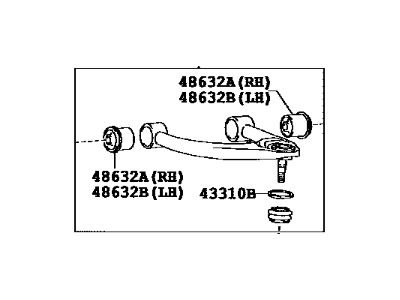
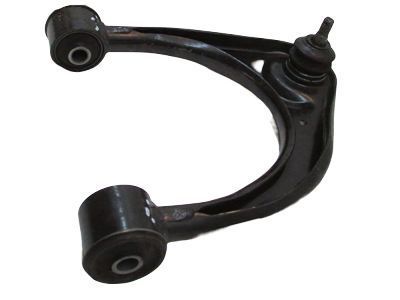
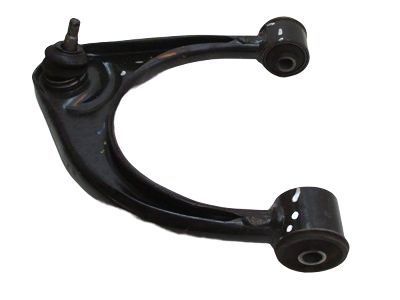
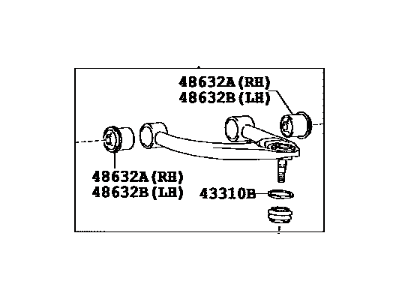
2018 Toyota Sequoia Front Suspension Control Arm Assembly Upper Right
Part Number: 48610-0C011$293.70 MSRP: $421.15You Save: $127.45 (31%)Ships in 1-3 Business DaysProduct Specifications- Other Name: Arm Assembly, Front Suspension Upper, Rh; Upper Control Arm
- Position: Passenger Side
- Replaces: 48610-0C010
- Part Name Code: 48610
- Item Weight: 10.00 Pounds
- Item Dimensions: 18.5 x 5.8 x 15.2 inches
- Condition: New
- Fitment Type: Direct Replacement
- SKU: 48610-0C011
- Warranty: This genuine Toyota part is covered by warranty.
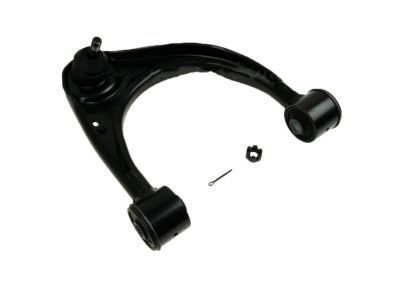
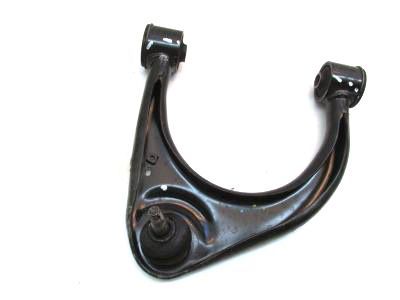
2018 Toyota Sequoia Front Suspension Control Arm Assembly Upper Left
Part Number: 48630-0C011$293.70 MSRP: $421.15You Save: $127.45 (31%)Ships in 1-3 Business DaysProduct Specifications- Other Name: Arm Assembly, Front Suspension, Upper Lh; Upper Control Arm
- Position: Upper Driver Side
- Replaces: 48630-0C010
- Part Name Code: 48630
- Item Weight: 20.80 Pounds
- Item Dimensions: 14.3 x 13.1 x 5.2 inches
- Condition: New
- Fitment Type: Direct Replacement
- SKU: 48630-0C011
- Warranty: This genuine Toyota part is covered by warranty.



2018 Toyota Sequoia Arm Assembly Rear Suspension No.1 Left
Part Number: 48720-0C010$388.01 MSRP: $578.83You Save: $190.82 (33%)Ships in 1-3 Business DaysProduct Specifications- Other Name: Arm Assy, Rear Suspension, No.1 Lh; Front Lower Control Arm, Lower Control Arm
- Position: Driver Side
- Part Name Code: 48720A
- Item Weight: 1.40 Pounds
- Item Dimensions: 14.5 x 2.3 x 1.4 inches
- Condition: New
- Fitment Type: Direct Replacement
- SKU: 48720-0C010
- Warranty: This genuine Toyota part is covered by warranty.


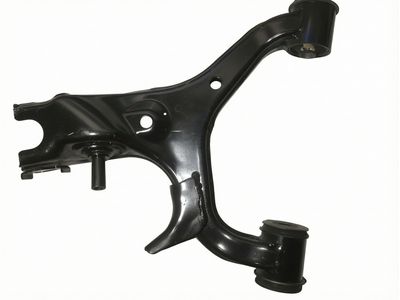
2018 Toyota Sequoia Arm Assembly, Upper Control, Rear Left
Part Number: 48790-0C010$233.15 MSRP: $334.32You Save: $101.17 (31%)Ships in 1-3 Business DaysProduct Specifications- Other Name: Arm Assy, Upper Control, Rear Lh; Upper Control Arm
- Position: Rear Driver Side
- Part Name Code: 48790
- Item Weight: 5.80 Pounds
- Item Dimensions: 18.7 x 6.8 x 3.7 inches
- Condition: New
- Fitment Type: Direct Replacement
- SKU: 48790-0C010
- Warranty: This genuine Toyota part is covered by warranty.
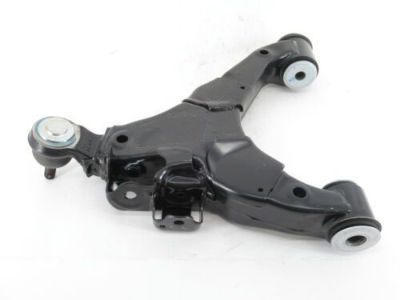
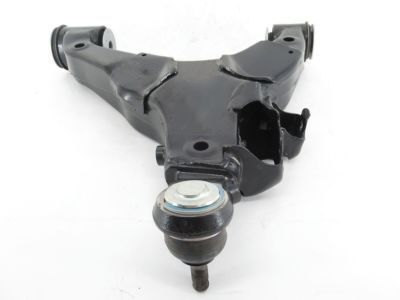
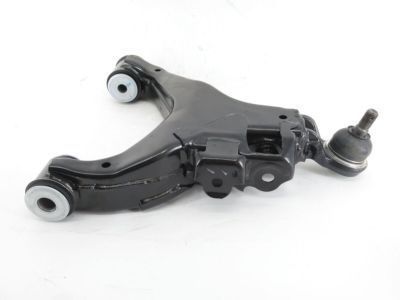
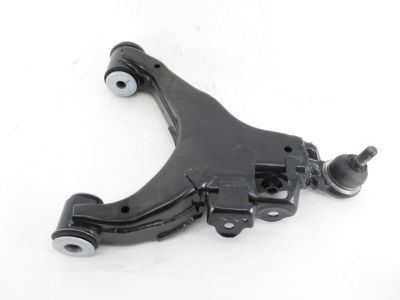
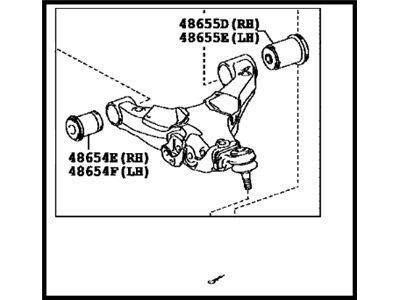
2018 Toyota Sequoia Front Suspension Control Arm Sub-Assembly Lower Right
Part Number: 48068-09100$273.42 MSRP: $392.07You Save: $118.65 (31%)Product Specifications- Other Name: Arm Sub-Assy, Front Suspension, Lower No.1 Rh; Lower Control Arm
- Position: Passenger Side
- Part Name Code: 48068
- Item Weight: 30.60 Pounds
- Item Dimensions: 23.5 x 22.9 x 12.1 inches
- Condition: New
- Fitment Type: Direct Replacement
- SKU: 48068-09100
- Warranty: This genuine Toyota part is covered by warranty.
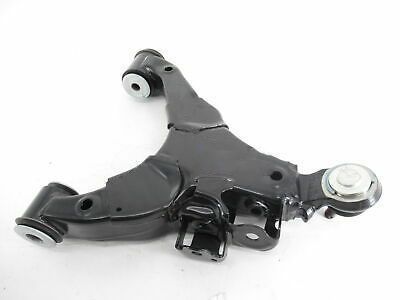
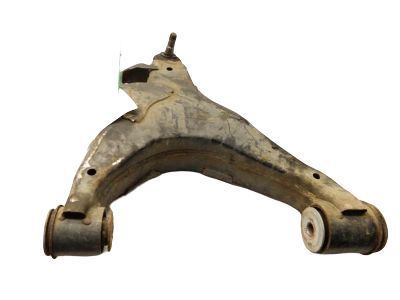
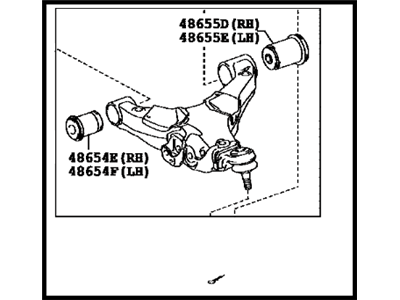
2018 Toyota Sequoia Front Suspension Control Arm Sub-Assembly Lower Left
Part Number: 48069-09090$275.81 MSRP: $395.49You Save: $119.68 (31%)Product Specifications- Other Name: Arm Sub-Assy, Front Suspension, Lower No.1 Lh; Lower Control Arm
- Position: Lower Driver Side
- Part Name Code: 48069
- Item Weight: 27.80 Pounds
- Item Dimensions: 21.7 x 7.2 x 20.1 inches
- Condition: New
- Fitment Type: Direct Replacement
- SKU: 48069-09090
- Warranty: This genuine Toyota part is covered by warranty.


2018 Toyota Sequoia Arm Assembly Rear Suspension No.1 Right
Part Number: 48710-0C010$400.27 MSRP: $597.13You Save: $196.86 (33%)Product Specifications- Other Name: Arm Assy, Rear Suspension, No.1 Rh; Front Lower Control Arm, Lower Control Arm
- Position: Passenger Side
- Part Name Code: 48710A
- Item Weight: 1.40 Pounds
- Item Dimensions: 14.5 x 2.3 x 1.4 inches
- Condition: New
- Fitment Type: Direct Replacement
- SKU: 48710-0C010
- Warranty: This genuine Toyota part is covered by warranty.
2018 Toyota Sequoia Control Arm
With ToyotaPartsDeal.com, you have access to an extensive inventory of genuine 2018 Toyota Sequoia Control Arm, all priced competitively. Feel secure in your purchase, as all our OEM 2018 Toyota Sequoia Control Arm are covered by warranty. Plus, we offer a hassle-free return policy and speedy delivery service.
2018 Toyota Sequoia Control Arm Parts Questions & Experts Answers
- Q:How to remove and install the rear upper control arm for the 2018 Toyota Sequoia?Posted by Manisha P.A:Always support the lower control arm before removing the lower shock mounting bolts, because the lower control arm will drop about 3 inches. Note: Inspect the bushings for wear and deterioration. If they're cracked or damaged, take the arm to an automotive machine shop and have new bushings installed. Start by loosening the rear wheel lug nuts, raising the rear of the vehicle and supporting it securely on jackstands. Block the front wheels to keep the vehicle from rolling off the stands. Remove the wheel. Next, remove the fuel tank. Mark the height control sensor link-to-bracket then remove the nut and disconnect the sensor link from the bracket. Remove the rear brake disc. Remove the rear brake hose three mounting bracket bolts and brackets then move the hose out of the way. Note: DO not disconnect the hose or the brake system will need to be bleed. Disconnect the rear wheel speed sensor, then remove the harness fasteners and move the electrical harness out of the way. Remove the lower arm mounting bolts and nuts and maneuver the arm out of the vehicle. Installation is the reverse of removal. Make sure that the alignment marks you made prior to disassembly are lined up. Tighten all suspension fasteners. Note: The pivot bolts should be tightened with the vehicle at normal ride height. This can be done after the vehicle has been lowered to the ground (on vehicles with adequate clearance), or can be simulated by raising the lower control arm with a floor jack.Answered by Toyota Parts Specialist Bruce / Oct 10, 2024
Related 2018 Toyota Sequoia Parts
 2018 Toyota Sequoia Ball Joint
 2018 Toyota Sequoia Shift Cable
 2018 Toyota Sequoia Coil Springs
 2018 Toyota Sequoia Steering Knuckle
 2018 Toyota Sequoia Control Arm Bushing
 2018 Toyota Sequoia Trailing Arm