
My Garage
My Account
Cart
Genuine Toyota Avalon Timing Belt
Engine Timing Belt- Select Vehicle by Model
- Select Vehicle by VIN
Select Vehicle by Model
orMake
Model
Year
Select Vehicle by VIN
For the most accurate results, select vehicle by your VIN (Vehicle Identification Number).
4 Timing Belts found
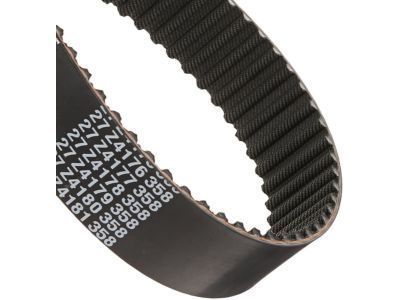
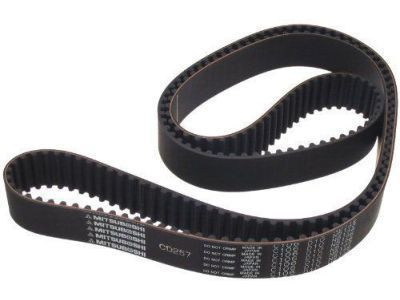
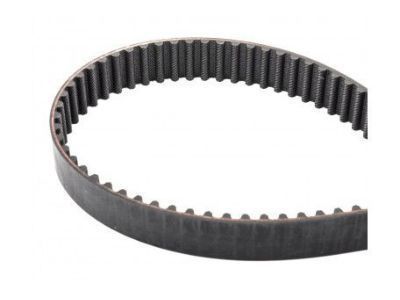
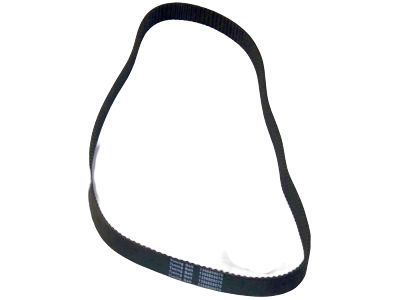
Toyota Avalon Timing Belt
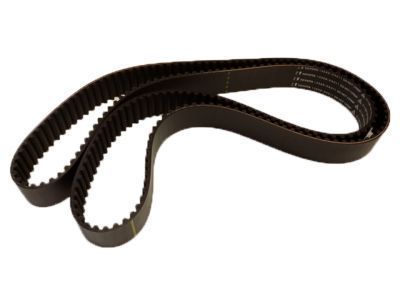
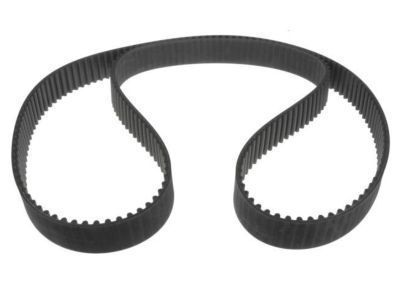
Part Number: 13568-09080$60.29 MSRP: $84.98You Save: $24.69 (30%)Ships in 1-2 Business DaysToyota Avalon Timing Belt
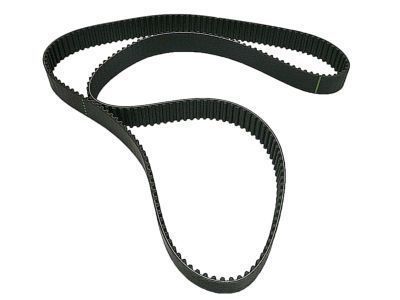
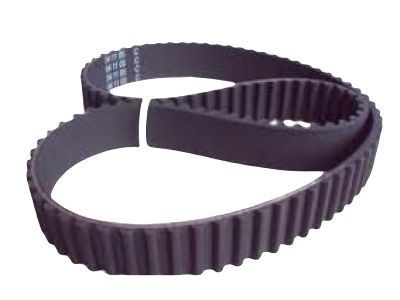
Part Number: 13568-29025$49.97 MSRP: $69.84You Save: $19.87 (29%)Ships in 1-3 Business DaysToyota Avalon Timing Belt
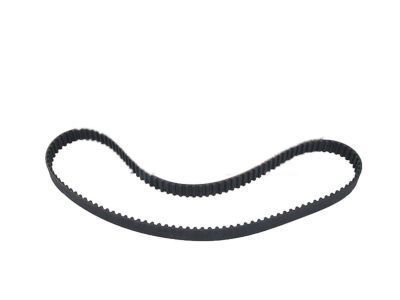
Part Number: 13568-09050$60.29 MSRP: $84.98You Save: $24.69 (30%)Ships in 1-3 Business DaysToyota Avalon Timing Belt
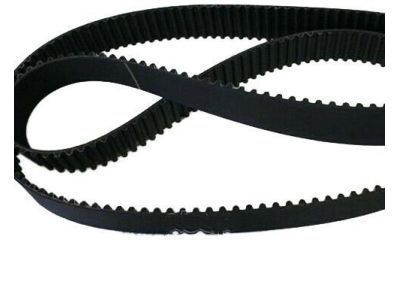
Part Number: 13568-29015$49.97 MSRP: $69.84You Save: $19.87 (29%)Ships in 1-3 Business Days
Toyota Avalon Timing Belt
The Timing Belt in Toyota Avalon vehicles is responsible for keeping the crankshaft and the camshaft in order to help ensure a car's engine runs right. These belts usually originate from rubber and coated with fibers; the pros associated with these belts include; cheaper, minimal friction, and less noise. Periodically, they are replaced because they wear out, being components like water and oil pumps driven by others. Designs with curved teeth are relatively newer and provide enhanced sturdiness and less noise. There are also varieties of timing belts including chains or gears but the most complex and frequently used is the belt type especially in overhead camshaft types of engines as theycover longer distances and are efficient.
If you are in demand for superior quality and affordable OEM Toyota Avalon Timing Belt, then shop with us! We own a wide range of the reduced-priced genuine Toyota Avalon Timing Belt. You can purchase in confidence as all parts come with a manufacturer's warranty. Any issues with our products? No need to worry as we have a hassle-free return policy to guide you every step of the way.
Toyota Avalon Timing Belt Parts Questions & Experts Answers
- Q: How to remove the Variable Timing Sprocket and timing belt on a V6 engine in a 2002-2006 Toyota Avalon?A:To remove the timing belt, start by disconnecting the negative cable from the battery and removing the coolant overflow tank and windshield washer tank. If applicable, remove the front suspension upper brace from the strut towers. Then, remove the drive belts from the alternator and power steering pump. Loosen the lug nuts on the right front wheel and raise the front of the vehicle, supporting it on jackstands. Remove the right front wheel and inner fender apron. Position the number one cylinder at TDC and support the engine with a jack. Remove the engine movement control rod and its bracket, as well as the spark plugs. Remove the upper timing belt cover and check for installation marks on the timing belt. Rotate the crankshaft pulley counterclockwise 60 degrees BTDC and remove the timing belt tensioner. Relieve tension between the camshaft sprockets and remove the timing belt from the sprockets. If necessary, remove the camshaft sprockets and the upper idler pulley. Remove the crankshaft pulley bolt and remove the pulley. Remove the lower timing belt cover and slip the timing belt guide off the crankshaft. If reusing the belt, check for a mark on the belt adjacent to the drilled mark on the crankshaft sprocket. Remove the no. 1 idler pulley and plate washer using an Allen wrench. If needed, remove the crankshaft sprocket. Finally, remove the lower sprocket retainer.
- Q: How to Remove and Install a Timing Belt and Variable Timing Sprocket on a V6 Engine in a 1997-2001 Toyota Avalon?A:Start by disconnecting the negcative cable from the car battery. Take out the coolant reservoir tank and windshield washer bottle. Then, take off the drive belts from the engine's alternaor and power steering pump. Keep the right front wheel's lug nuts loose, lift up the front of the car, support it on safe jack stands, engage the parking brake, block the rear wheels, and remove the right front wheel after that. Lift up the right inner fender, put your number one piston at top dead center, use a jack to hold up the engine's bottom side, and take away the engine movement control rod and its supportive bracket. Take out the spark plugs, the upper timing belt cover and its seal, then check that you left guides on the timing belt during installation. If new ones are needed, mark them with a pen. Get the marks on the camshaft pulley lined up correctly, take off the timing belt tensioner, ease the tension between the camshaft gears, then remove the timing belt. When camshaft sprockets are too worn or broken, you must take them off. Also, take off the valve cover to grab and hold the camshaft when you unfasten its bolt. Before work begins, take off the upper idler pulley, the crankshaft pulley bolt, and make sure the crankshaft's TDC position is correct. You should be able to remove the crankshaft pulley by hand applied force. If not, use two prybars to help lift it off. Drop the lower belt cover and gasket, slide the timing guide off the crankshaft, and check the belt's defect on the crankshaft sprocket where its marking matches a dot in the steel. Use an Allen key to take out both the idler pulley and its plate washer; replace the idler pulley and washer if they are broken or show signs of wear. Loosen up and inspect the belt tensioner for oily drips, test it for leaks, measure the height of the pushrod, and make sure both idler pulleys move freely. Clean the space where the timing belt goes, match the crankshaft and sprocket together, then put the sprocket properly into position. Protect your idler pulley bolt with thread-locking compound. Then, slide the idler pulley into place and start laying down the timing belt from the crankshaft sprocket side. First, place the belt guide over its pathway on the crankshaft. Then put on the lower belt cover with gasket. Lastly, fit the crankshaft pulley onto the crankshaft. Place the upper idler pulley, front camshaft sprocket, and secure the sprocket with its bolt. Recheck the valve timing position, add the rear camshaft gears, and bolt them securely. Put the front camshaft sprocket into small rotation, place the belt onto it, and then stretch it over to the rear sprocket. Before placing the timing belt tensioner, squeeze in its pushrod, put the tensioner in place, shove the crankshaft slowly clockwise twice while making sure the timing markers remain aligned. Reattach the bracket for the control rod, replace the timing belt cover on top, and reconnect the control rod and braces safely, tightening all bolts firmly. Replace all components in the order you took them off, working backwards.
- Q: How to Remove the Timing Belt and Variable Timing Sprocket on a Four-Cylinder Engine in a 1997-2001 Toyota Avalon?A:To begin the removal process, start by disconnecting the negative battery cable and ensure the rear wheels are blocked while the parking brake is engaged. Loosen the lug nuts on the right front wheel, raise the vehicle, and securely support the front on jackstands. Proceed to remove the right front wheel and fender apron seal. Following this, remove the coolant overflow tank and the spark plugs and drive belts. Take out the alternator and its bracket and support the engine from beneath with a jack (using a wood block to avoid the oil pan drain plug). Remove the right Engine Mount and engine support rod. Afterward, remove the upper timing belt cover screws and pull up the wiring harness, then remove the upper (no.timing belt cover and gaskets. Ensure the number one piston is at TDC on the compression stroke and verify alignment between the small hole in the camshaft pulley and the TDC mark on the cam bearing cap. Optionally, apply match marks on the sprocket and belt if reusing the timing belt. Loosen the upper (no.idler pulley set bolt and unhook the spring to slip the timing belt off the sprocket. If the camshaft sprocket requires removal, hold the rear camshaft with a wrench and remove the bolt. Remove the crankshaft pulley bolt, secure the engine from turning, and use a breaker bar and socket to loosen and remove the pulley. Proceed to remove the lower (no.timing belt cover and gaskets, slipping the belt guide off the crankshaft if needed. If reusing the timing belt, apply match marks on the sprocket and belt. Slip the timing belt off the sprocket and remove it. Inspect the idler pulleys for smooth operation and the spring for damage, and assess the belt for cracks, wear, or damage. Replace the timing belt with a new one if wear or damage is evident or if there are concerns. When installing the new belt, ensure the timing marks on the camshaft and crankshaft are correctly aligned. Reinstall idler pulleys and the tension spring, check timing mark alignment again, and fit the timing belt onto the appropriate components. Slip on the belt guide with the cupped side facing out and reinstall the lower timing belt cover and crankshaft pulley, verifying TDC marks. Place the timing belt over the camshaft sprocket while maintaining tension on one side, loosen the upper idler pulley bolt, and allow the spring to apply pressure. Slowly turn the crankshaft clockwise until the marks align correctly, then tighten the idler pulley. Rotate the crankshaft two revolutions and recheck the timing marks. If they align as required, reinstall the remaining components in reverse order, paying attention to gasket material on covers if necessary. Finally, run the engine to verify proper operation.
