
My Garage
My Account
Cart
Genuine Toyota Camry Fuel Door Release Cable
Gas Door Safety Release Cable- Select Vehicle by Model
- Select Vehicle by VIN
Select Vehicle by Model
orMake
Model
Year
Select Vehicle by VIN
For the most accurate results, select vehicle by your VIN (Vehicle Identification Number).
13 Fuel Door Release Cables found
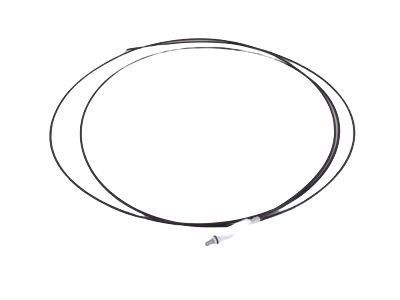
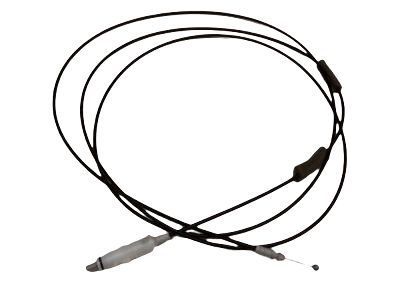
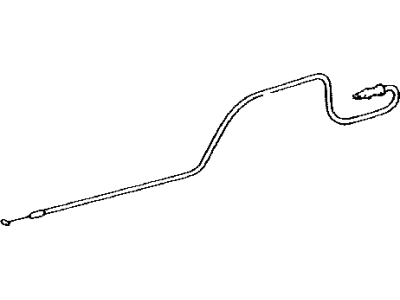
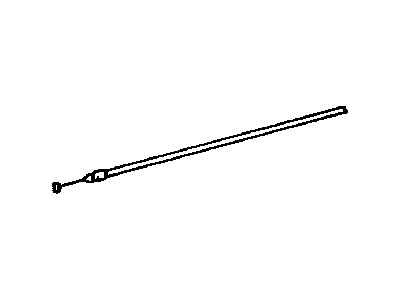
Toyota Camry Fuel Cable Sub-Assembly
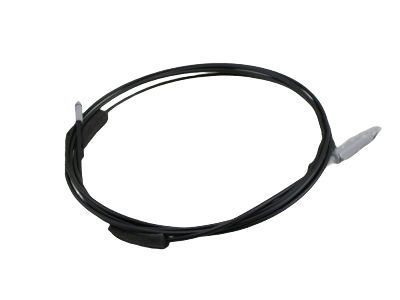
Part Number: 77035-06181$38.78 MSRP: $54.21You Save: $15.43 (29%)Toyota Camry Fuel Cable Sub-Assembly
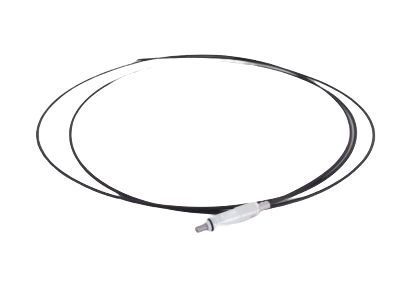
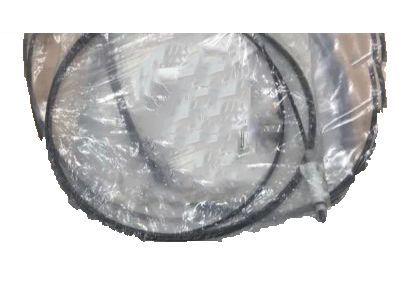
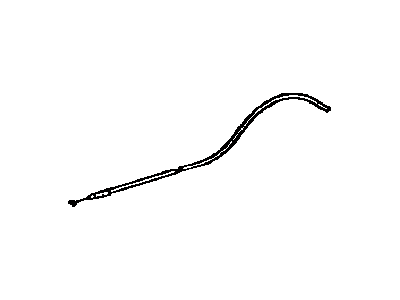
Part Number: 77035-06180$38.78 MSRP: $54.21You Save: $15.43 (29%)Toyota Camry Fuel Lid Lock Control Cable Sub-Assembly
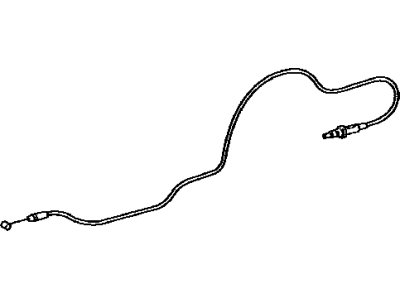
Part Number: 77035-06090$43.78 MSRP: $61.19You Save: $17.41 (29%)Ships in 1-3 Business DaysToyota Camry Fuel Lid Lock Control Cable Sub-Assembly
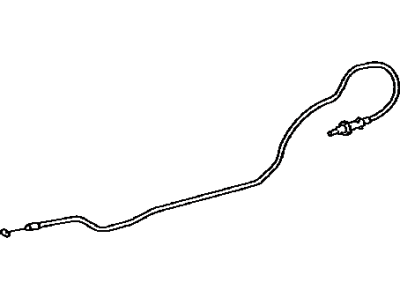
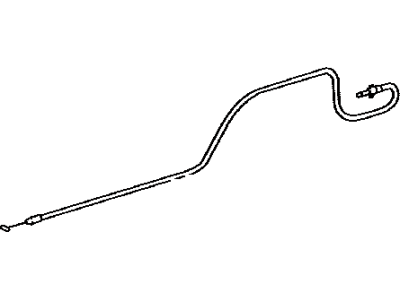
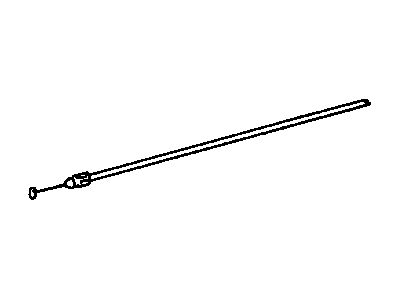
Part Number: 77035-33130$39.97 MSRP: $55.87You Save: $15.90 (29%)Ships in 1-3 Business DaysToyota Camry Fuel Lid Lock Control Cable Sub-Assembly
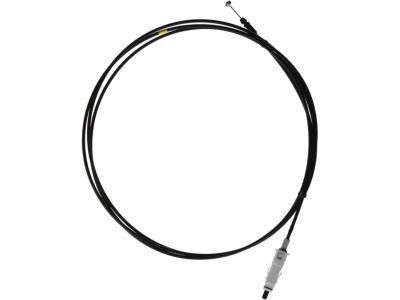
Part Number: 77035-AA030$39.73 MSRP: $55.53You Save: $15.80 (29%)Toyota Camry Fuel Lid Lock Control Cable Sub-Assembly
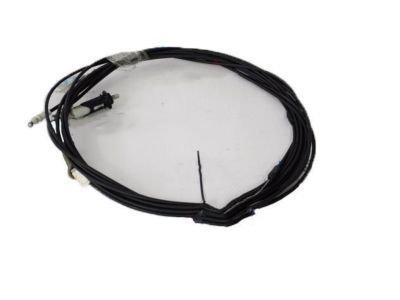
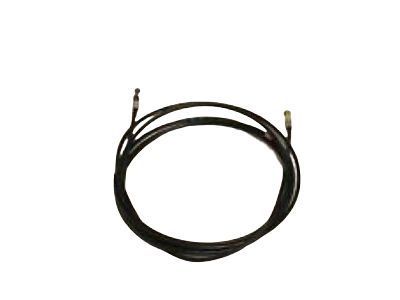
Part Number: 77035-33100$39.73 MSRP: $55.53You Save: $15.80 (29%)
Toyota Camry Fuel Door Release Cable
If you are in demand for superior quality and affordable OEM Toyota Camry Fuel Door Release Cable, then shop with us! We own a wide range of the reduced-priced genuine Toyota Camry Fuel Door Release Cable. You can purchase in confidence as all parts come with a manufacturer's warranty. Any issues with our products? No need to worry as we have a hassle-free return policy to guide you every step of the way.
Toyota Camry Fuel Door Release Cable Parts Questions & Experts Answers
- Q: How to remove the Fuel Door Release Cable on Toyota Camry?A:To start with, remove the trunk lid trim panel in order to get rid of the trunk release switch. Then remove the trunk latch and lock assembly. To take out the trim, undo the nuts that hold it down from inside of the trunk lid and carefully pry it off. Finally, unscrew the mounting screws for the switch, detach its harness clips and remove it from its housing on the trim panel. Installation is accomplished in reverse order of removal. To access fuel door release motor you will have to remove rear floor mat, spare tire and left side interior body panel located in trunk. Open fuel door and remove nut. Lock-to-door cable can be removed by turning sleeve at end of cable counterclockwise and pulling back on sleeve. After disconnecting electrical connector, removing mounting nut, remove motor. Remove bolts attaching fuel door to vehicle body. Similarly installation is opposite to removal. Take off floor mat and left-side panel inside trunk for access to cable end when removing fuel door cable. Push tabs of fuel door latch cable end inwards then pull it out from fuel door housing. In addition untwist this way thus removing cable end retainer from bracket.Put up rear seat bottom as well as lower trim panels of center door pillar.Side carpeting should be peeled back so that release cable can be accessed; after disengaging all clips that hold wire on body.Remove bolt holding handle assembly to floor.Then turn housing over and take off cable housings from clips as well as eyes from levers.Tie thin wire at end of cable.Working within trunk compartment pull it rearwards until wire is visible.Attached wire again in front of new one then fish it back through body such that lever can reach.The remaining installation process follows a complete reversal of initial steps.
Related Toyota Camry Parts
Browse by Year
2017 Fuel Door Release Cable 2016 Fuel Door Release Cable 2015 Fuel Door Release Cable 2014 Fuel Door Release Cable 2013 Fuel Door Release Cable 2012 Fuel Door Release Cable 2011 Fuel Door Release Cable 2010 Fuel Door Release Cable 2009 Fuel Door Release Cable 2008 Fuel Door Release Cable 2007 Fuel Door Release Cable 2006 Fuel Door Release Cable 2005 Fuel Door Release Cable 2004 Fuel Door Release Cable 2003 Fuel Door Release Cable 2002 Fuel Door Release Cable 2001 Fuel Door Release Cable 2000 Fuel Door Release Cable 1999 Fuel Door Release Cable 1998 Fuel Door Release Cable 1997 Fuel Door Release Cable 1996 Fuel Door Release Cable 1995 Fuel Door Release Cable 1994 Fuel Door Release Cable 1993 Fuel Door Release Cable 1992 Fuel Door Release Cable 1991 Fuel Door Release Cable 1990 Fuel Door Release Cable 1989 Fuel Door Release Cable 1988 Fuel Door Release Cable 1987 Fuel Door Release Cable 1986 Fuel Door Release Cable 1985 Fuel Door Release Cable 1984 Fuel Door Release Cable 1983 Fuel Door Release Cable
