
My Garage
My Account
Cart
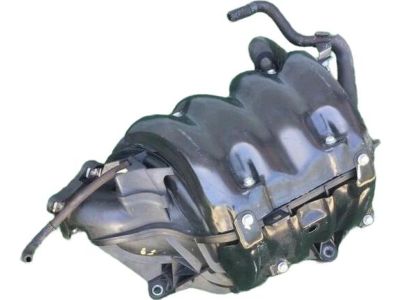
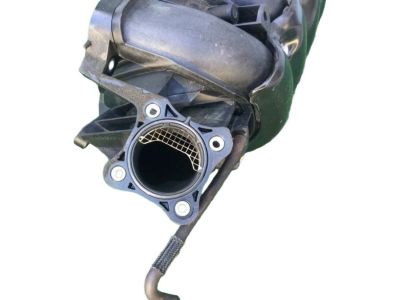
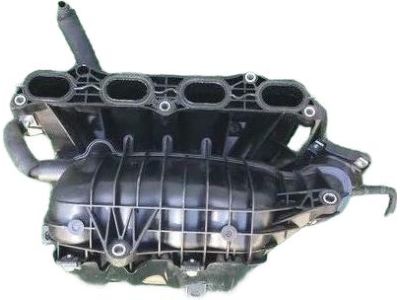
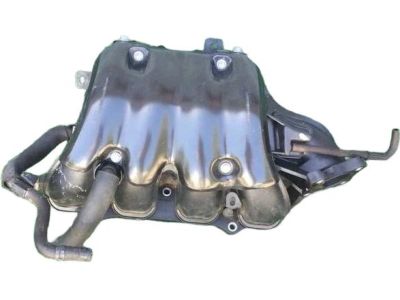
Genuine Toyota Camry Intake Manifold
Engine Intake Manifold- Select Vehicle by Model
- Select Vehicle by VIN
Select Vehicle by Model
orMake
Model
Year
Select Vehicle by VIN
For the most accurate results, select vehicle by your VIN (Vehicle Identification Number).
36 Intake Manifolds found
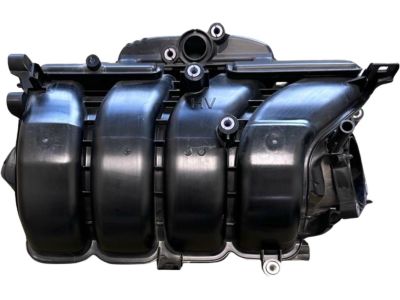
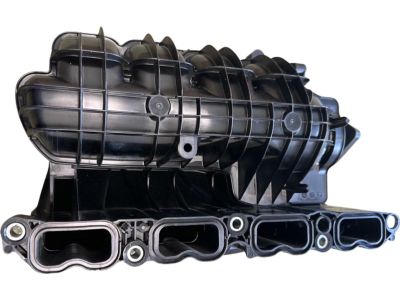
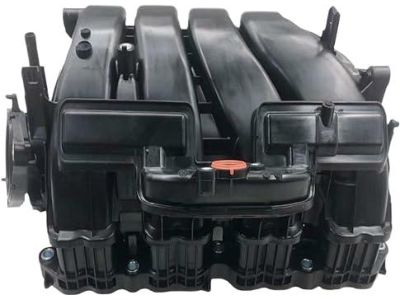
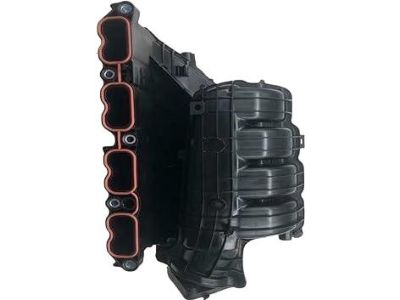
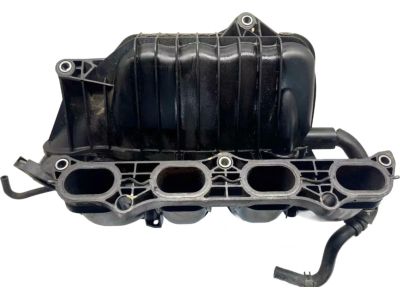
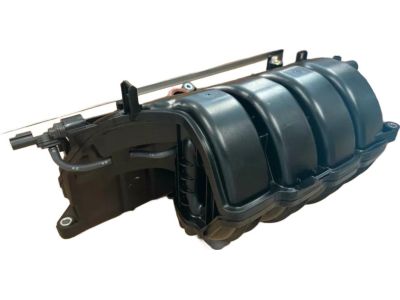
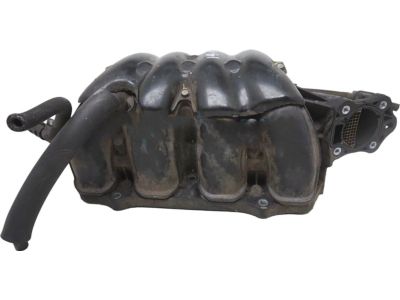
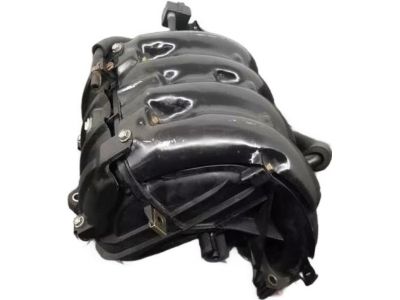
Toyota Camry Intake Manifold Assembly
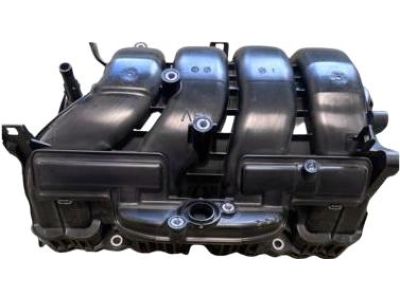
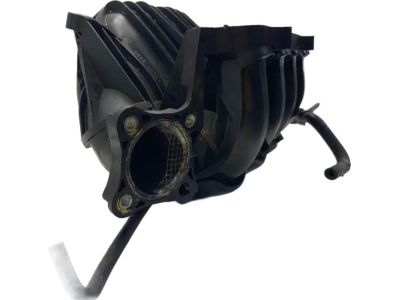
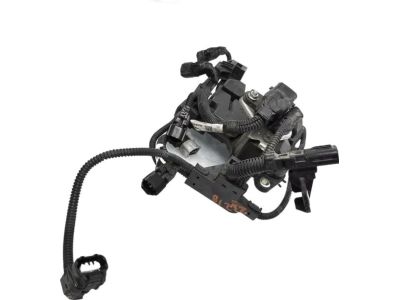
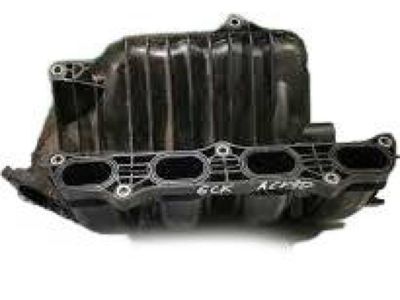
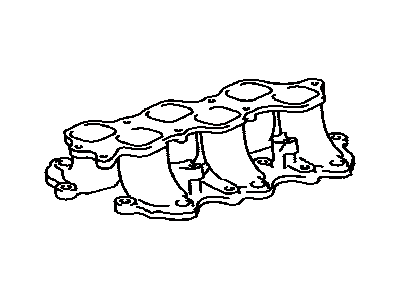
Part Number: 17120-F0020$365.93 MSRP: $545.89You Save: $179.96 (33%)Ships in 1-2 Business DaysToyota Camry Intake Manifold Assembly
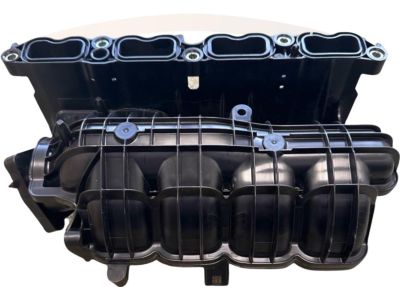
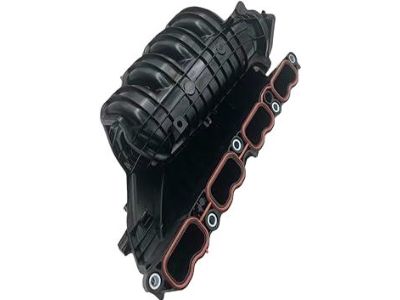
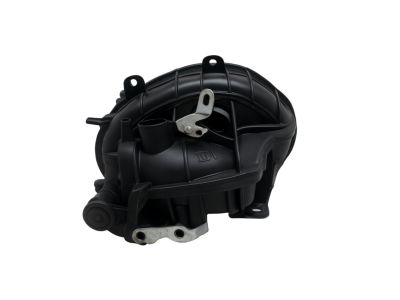
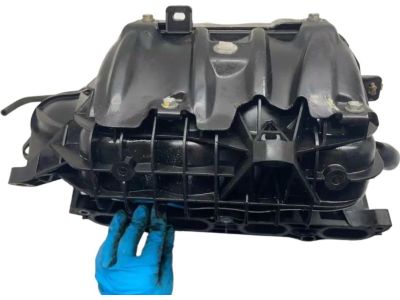
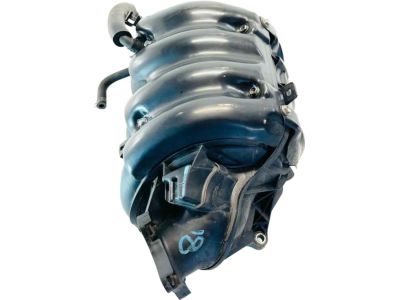
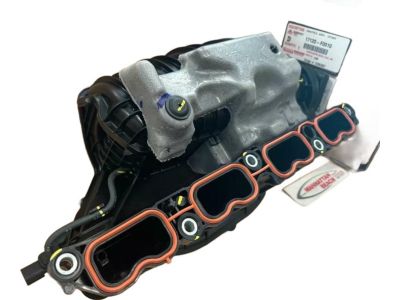
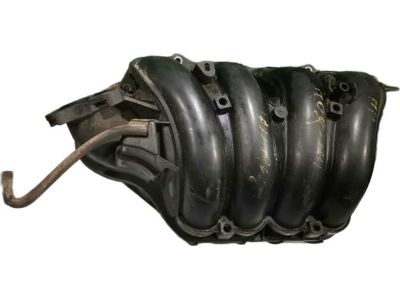
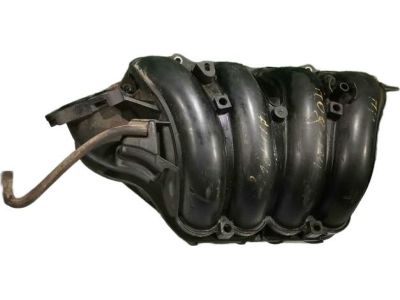
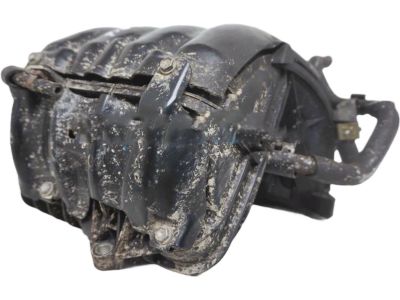
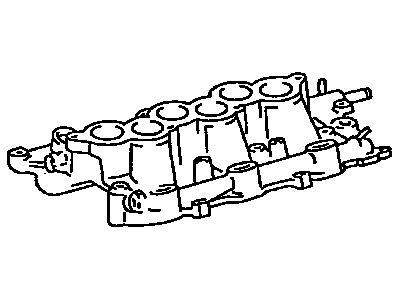
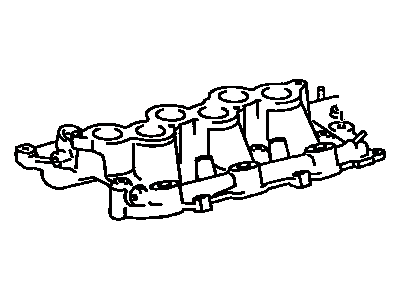
Part Number: 17120-25010$365.93 MSRP: $545.89You Save: $179.96 (33%)Ships in 1-3 Business DaysToyota Camry Intake Manifold Assembly
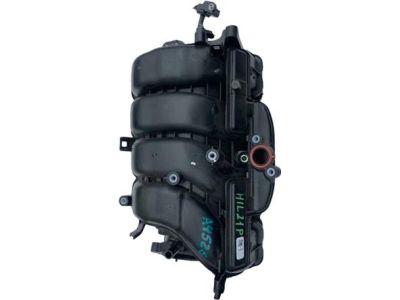
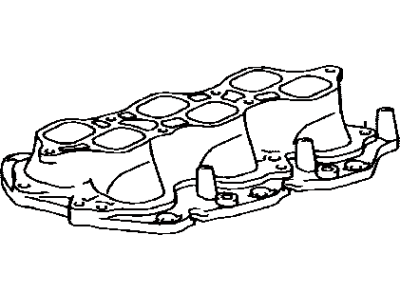
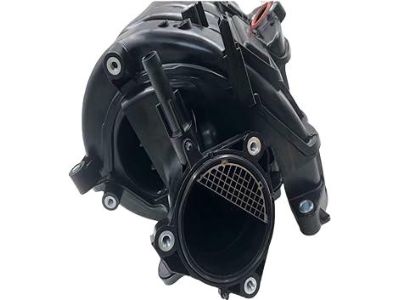
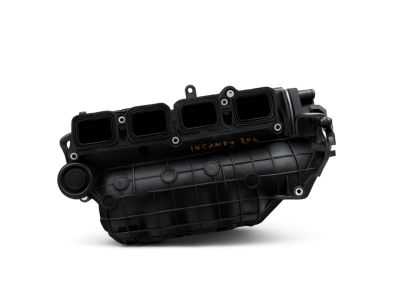
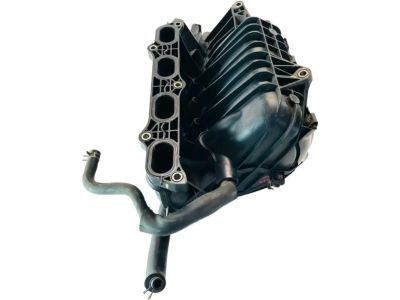
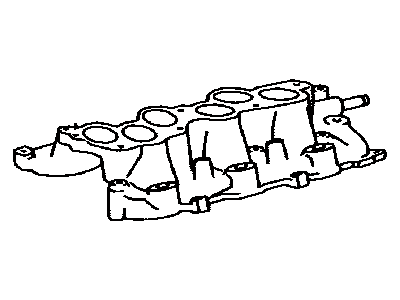
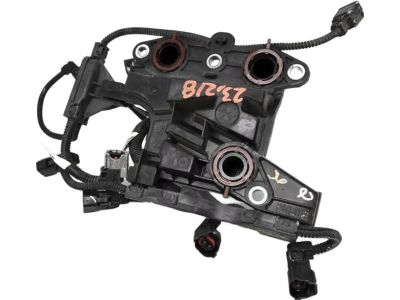
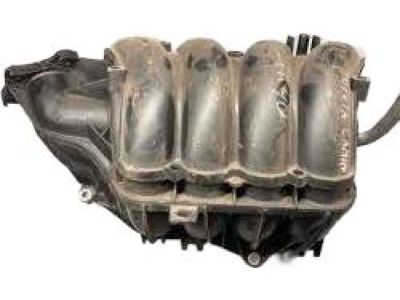
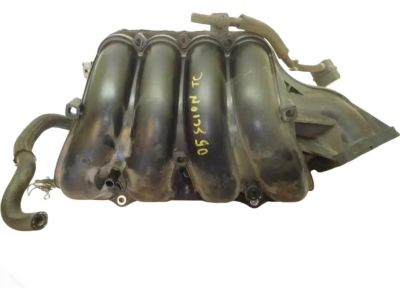
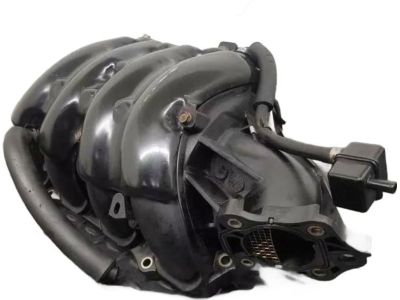
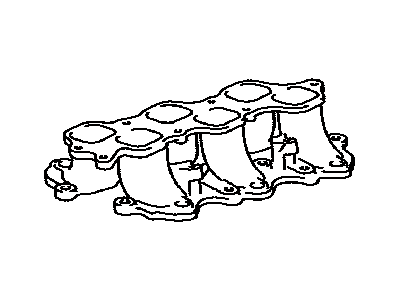
Part Number: 17120-36010$761.74 MSRP: $1137.39You Save: $375.65 (34%)Ships in 1-3 Business DaysToyota Camry Intake Manifold
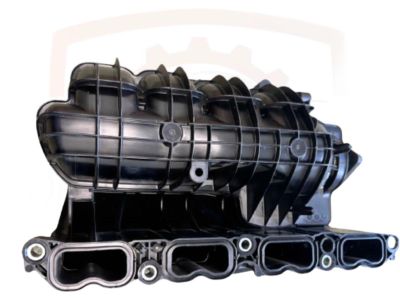
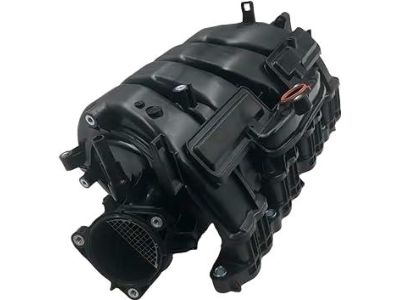
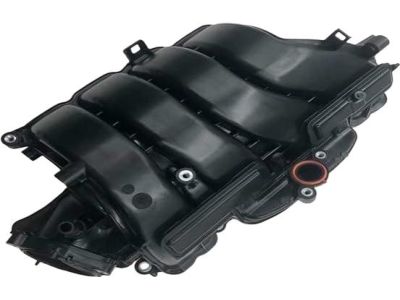
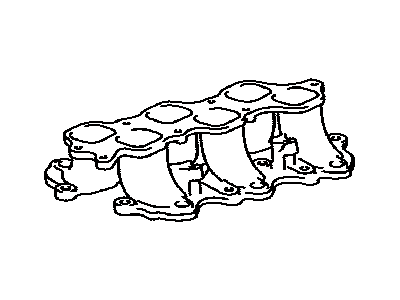
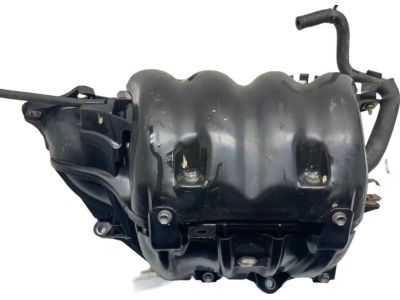
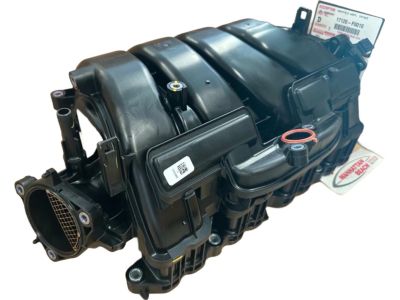
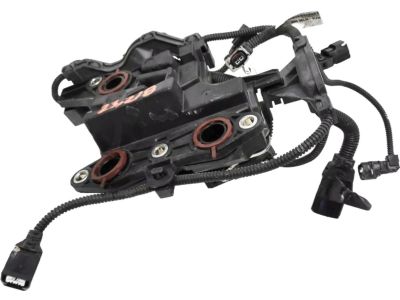
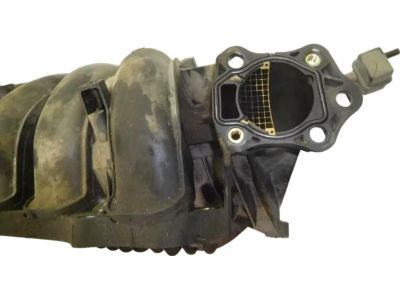
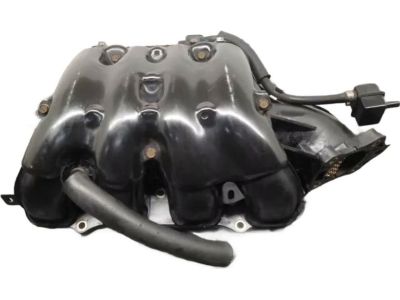
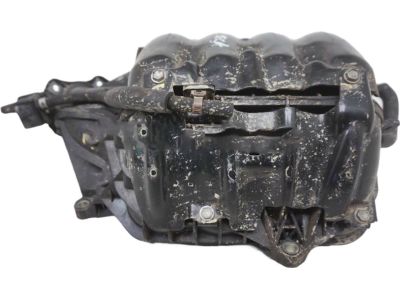
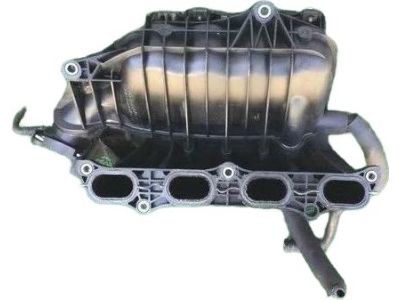
Part Number: 17120-0H050$436.51 MSRP: $651.19You Save: $214.68 (33%)Ships in 1-3 Business DaysToyota Camry Intake Manifold Assembly
Part Number: 17120-F0010$365.93 MSRP: $545.89You Save: $179.96 (33%)Ships in 1-3 Business DaysToyota Camry Intake Manifold
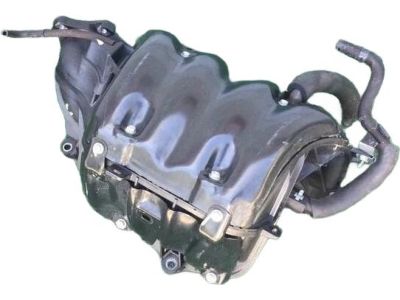
Part Number: 17120-28070$460.48 MSRP: $686.95You Save: $226.47 (33%)Ships in 1-3 Business DaysToyota Camry Intake Manifold
Part Number: 17120-28080$409.80 MSRP: $611.34You Save: $201.54 (33%)Ships in 1-3 Business DaysToyota Camry Intake Manifold
Part Number: 17120-28140$346.87 MSRP: $517.46You Save: $170.59 (33%)Ships in 1-3 Business DaysToyota Camry Intake Manifold Assembly
Part Number: 17120-0V010$644.16 MSRP: $961.81You Save: $317.65 (34%)Ships in 1-3 Business DaysToyota Camry Intake Manifold
Part Number: 17120-28160$414.32 MSRP: $618.08You Save: $203.76 (33%)Ships in 1-3 Business DaysToyota Camry Intake Manifold
Part Number: 17120-0H010$460.48 MSRP: $686.95You Save: $226.47 (33%)Ships in 1-3 Business DaysToyota Camry Intake Manifold Assembly
Part Number: 17120-0V020$826.13 MSRP: $1233.53You Save: $407.40 (34%)Ships in 1-3 Business DaysToyota Camry Intake Manifold
Part Number: 17111-31141$391.47 MSRP: $583.99You Save: $192.52 (33%)Ships in 1-3 Business DaysToyota Camry Intake Manifold
Part Number: 17111-0P060$299.27 MSRP: $429.13You Save: $129.86 (31%)Ships in 1-3 Business DaysToyota Camry Intake Manifold
Part Number: 17101-20050$303.19 MSRP: $434.75You Save: $131.56 (31%)Ships in 1-3 Business DaysToyota Camry Intake Manifold
Part Number: 17101-0A050$321.89 MSRP: $461.56You Save: $139.67 (31%)Ships in 1-3 Business DaysToyota Camry Intake Manifold
Part Number: 17101-20070$321.89 MSRP: $461.56You Save: $139.67 (31%)Ships in 1-3 Business DaysToyota Camry Intake Manifold
Part Number: 17111-0P030$397.60 MSRP: $593.14You Save: $195.54 (33%)Ships in 1-3 Business DaysToyota Camry Intake Manifold
Part Number: 17101-03050$257.08 MSRP: $368.64You Save: $111.56 (31%)Ships in 1-3 Business DaysToyota Camry Intake Manifold Assembly
Part Number: 17120-36050$336.27 MSRP: $482.19You Save: $145.92 (31%)
| Page 1 of 2 |Next >
1-20 of 36 Results
Toyota Camry Intake Manifold
The Toyota Camry Intake Manifold is one of the components which carries the air from the air filter to the cylinders of the engine for efficient and enhanced performance. It blends the air and fuel mixture well and also has provision for temperature, airflow, and pressure sensors. A part, historically made from aluminum or cast iron but nowadays using more frequently composite plastic materials, the intake manifold's design is intended to pressurise air in the combustion chamber to optimise engine work capacity. Variable length intake manifolds (VLIM) are important structures used in controlling the speed and pressure of the airflow to correspond with the load of the engines in order to produce better engines as a whole.
If you are in demand for superior quality and affordable OEM Toyota Camry Intake Manifold, then shop with us! We own a wide range of the reduced-priced genuine Toyota Camry Intake Manifold. You can purchase in confidence as all parts come with a manufacturer's warranty. Any issues with our products? No need to worry as we have a hassle-free return policy to guide you every step of the way.
Toyota Camry Intake Manifold Parts Questions & Experts Answers
- Q: How to remove and install an intake manifold on V6 engine on Toyota Camry?A:Disconnect the battery's negative terminal cable, all hoses, and wiring from the throttle body. Label hoses for reassembly. Remove the throttle body bracket, upper intake manifold brace, and air intake tube. Disconnect all wiring and hoses from the manifold, remove the upper intake manifold. Check the gasket's condition, replace if needed. For lower intake manifold removal, remove the fuel rail and interfering brace. Discard old lower intake manifold gaskets, clean off old gasket material from the manifold and cylinder heads. Installation is the reverse of removal, use new gaskets and tighten bolts in a criss-cross pattern from the center outward.
- Q: How to remove the intake manifold on Four cylinder engine on Toyota Camry?A:To remove the intake manifold, start by relieving the fuel system pressure and disconnecting the negative battery terminal. Remove the air intake duct, radiator, and cowl cover assembly. For 2009 and earlier models, remove the fuel rail and injectors, throttle linkage, and throttle body from the intake manifold. Label and detach the PCV and vacuum hoses connected to the rear of the intake manifold. Raise the vehicle and remove the manifold lower mounting bolts. From above, remove the intake manifold upper mounting nuts and bolts, along with the manifold, gasket, and manifold insulator. For 2010 and later models, remove the engine cover, disconnect vacuum hoses and ventilation tubes, and remove the throttle body from the intake manifold. Disconnect the fuel intake line from the fuel rail and disconnect the electrical connectors and harness mounting fasteners. Disconnect and remove the main harness connector from the intake manifold and tumble control valves. Apply battery voltage to the tumble control valve electrical connector to close the valve. Remove the intake manifold support bracket and disconnect the vacuum switching valve assembly electrical connector. Unscrew the intake manifold mounting fasteners and remove the manifold. To install, clean the mating surfaces and check for warpage. Press a new gasket into the grooves on the intake manifold and install it over the studs on the Cylinder Head. Tighten the manifold-to-cylinder head nuts or bolts in three or four equal steps. Install the remaining parts in reverse order and check for coolant and vacuum leaks.
Related Toyota Camry Parts
Browse by Year
2024 Intake Manifold 2023 Intake Manifold 2022 Intake Manifold 2021 Intake Manifold 2020 Intake Manifold 2019 Intake Manifold 2018 Intake Manifold 2017 Intake Manifold 2016 Intake Manifold 2015 Intake Manifold 2014 Intake Manifold 2013 Intake Manifold 2012 Intake Manifold 2011 Intake Manifold 2010 Intake Manifold 2009 Intake Manifold 2008 Intake Manifold 2007 Intake Manifold 2006 Intake Manifold 2005 Intake Manifold 2004 Intake Manifold 2003 Intake Manifold 2002 Intake Manifold 2001 Intake Manifold 2000 Intake Manifold 1999 Intake Manifold 1998 Intake Manifold 1997 Intake Manifold 1996 Intake Manifold 1995 Intake Manifold 1994 Intake Manifold 1993 Intake Manifold 1992 Intake Manifold 1991 Intake Manifold 1990 Intake Manifold 1989 Intake Manifold 1988 Intake Manifold 1987 Intake Manifold 1986 Intake Manifold 1985 Intake Manifold 1984 Intake Manifold 1983 Intake Manifold
