
My Garage
My Account
Cart
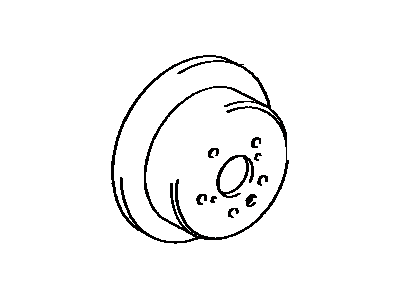
Genuine Toyota Celica Brake Disc
Disc Rotor- Select Vehicle by Model
- Select Vehicle by VIN
Select Vehicle by Model
orMake
Model
Year
Select Vehicle by VIN
For the most accurate results, select vehicle by your VIN (Vehicle Identification Number).
32 Brake Discs found
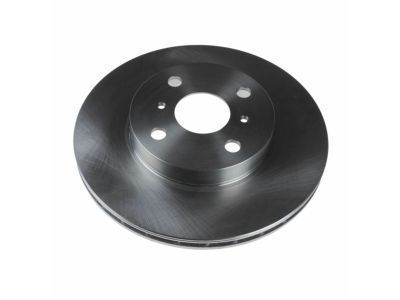
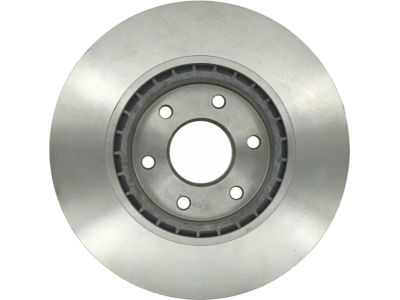
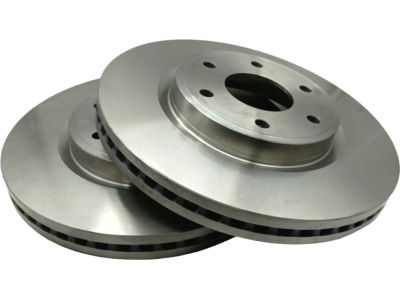
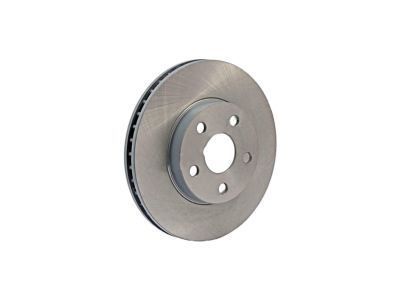
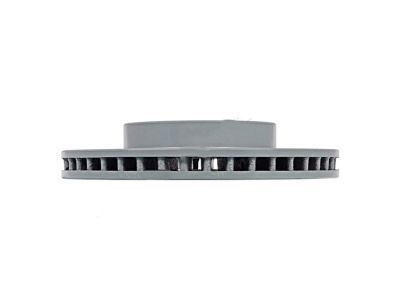
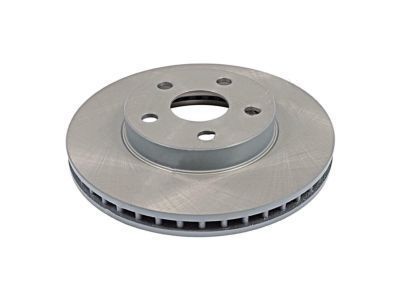
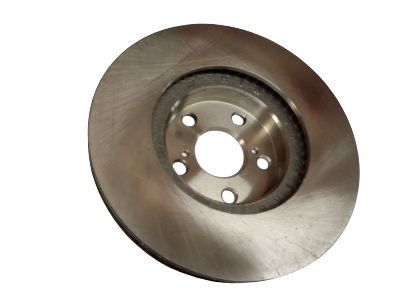
Toyota Celica Disc Brake Rotor Front
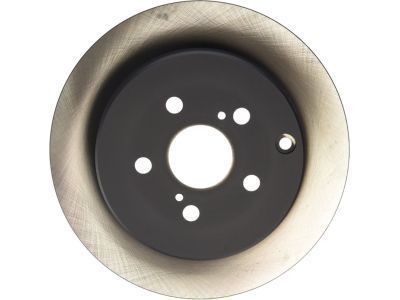
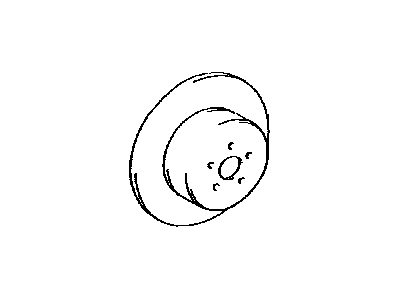
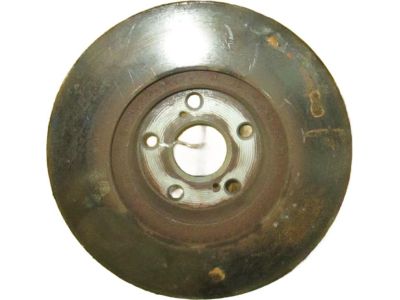
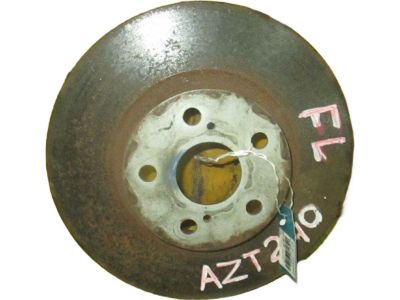
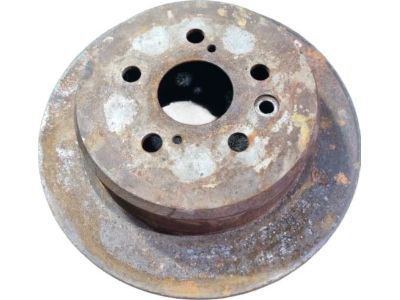
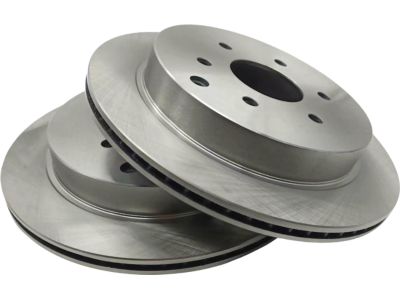
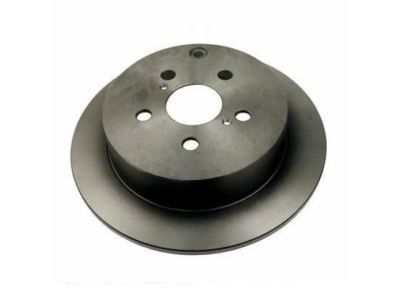
Part Number: 43512-20711$63.59 MSRP: $89.64You Save: $26.05 (30%)Ships in 1-2 Business DaysToyota Celica Rear Disc
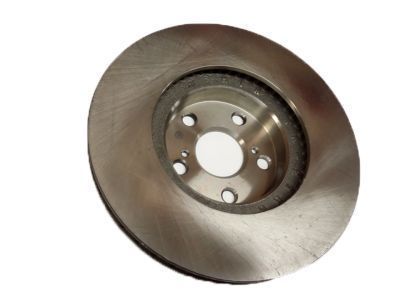
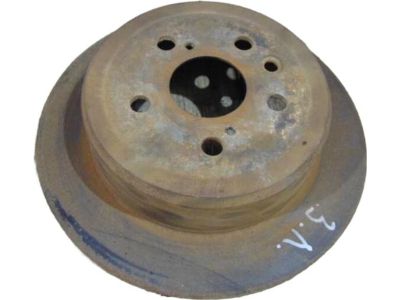
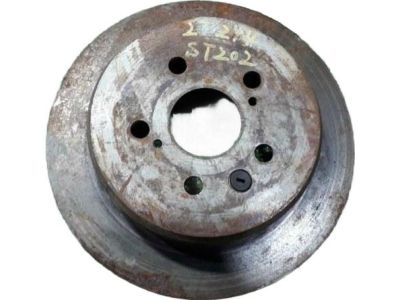
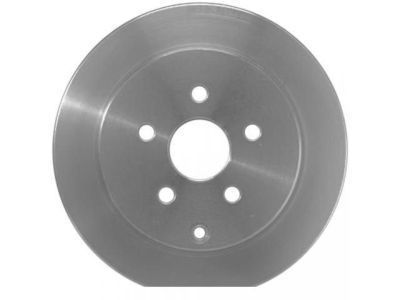
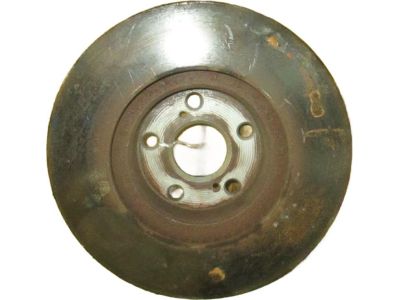
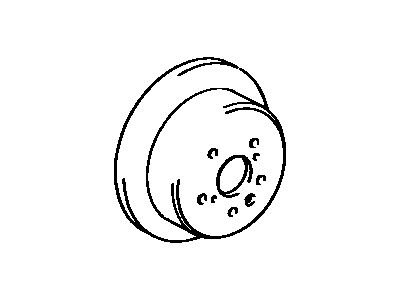
Part Number: 42431-47030$67.72 MSRP: $95.46You Save: $27.74 (30%)Ships in 1-3 Business DaysToyota Celica Disc Brake Rotor Front
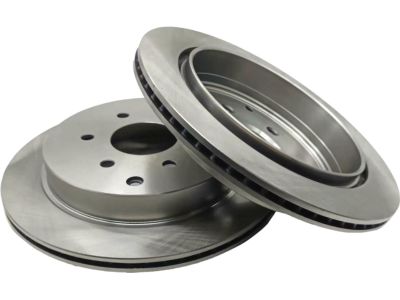
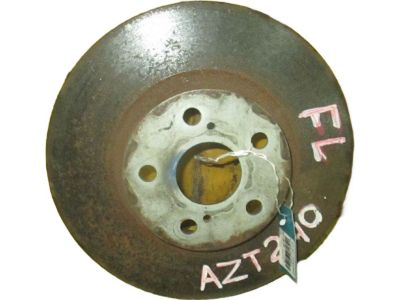
Part Number: 43512-63010$63.59 MSRP: $89.64You Save: $26.05 (30%)Ships in 1-3 Business DaysToyota Celica Rear Disc
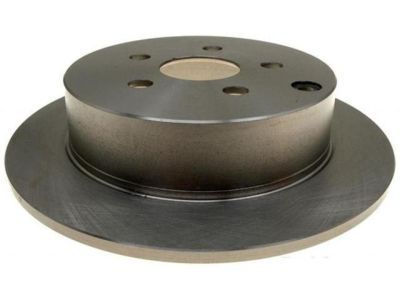
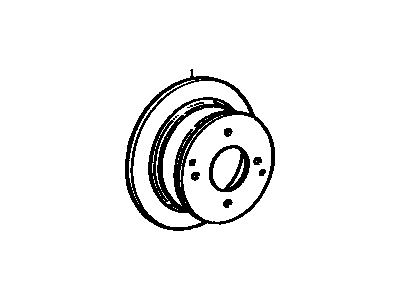
Part Number: 42431-20360$69.25 MSRP: $97.62You Save: $28.37 (30%)Ships in 1-3 Business DaysToyota Celica Disc Brake Rotor Front
Part Number: 43512-20600$76.92 MSRP: $108.44You Save: $31.52 (30%)Toyota Celica Rear Disc
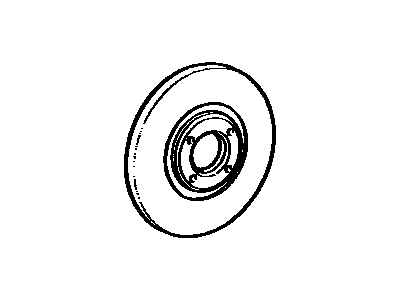
Part Number: 42431-20420$67.72 MSRP: $95.46You Save: $27.74 (30%)Ships in 1-3 Business DaysToyota Celica Disc Brake Rotor Front
Part Number: 43512-20580$75.51 MSRP: $106.44You Save: $30.93 (30%)Ships in 1-3 Business DaysToyota Celica Disc Brake Rotor Front
Part Number: 43512-20710$63.59 MSRP: $89.64You Save: $26.05 (30%)Ships in 1-3 Business DaysToyota Celica Disc Brake Rotor Front
Part Number: 43512-20740$63.59 MSRP: $89.64You Save: $26.05 (30%)Ships in 1-3 Business DaysToyota Celica Disc Brake Rotor Front
Part Number: 43512-20430$73.41 MSRP: $104.99You Save: $31.58 (31%)Ships in 1-3 Business DaysToyota Celica Disc Brake Rotor Front
Part Number: 43512-20440$73.41 MSRP: $104.99You Save: $31.58 (31%)Ships in 1-3 Business DaysToyota Celica Disc Brake Rotor Front
Part Number: 43512-20120$64.31 MSRP: $90.66You Save: $26.35 (30%)Ships in 1-3 Business DaysToyota Celica Rear Disc
Part Number: 42431-20090$68.12 MSRP: $96.99You Save: $28.87 (30%)Ships in 1-3 Business DaysToyota Celica Disc Brake Rotor Front
Part Number: 43512-20700$75.51 MSRP: $106.44You Save: $30.93 (30%)Ships in 1-3 Business Days
| Page 1 of 2 |Next >
1-20 of 32 Results
Toyota Celica Brake Disc
If you are in demand for superior quality and affordable OEM Toyota Celica Brake Disc, then shop with us! We own a wide range of the reduced-priced genuine Toyota Celica Brake Disc. You can purchase in confidence as all parts come with a manufacturer's warranty. Any issues with our products? No need to worry as we have a hassle-free return policy to guide you every step of the way.
Toyota Celica Brake Disc Parts Questions & Experts Answers
- Q: What procedure applies to both front and rear brake discs on Toyota Celica?A:This procedure applies to front and rear brake discs. First, use a wrench to slightly remove the wheel lug nuts, and mechanically lift the car and position jack stands firmly under it. To service the brake disc, first, you have to take off the wheel, and then, to secure the disc and prevent from falling, use two or three lug nuts; in case you have to work on the rear disc, unscrew the parking brake. Then, remove the Brake Caliper while keeping the brake hose connected, suspending the caliper off to the side by a piece of wire; the torque plate should then be unbolted from its position on the steering knuckle, where there will be two bolts. Check the surface for score marks and damages; light scratch and slight groove which is normal but disc scoring beyond 0.039" needs disc removal, and refinishing. If pulsating is felt when the brake is applied, one must perform the disc run test wherein a dial indicator must be placed half an inch from the outer diameter of the disc where the maximum amount recorded by the indicator should not exceed the allowable amount. In any case, it is suggested to resurface the discs in order to enhance the surface finish and at the same time eliminate jerkiness of the brake pedal. The disc should not be machined to a thickness less than the minimum allowed thickness: this can be measured easily with a micrometer. To take off the disc simple undo the lug nuts that are used to secure the disc; on the other hand if the disc is tightly fixed you can thread on bolts on the provided holes and when you tighten one bolt the other should be loosened until the disc is out. For installation, locate the disc over four threaded studs, then fit the torque plate including the caliper, tighten the bolts in the torque plate to an appropriate torque. Last, in place the wheel, drop the car and over tighten the bolts to the exact required torque. Press down the brake pedal several times in order to contact the brake pads to the brake disc and do a much check on the brakes before operate the car.
Related Toyota Celica Parts
Browse by Year
2005 Brake Disc 2004 Brake Disc 2003 Brake Disc 2002 Brake Disc 2001 Brake Disc 2000 Brake Disc 1999 Brake Disc 1998 Brake Disc 1997 Brake Disc 1996 Brake Disc 1995 Brake Disc 1994 Brake Disc 1993 Brake Disc 1992 Brake Disc 1991 Brake Disc 1990 Brake Disc 1989 Brake Disc 1988 Brake Disc 1987 Brake Disc 1986 Brake Disc 1985 Brake Disc 1984 Brake Disc 1983 Brake Disc 1982 Brake Disc 1981 Brake Disc 1980 Brake Disc 1979 Brake Disc 1978 Brake Disc
